Cultured Guru Logo
Cultured Guru Logo
  • Start Here
  • RecipesWe love to create delicious recipes with gut health in mind. By using our recipes, you can easily create any dish knowing that it’s good for gut health! Our recipe blog also includes Vegan Recipes, Vegetarian Recipes, Gluten Free Recipes, and Paleo Recipes.
  • About
  • Learn
  • Shop
  • Contact
Sourdough

No-Knead Sauerkraut Bread with Onion and Sourdough Starter

This no-knead sauerkraut bread with onion and sourdough starter is packed with savory flavor—just a few ingredients and an active starter is all you need!

Prep: 15 minutes
Cook: 1 hour
Total: 8 hours 15 minutes
Jump to Recipe Rate Recipe
Recipe Index | Ferment | Sourdough

No-Knead Sauerkraut Bread with Onion and Sourdough Starter

This no-knead sauerkraut bread with onion and sourdough starter is packed with savory flavor—just a few ingredients and an active starter is all you need!

An Easy Recipe with Sauerkraut

This sauerkraut bread recipe is the best way to cook with sauerkraut. I always get the question “does it kill the good bacteria when you cook the kraut?” Well, yes. However, Jon and I have so many fermented vegetables in our fridge, we like to eat them raw and cooked! Cooking sauerkraut at high temperatures kills the beneficial bacteria, but the flavor is amazing, and even cooked it still contains the other beneficial compounds found in fermented foods.

Since we recipe develop a lot of fermentation recipes, sometimes I end up with old kraut in the back of my fridge. It’s always still good and preserved, but sometimes it gets soft the longer it is stored. When this happens, my favorite thing to do is to throw the kraut into this sauerkraut and onion sourdough bread.
Sauerkraut Bread with Sourdough Starter

For any sourdough recipe, you need a sourdough starter. Just click here to learn How to Make a Sprouted Rye Sourdough Starter. My sprouted rye starter is my favorite, and I think the microbes in my starter are the most diverse and active when I feed them rye flour. I also have a recipe for an Easy Sourdough Starter Recipe with Sourdough Starter Feeding Instructions.

If you have any troubles or problems with your starter check out this blog: The Most Common Sourdough Starter Problems and How to Fix Them.

baked onion bread made with sauerkraut and sourdough starter

How to Make No-Knead Sauerkraut Bread

This is a no-knead sourdough bread recipe, so all you have to do is get the ingredients just combined. Then you stretch and fold over the dough a couple times during the rise period, shape the dough and bake. It’s very simple.

I’ve found that most sourdough breads can be no-knead. As long as you get all the ingredients just combined, have patience, and do a couple stretch and folds with wet hands, the bread will smooth out as it rises.

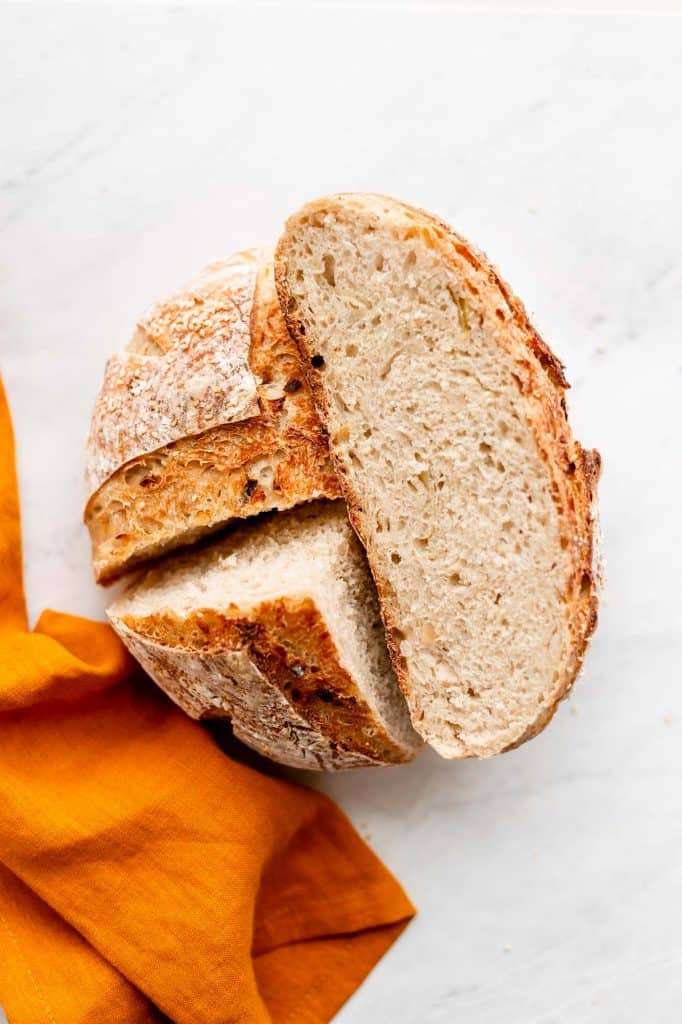
close up view of the inner texture of the sauerkraut bread.

Onion Bread with Sauerkraut

  • This seems a little obvious but have patience. You don’t want to end up baking an under-proofed loaf. If it’s cold in your house, it may take a while longer to rise. If it’s warmer in your house, the rise time maybe a little faster.
  • Do not get lazy with the stretch and folds and the shaping steps in the recipe. These steps build up the gluten so that the loaf holds its shape during the long rise times.
  • Proof overnight in the fridge before baking. This allows a nice crust to form on the sourdough, so when you score the bread it will develop “ears” and a beautiful crust after baking.
  • Bake at a high temperature. I bake most of my sourdough loaves at 450° F.
  • Bake sourdough loaves in a cast iron dutch oven. I used to bake my loaves on just a sheet pan, and when I switched to a dutch oven, the rise and crust on my loaves improved so much! To bake in a dutch oven, you have to preheat it with the oven, bake for 30 minutes with the lid on, and then about 30 minutes with the lid off.
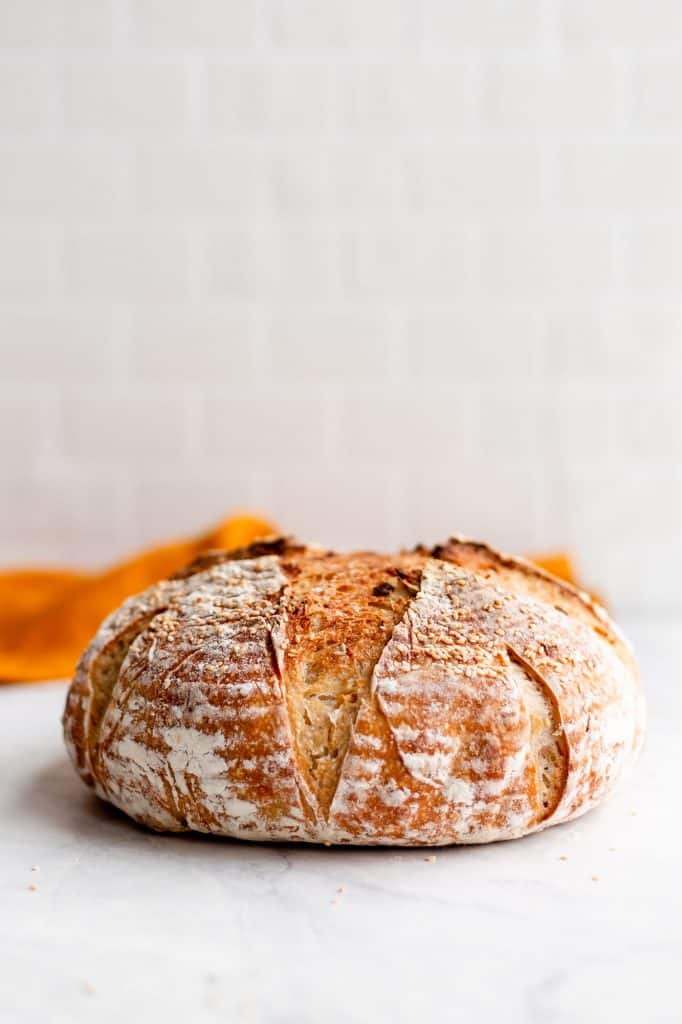
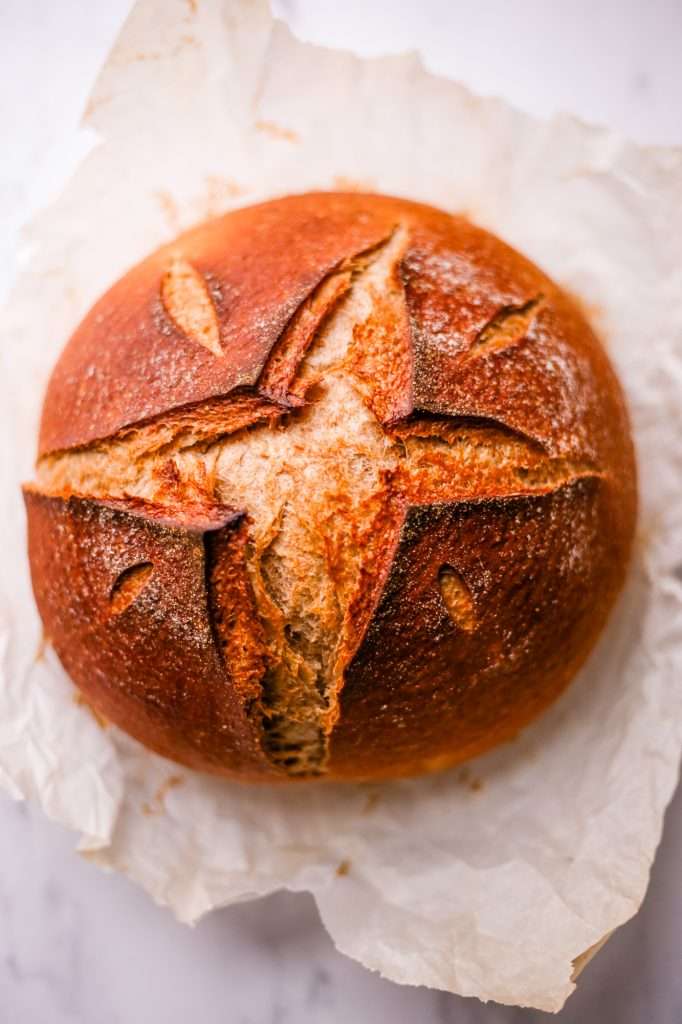
freshly baked golden brown sauerkraut bread, scored on the top in a t shape

Other Sourdough Bread Flavor Ideas

  • The Best Maple Pecan and Cinnamon Sourdough Bread Recipe
  • Sun-Dried Tomato and Herb Sourdough Bagels
  • Dutch Oven Sourdough Boule Recipe
Print
Sourdough

5 Stars 4 Stars 3 Stars 2 Stars 1 Star

5 from 1 review

No-Knead Sauerkraut Bread with Onion and Sourdough Starter

This no-knead sauerkraut bread with is made with onion and sourdough starter for the most amazing savory bread flavor! You just need a few ingredients and an active sourdough starter to make this delicious sauerkraut onion bread.

  • Prep: 15 minutes
  • Cook: 1 hour
  • Total Time: 8 hours 15 minutes

Ingredients

  • 480 Grams (4 Cups) Bread Flour 
  • 360 milliliters (1 1/2 Cups) Cool Water
  • 100 grams Sourdough Starter
  • 10 grams Sea Salt 
  • 3 tablespoons dried onion flakes
  • 1/2 cup sauerkraut, drained and chopped

Instructions

  1. It’s best to start the sourdough process before 9 am so you have enough time. Please check the notes section of this recipe for tips. 
  2. In a large bowl, combine all of the ingredients and mix with a fork until just combined. The dough should be together in one mass, but it will look shaggy and bumpy.  
  3. Let the dough rest for an hour. 
  4. Stretch and Fold 1: Using a spray bottle filled with water, mist your clean countertop. Wet your hands and wet the top of the dough ball with the spray bottle. Turn the dough out onto the wet counter surface. Scrape out the bowl and rinse the inside of the bowl really well. Leave the bowl wet. 
  5. Stretch and fold the dough. Stretch the top of the dough over the bottom, side over side, and bottom over top. Place the dough back in the bowl with the seam side down. Let the dough rest for 2 hours. 
  6. Stretch and Fold 2: Using a spray bottle filled with water, mist your clean countertop again. Wet your hands and wet the top of the dough ball with the spray bottle. Turn the dough out onto the wet counter surface.  Scrape out the bowl and rinse the inside of the bowl really well. Leave the bowl wet. 
  7. Stretch and fold the dough. Stretch the top of the dough over the bottom, side over side, and bottom over top. Place the dough back in the bowl with the seam side down. Let the dough rest for 2 hours. 
  8. Stretch and Fold 3: Using a spray bottle filled with water, mist your clean countertop again. Wet your hands and wet the top of the dough ball with the spray bottle. Turn the dough out onto the wet counter surface. Scrape out the bowl and rinse the inside of the bowl really well. Leave the bowl wet. 
  9. Stretch and fold the dough. Stretch the top of the dough over the bottom, side over side, and bottom over top. Place the dough back in the bowl with the seam side down. Let the dough rest for 2 hours. 
  10. Clean and dry the counter surface you’re working on. Sprinkle some flour on the surface of your counter and coat your hands in a bit of flour.
  11. Sprinkle flour on the top of the dough ball. Gently flip the dough out onto the floured surface so that it is seam side up, floured side down. 
  12. Pre-shape: Gently stretch out the dough, and fold it again. Fold side over side and top over bottom. Then flip the dough over so that the seam side is down on the counter. Tuck under any parts of the dough you need to form a nice circular shape.  Leave the dough on the counter,  sprinkle some flour on the top of the dough, and cover with a clean towel. 
  13. Let the dough rest for 1 hour. 
  14. Final Shape: Sprinkle a little more flour on the top of your pre-shaped dough and on the counter around the dough. With your hands coated in flour, flip the dough over so that the seam side is up again. 
  15. Gently stretch out the dough, and fold it again. Fold side over side and top over bottom. Then flip the dough over so that the seam side is down on the counter. Tuck under any parts of the dough you need to form a nice circular loaf shape. This is the final shaping so take your time with it. 
  16. Coat a proofing basket with flour. Be generous, as you do not want it to stick.  You can also use a bowl lined with a towel and a generous amount of flour. 
  17. Flour your hands and swiftly pick up and flip your dough into the basket. Smooth side down, seam side up. 
  18. Cover and place in the fridge overnight for 8-12 hours. 
  19. After 8-12 hours in the fridge, preheat your dutch oven with the lid, in your oven at 450° F. (see notes on temperature)
  20. Once your oven is preheated, carefully remove your dutch oven and place the lid to the side. *Don’t forget that the pot and the lid are both very hot!*
  21. Cut a large square of parchment paper and place it on the counter. Turn your dough out onto the paper so that the seam side is down and touching the parchment paper. 
  22. Score the dough using a very sharp knife or a scoring tool. 
  23. Picking up all four corners of the parchment paper, move your dough into the dutch oven. 
  24. Place the lid on the dutch oven and bake at 450° F for 30 minutes. 
  25. After baking covered, remove the lid and bake for another 30 minutes at 450° F. 
  26. Remove your finished loaf from the dutch oven and allow it to cool for at least 1 hour. 

Notes

  • The time you need to wait in between stretch and folds depends on the temperature in your house. If your house is above 75° F, you may be able to reduce the amount of time between stretch and folds to one hour. 
  • You can also speed up the time in between stretch and folds by using a bread proofer or heating pad near the dough. Just stretch and fold when the dough has risen a bit and relaxes out into the bottom of the bowl, and make sure you do at least three stretches and folds. Monitor the dough to make sure you do not over-proof. 
  • when flouring your proofing basket, it helps to use coarse flour such as rye, cornflour, or rice flour.
  • Depending on your oven, you can bake at a lower temperature. Some ovens run hotter than others. 
  • When baking with the dutch oven lid off, check every few minutes. Some ovens run hotter than others, so check to see when the loaf is golden brown. 

Did you make this recipe?

Please leave a 5-star review below if you loved it! Tag @cultured.guru on Instagram


Nutrition information is auto-calculated and estimated as close as possible. We are not responsible for any errors. We have tested the recipe for accuracy, but your results may vary.

author avatar
Kaitlynn Fenley Author, Educator, Food Microbiologist
Kaitlynn is a food microbiologist and fermentation expert teaching people how to ferment foods and drinks at home.
See Full Bio
fermentation food microbiology sourdough sauerkraut fermenting at home fermented foods fermented drinks
social network icon social network icon social network icon social network icon

welcome!

hey i’m kaitlynn, i’m a microbiologist and together with my husband jon we are cultured guru.

more about us

let’s connect!

newest recipe

Fermented Brussels Sprouts with Garlic and Toasted Pepper
Fermented Pickles

Fermented Brussels Sprouts with Garlic and Toasted Pepper

never miss a thing

learn more about microbes from a microbiologist
Loading

on pinterest

Instant Pot Vegan Chicken Noodle Soup
Sourdough Smores Cookies
High Protein Cottage Cheese Mac and Cheese
Sourdough & Miso Chicolate Chip Cookies
Sourdough Dinner Rolls
Homemade Cottage Cheese

top rated recipes

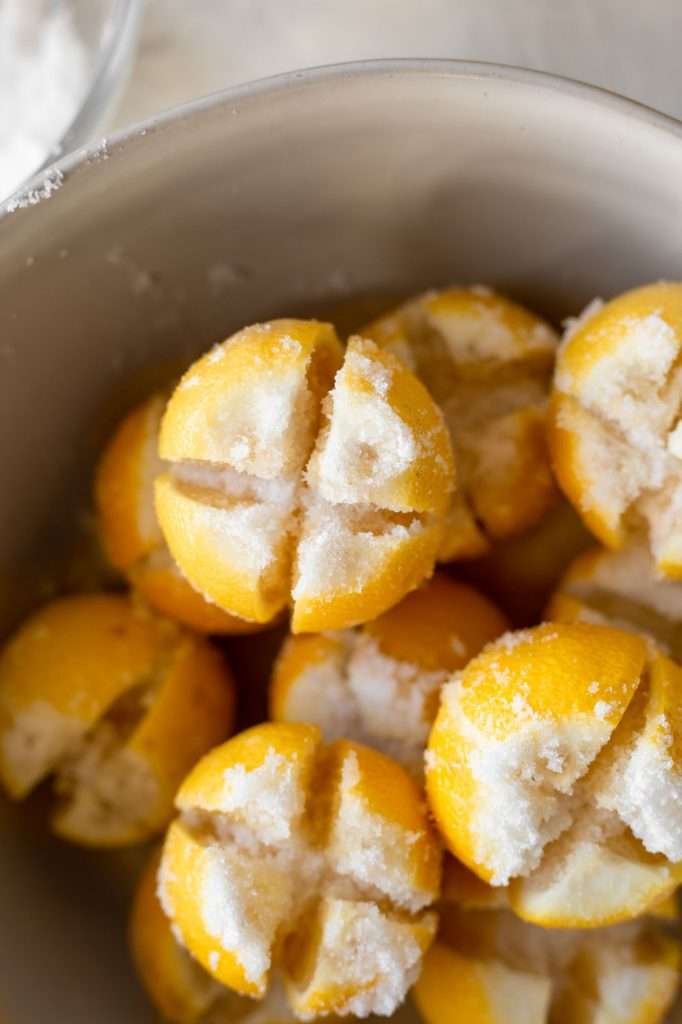
How to Make Moroccan Preserved Lemons with Sea Salt
Fruits & Roots

How to Make Moroccan Preserved Lemons with Sea Salt

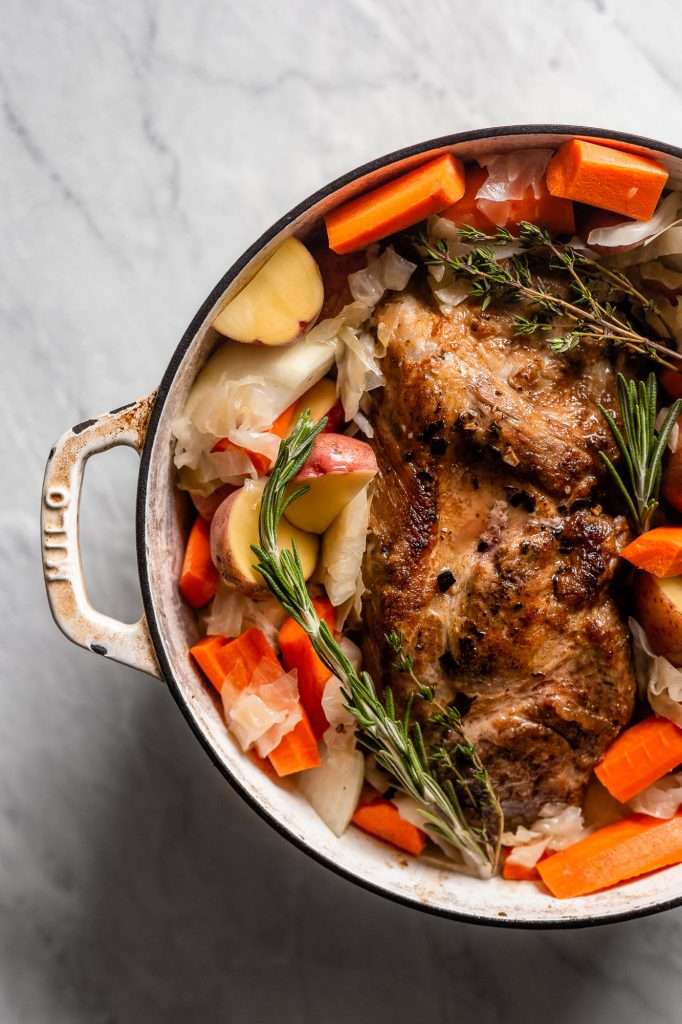
Slow Cooked Pork Roast with Sauerkraut Potatoes and Carrots
Protein

Slow Cooked Pork Roast with Sauerkraut Potatoes and Carrots

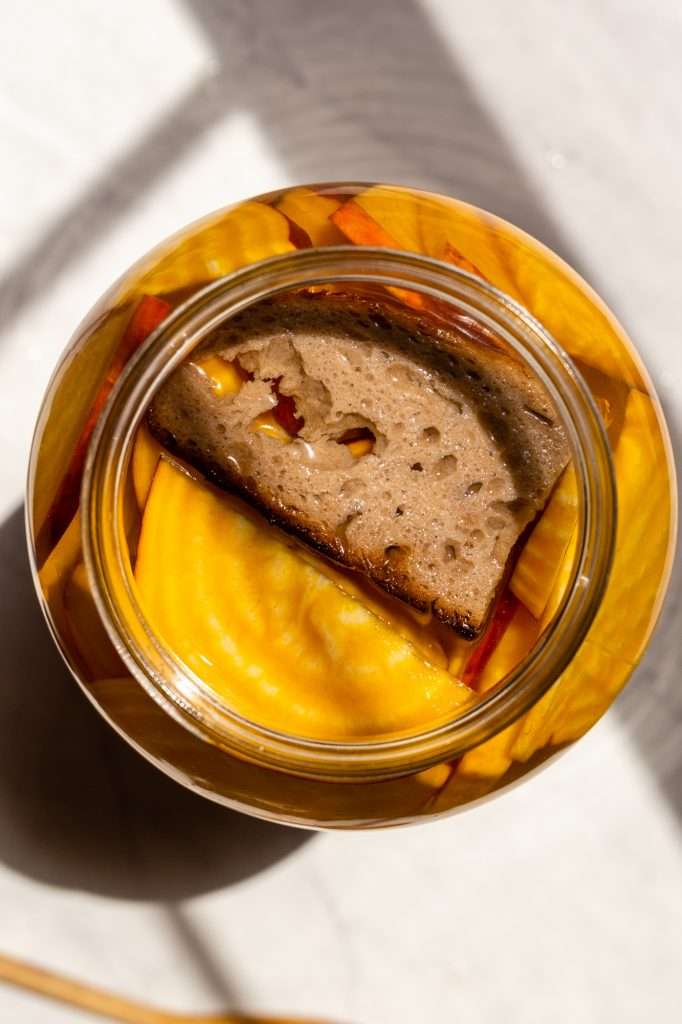
Sparkling Golden Beet Kvass Made the Traditional Way
Beverage Fermentation

Sparkling Golden Beet Kvass Made the Traditional Way

learn more

Understand microbes and master fermentation with our online courses!

learn

rate and review
We would love to hear what you think!
Cancel reply

Your email address will not be published. Required fields are marked *

Recipe rating 5 Stars 4 Stars 3 Stars 2 Stars 1 Star

  1. Babz
    04|14|2022

    Have you ever substituted rye flour for some of the bread flour? I think this would be a great bread for Reuben sandwiches and would like more rye flavor. Thank you.

    Reply
    1. Kaitlynn Fenley
      04|14|2022

      I have, and it works well! Just substitute up to 1/3 of the bread flour with rye flour.

      Reply
  2. Diane Varholak
    09|29|2024

    Tried this recipe. Turned out great! Next time I will add caraway seeds and rye flour as suggested.

    Reply

you may also like

Thanksgiving
Sourdough View Recipe

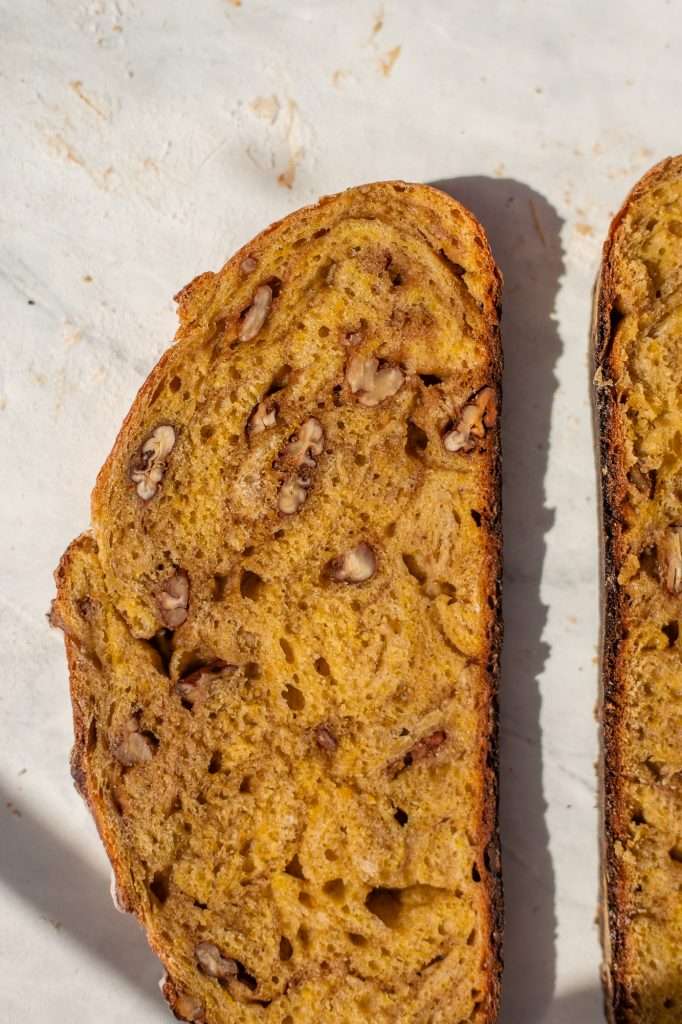
Sweet Sourdough Pumpkin Bread With Cinnamon and Pecans

Top Rated
Sourdough View Recipe

The Best Sourdough Cinnamon Bread with Maple and Pecans

Beginner Friendly
Sourdough View Recipe

Whole Wheat Sourdough Bread Recipe Without Starter

join us on insta

@cultured.guru

Yes, they smell like farts. YES you should still m Yes, they smell like farts. YES you should still make them, because the fart smell is a really good indicator that the microbes are making the beneficial compounds in the Brussels sprouts more bioavailable. ✨🫧

Get the recipe on my website https://cultured.guru
is this rage bait? 🤠 #kombucha is this rage bait? 🤠

#kombucha
I decided to try using my sourdough discard with t I decided to try using my sourdough discard with this packaged brownie mix and left over s’mores stuff from our latest camping trip!

Sourdough starter makes brownies a little more cake-like, so I had to up the fats in the recipe a bit to keep them moist and used a combo of brown butter and oil. 

Get the recipe for these moist cakey sourdough s’mores brownies on my website, and let me know if you try it!

My recipe index is linked in my bio. https://cultured.guru/blog/brown-butter-sourdough-smores-brownies-from-box-mix
Fermented garlic honey, and I make mine as an oxym Fermented garlic honey, and I make mine as an oxymel 

🍯✨🫧🧄 the recipe is on my website!
https://cultured.guru

Many historical texts mention the use of both garlic and honey in traditional medicine. Still, none explicitly describe the modern method of combining only these two ingredients and leaving them to ferment. In all my readings on fermentation history, I’ve never come across any historical descriptions of fermented garlic honey, made with only garlic and honey.

However, I did come across many accounts of over 1,200 types of oxymel in Ancient Greece and Persia, many of which include garlic.The ancient Greeks and Persians used oxymels to extract and preserve potent herbs, including garlic. Oxymel is an ancient preparation, and Hippocrates wrote records about its benefits around 400 B.C.E. in On Regimen in Acute Diseases.

The thing to note here is that oxymel uses a combination of honey and raw vinegar.

When we make fermented garlic honey as an oxymel, the pH starts at a safe acidity and remains at a safe acidity (below 4.6). This is because the microbes in raw vinegar (or raw kombucha) ensure the honey is metabolized into more acids. These microbes “eat” sugars similarly to the way they do when making kombucha, wild mead, and vinegar. When we add raw vinegar or raw kombucha to a garlic honey oxymel, we are guaranteeing the presence of many acid-producing microbes that keep the mixture acidic and safe.

PSA: I’m not saying that your garlic honey made without raw vinegar is destined to have botulism. But I am saying without raw vinegar/kombucha it is a concern, and it can happen. I am saying that I’m not comfortable making it without raw vinegar/kombucha. 

I have compiled all my thoughts on garlic honey and botulism in the blog post, linked in my bio! You can also type “cultured.guru” right into your web browser and the recipe blog is on my homepage. 

#garlic #honey
Oxymel is a medicinal herbal elixir, made through Oxymel is a medicinal herbal elixir, made through the fermentation of herbs in honey and raw vinegar. 

It’s my favorite time-tested herbal remedy that’s over 2,400 years old. It originated in ancient Greece and Persia, where it was considered a gift from the gods.

Hippocrates, the famous ancient Greek physician, was a staunch advocate of oxymel and incorporated it into his medical practices. Depending on the herbs used to make it, oxymel can help with many ailments and improve health in various ways!

In a world where everyone is asking AI, I set out to learn about the best herbal combinations from real, practiced experts in herbalism.

I felt so much joy collaborating with these herbalists @openspace.center @karlytheherbalist @lilianaruizhealy and @the.brettivy to recommend the best medicinal herb combinations in this recipe!

You can get my oxymel recipe from the link in my bio!
Okay, fine, it’s not the only reason, but it’s Okay, fine, it’s not the only reason, but it’s a reaallllyy good reason to buy another pumpkin!

My new sourdough pumpkin bagel recipe is up on our blog!
https://cultured.guru

these roasted pumpkin bagels can be made savory or sweet! Both options are included in the recipe and are perfect for fall sourdough baking. 

The savory is a pumpkin, parmesan, onion (leek) flavor, and the sweet is a cinnamon brown sugar pumpkin flavor! ✨

You can also choose to use active starter or discard with yeast. It’s up to you! 

Let me know if you try baking these this weekend! 🍂🎃🥯
#bagels #pumpkin
Flower Icon
LEARN ABOUT MICROBES FROM A MICROBIOLoGIST
Loading

recipes

  • Sourdough
  • Sauerkraut
  • Yogurt & Kefir
  • Pickles
  • Sweets & Snacks

more

  • Start Here
  • About
  • Learn
  • Shop
  • Contact

social

  • TikTokVisit Cultured Guru TikTok Account
  • InstagramCultured Guru Instagram Account
  • PinterestVisit Cultured Guru’s Pinterest Account
  • FacebookVisit Cultured Guru’s Facebook page
  • Privacy & Terms
Footer Logo
Footer tagline
copyright

©2025

Cultured Guru

.

website by saevil row + MTT. all rights reserved.