Sourdough Bread No Starter
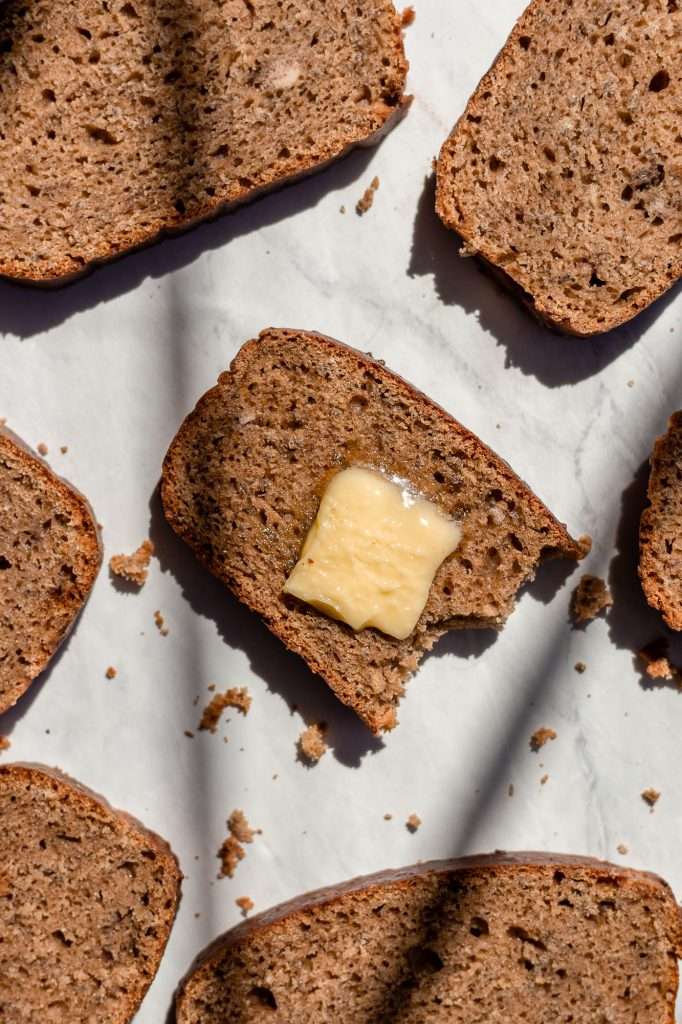
Sourdough bread, no starter, is a controversial way to start a conversation about sourdough bread. lol. But. I’ve developed a great sourdough bread recipe without starter, that is still fermented and uses all natural ingredients.
Making sourdough bread without a traditional starter might seem counterintuitive, given that the essence of sourdough baking is usually all about wild yeast and bacteria. However, there are several reasons why someone might opt for this approach:
- Convenience: Cultivating and maintaining a sourdough starter requires time, attention, and commitment that only some can or want to provide. Alternatives like instant yeast combined with yogurt or other acidic ingredients can simulate sourdough flavors without a starter, making the process more accessible.
- Impromptu Baking: The desire to bake sourdough bread on a whim without having a starter ready or on hand can lead bakers to seek alternative methods. These methods allow for the enjoyment of bread with a similar tangy flavor profile without the days-long preparation.
- Experimentation: Bakers interested in exploring different flavors and textures might experiment with sourdough-style recipes that don’t require a starter. This experimentation can lead to unique bread variations that are not achievable with traditional sourdough methods.
- Educational Purposes: For beginners, starting with a simplified version of sourdough bread can serve as an educational bridge to more traditional methods. It allows them to get comfortable with bread baking before diving into the complexities of starter management.
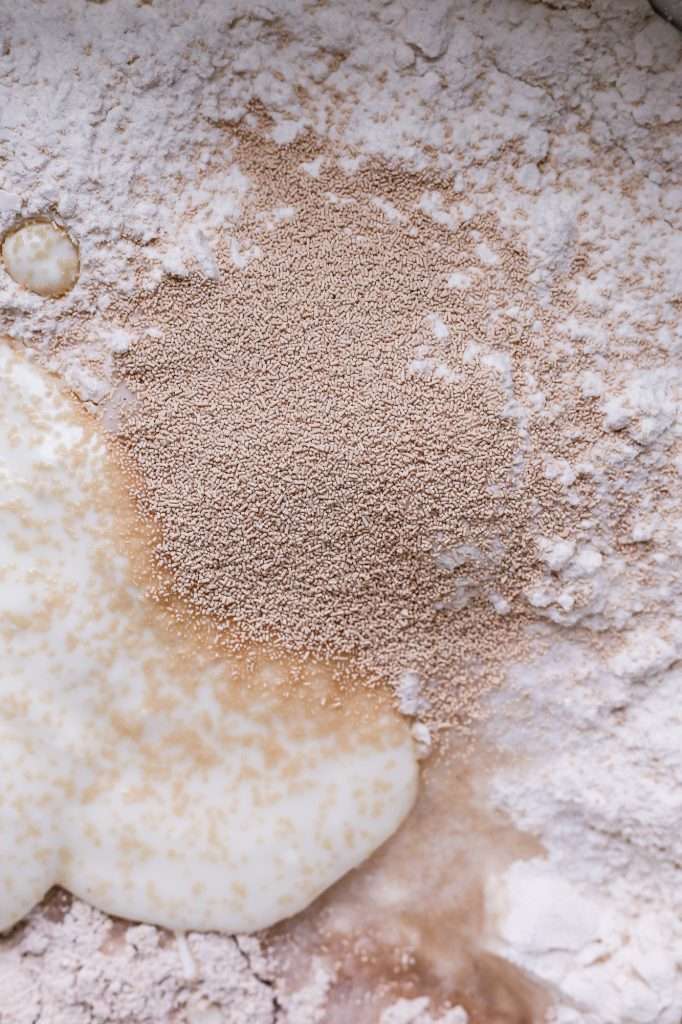
My Sourdough Bread Recipe Without Starter
Using yogurt and instant yeast as alternatives to a traditional sourdough starter can be an effective and convenient method for achieving bread with some sourdough characteristics without the complexities of maintaining a live starter.
Here’s how these ingredients work as substitutes:
- Instant Yeast for Leavening: Instant yeast provides a reliable and quick source of leavening. Unlike a sourdough starter, which requires regular feeding and can take several days to develop enough leavening power for baking, instant yeast can leaven dough in hours. This makes the bread-making process faster and more predictable, appealing to those with less time or patience for traditional sourdough methods.
- Yogurt for Acidity and Flavor: One of the hallmark traits of sourdough bread is its tangy flavor due to the lactic acid produced by lactobacilli in the sourdough culture. Yogurt, fermented with similar lactobacilli strains, can impart a tangy flavor reminiscent of sourdough bread. The acidity from yogurt not only adds sourdough-like flavor but also improves the texture of the bread, strengthening the gluten network for a better crumb structure. Moreover, the acidity can act as a natural preservative, extending the bread’s shelf life.
- Combining for Complexity: While instant yeast and yogurt don’t replicate the full complexity and depth of flavor in a bread made with a mature sourdough starter, they offer a practical compromise. The yeast ensures a good rise and a light, airy texture, while the yogurt contributes a subtle sourness and complexity to the flavor profile that would be missing with yeast alone.

Ingredients for this Sourdough Bread Recipe without Starter
Here is everything you need to make this recipe:
- 300 g water (or yogurt whey)
- 350 g bread flour
- 200 g whole wheat flour
- 10 g sea salt
- 20 g sugar
- 150 g thick greek yogurt
- 1 packet of instant yeast
Some notes on ingredients:
- Flour: I use bread flour and sprouted rye, but any whole wheat flour will work. Organic flour is best.
- Water: You can use tap water to bake bread; I do. But if you prefer bottled or filtered, that works too!
- Salt: Unrefined sea salt, please! Just make sure your sea salt is unrefined and free from anti-caking agents.
Bread Baking Supplies
Spray Bottle Filled with Fresh Water: This is a must-have for stretching and folding the dough. (see the section below) Dutch oven: a 6-quart Dutch oven with a lid works best for this recipe. (see more details on the size below) Proofing Basket: You can use a proofing basket like this one or a bowl with a tea towel coated in flour.
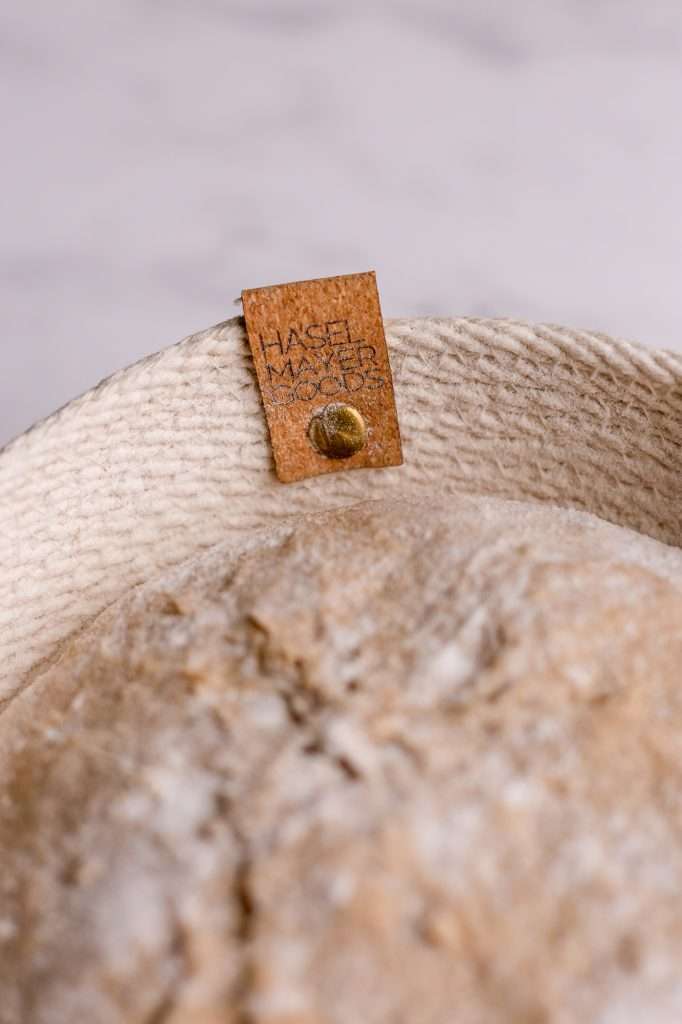
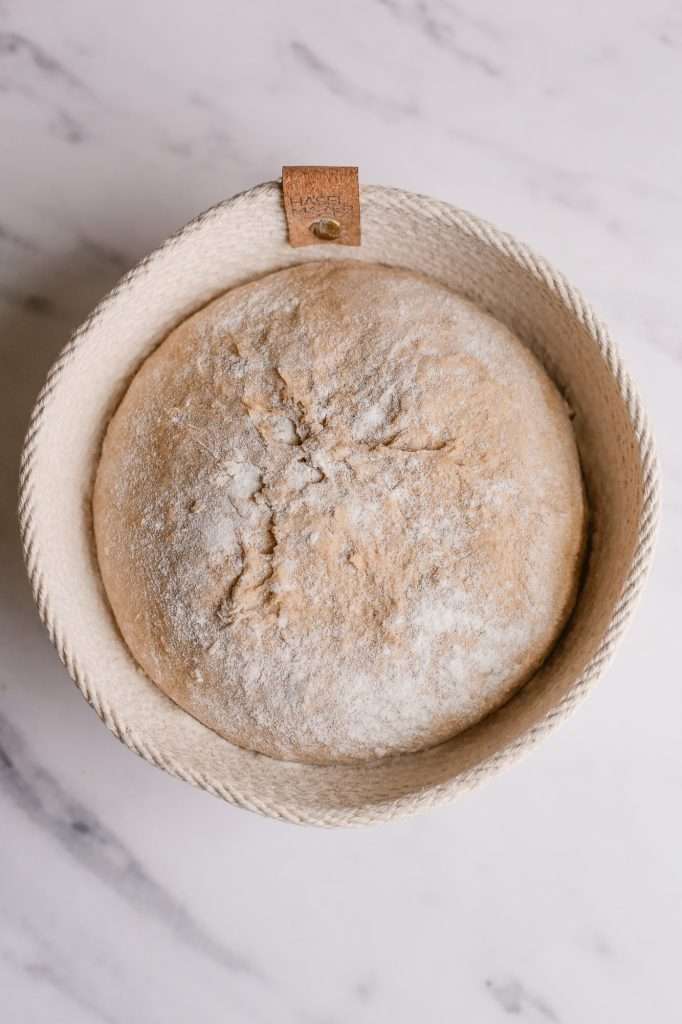
I recently started using the small proofing basket from Haslemayer Goods, and I love it! Since it’s smaller, it gives my bread a fantastic dome shape.
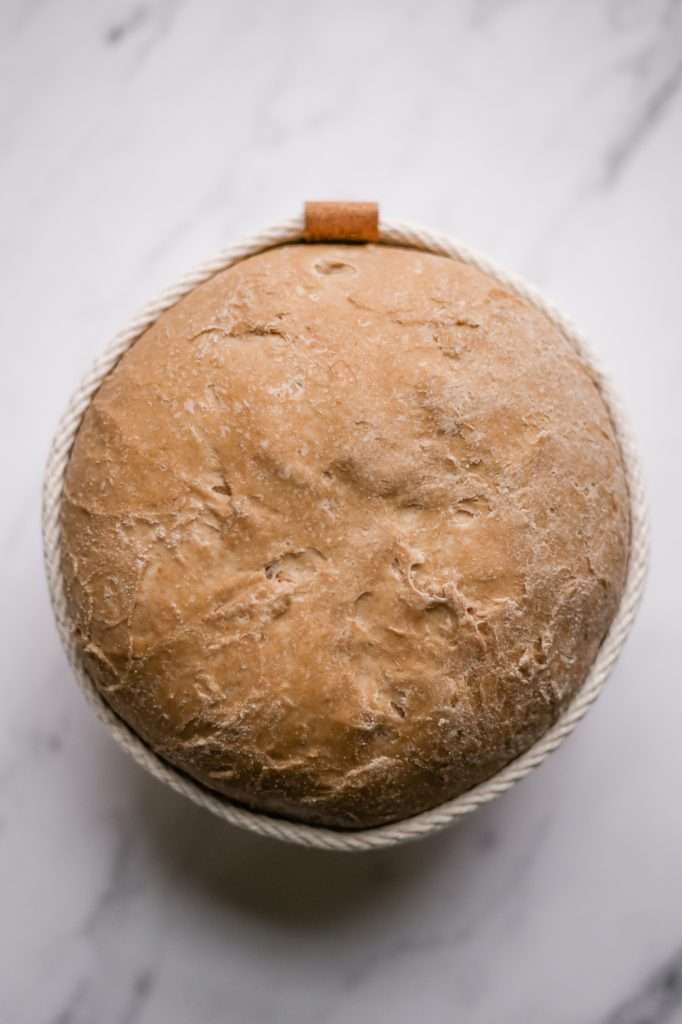
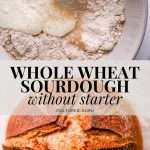
Whole Wheat Sourdough Bread, No Starter
This sourdough bread recipe without starter particularly appeals to those looking to dip their toes into bread baking. It’s perfect for anyone seeking to bake bread without having to commit to a sourdough starter.
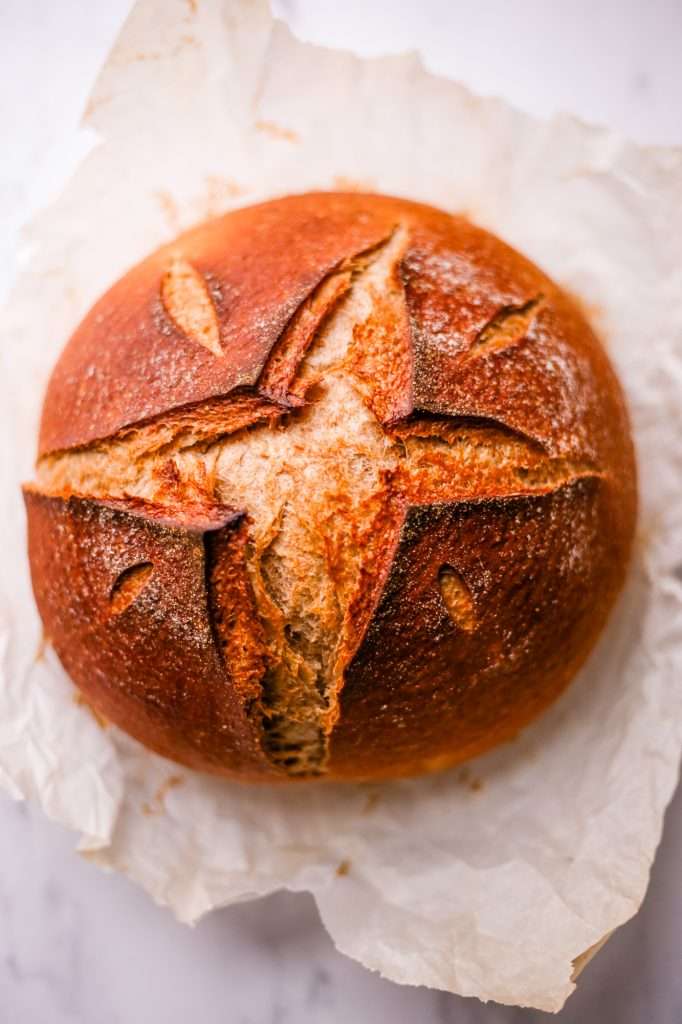

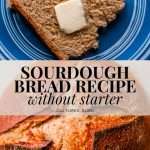
Whole Wheat Sourdough Bread Recipe Without Starter
Achieve classic sourdough texture and tang using instant yeast and yogurt. This sourdough bread recipe without starter is perfect for beginners!
- Prep: 30 minutes
- Cook: 1 hour
- Total Time: 4 hours 30 minutes
Ingredients
- 300 g water (or yogurt whey)
- 350 g bread flour
- 200 g whole wheat flour
- 10 g sea salt
- 20 g sugar
- 150 g thick greek yogurt
- 1 packet instant yeast
Instructions
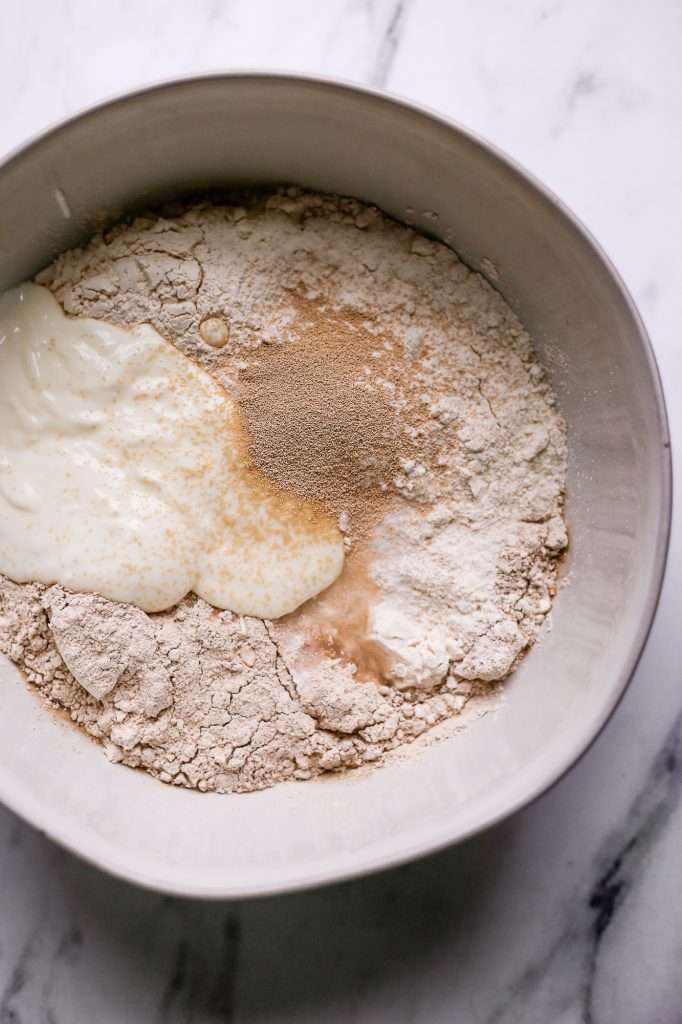
- In a large bowl, combine the yogurt, water, sugar, and instant yeast. Let it sit for about 10 minutes.
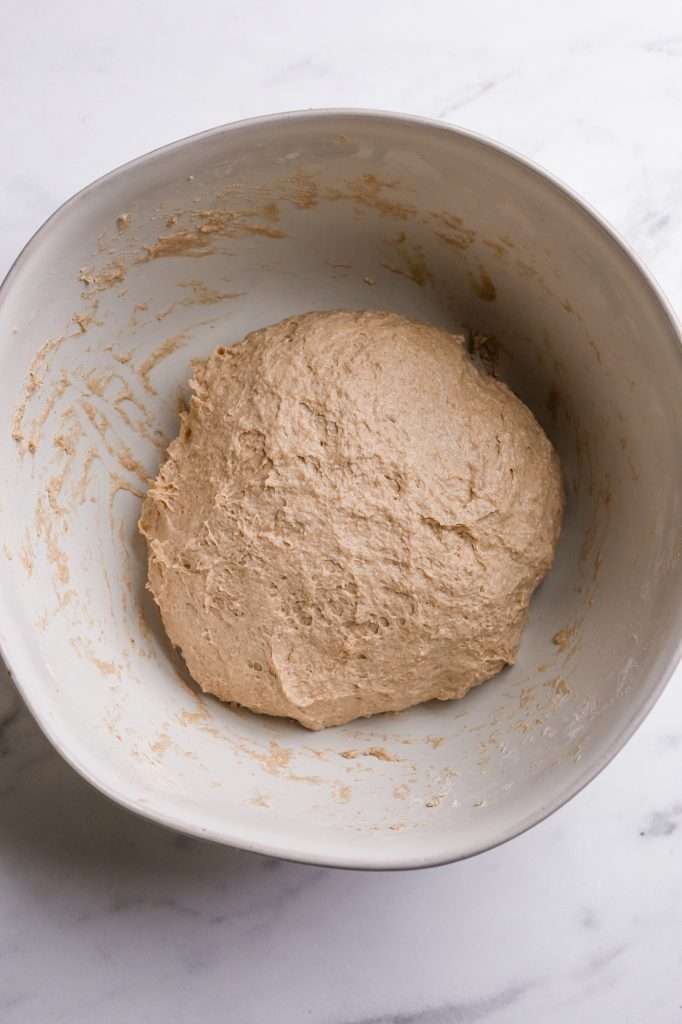
- Add the flour and salt, then knead the ingredients together until a uniform dough ball forms.(kneading for 5-10 minutes)
- Let the dough rest and rise for 1 hour.
- Using a spray bottle filled with water, mist your clean countertop. Wet your hands and wet the top of the dough ball with the spray bottle. Turn the dough out onto the wet counter surface. Scrape out the bowl and rinse the inside of the bowl really well. Leave the bowl wet.
- Stretch and fold the dough. Stretch the top of the dough over the bottom, side over side, and bottom over top.
- Place the dough back in the bowl with the seam side down. Let the dough rest and rise for another hour or two until it doubles in size.
- Clean and dry the counter surface you’re working on. Sprinkle some flour on the surface of your counter and coat your hands in a bit of flour.
- Punch the dough down and flip the dough out onto the floured surface.
- Shape: Gently stretch out the dough, and fold it again. Fold side over side and top over bottom. Then flip the dough over so that the seam side is down on the counter. Tuck under any parts of the dough you need to form a nice circular shape.
- Coat a proofing basket with flour and bread toppings (optional). You can also use a bowl lined with a towel and a generous amount of flour.
- Flour your hands and swiftly pick up and flip your dough into the basket. Smooth side down, seam side up.
- Place in the fridge overnight for 8-12 hours.
- After the 8-12 hours in the fridge, preheat your dutch oven with the lid, in your oven at 450 degrees F.
- Once your oven is preheated, carefully remove your dutch oven and place the lid to the side. *Don’t forget that it’s very hot!*
- Cut a large square of parchment paper and place it on the counter. Turn your dough out onto the paper so that the seam side is down and touching the parchment paper.
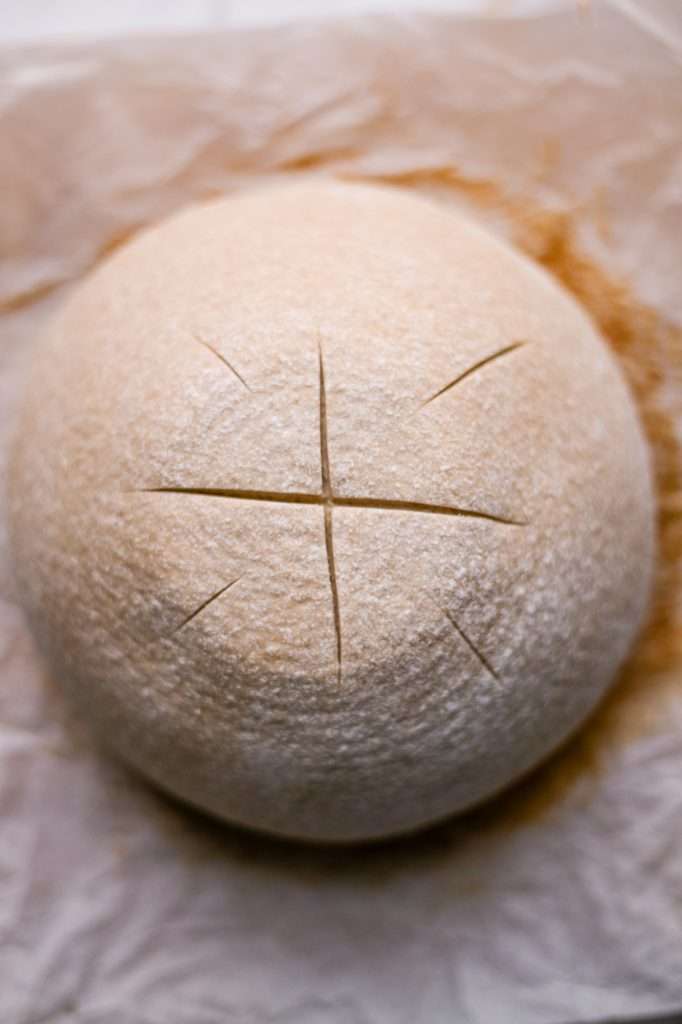
- Score the dough using a very sharp knife or a scoring tool.
- Picking up all four corners of the parchment paper, move your dough into the dutch oven.
- Place the lid on the dutch oven and bake at 450 F for 30 minutes.
- After baking covered, remove the lid and bake for another 20-30 minutes at 450 F.
- Remove your finished loaf from the dutch oven and allow it to cool for at least 1 hour.
Notes
Measurements in cups and teaspoons are approximate since ingredient densities can vary slightly. For baking, sticking to grams is more accurate for consistent results! Here are the approximate volumetric conversions:
- 300 g water (or yogurt whey) = 1 1/4 cups
- 350 g bread flour = 2 3/4 cups
- 200 g whole wheat flour = 1 3/4 cups
- 10 g sea salt = 1-2 teaspoons
- 20 g sugar = 1 1/2 tablespoons
- 150 g thick Greek yogurt = 2/3 cup
- 1 packet instant yeast = 2 1/4 teaspoons









Any possible chance of a vegan option by using one of the non-dairy yogurts vs the Greek? It sounds like a great recipe, it’s just we have folks that avoid dairy. Thanks!
I think evenly substituting for vegan yogurt should work great!
Made this as my first loaf of bread ever and it turned out wonderfully! Thanks for the simple and clear instructions!
I would like to make this sour dough recipe using yogurt but I was wondering if you have it in cups & teaspoon measure. Sorry I get confused sometimes. Thx
Hey Debbie! Here are the conversions for you. I also added them to the recipe notes! 🙂
Measurements in cups and teaspoons are approximate since ingredient densities can vary slightly.
300 g water (or yogurt whey) = 1 1/4 cups
350 g bread flour = 2 3/4 cups
200 g whole wheat flour = 1 3/4 cups
10 g sea salt = 1 3/4 teaspoons
20 g sugar = 1 1/2 tablespoons
150 g thick Greek yogurt = 2/3 cup
1 packet instant yeast = 2 1/4 teaspoons
Do I cover dough when in fridge ?
once it’s in the proofing basket, you don’t need to cover it.
Can I make this in a bread machine?
not sure! I haven’t tested it in a bread machine.
From what I looked at on this whole wheat sourdough bread recipe, can it be made in a bread machine?
I think this will work in a bread machine! But I haven’t tested it so idk for sure!
decent loaf. the taste was similar to sourdough, but definitely distinct. I divided this down to six fist sized rolls, and letting it cook for 50-60 minutes is way too long. this may be because I didn’t have multiple smaller dutch ovens. Instead I filled the oven with steam and put a breadpan full of boiling water in the bottom of the oven. (and removed it after the 30 mins). the crust was so hard that i tried to pierce it with the heel of my cleaver and it bounced. the inside was gorgeous though, and the crust was still edible, surprisingly. very nice. Next time I’d probably cook it for 10 minutes after taking out the steam (or removing the dutch oven lid). In spite of the questionable first result I think this’ll be going in my list of recipies