Sourdough Cinnamon Bread with Maple and Pecans
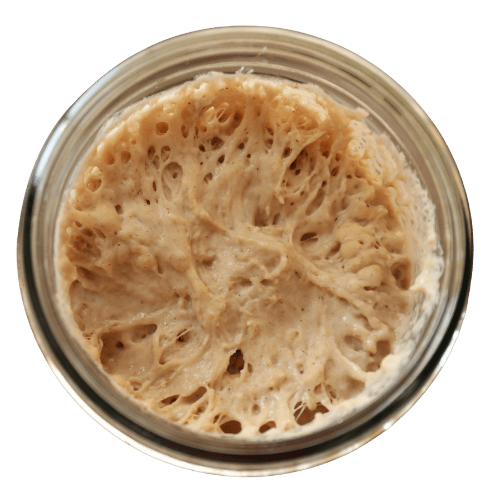
- Sourdough Starter: We have an easy sourdough starter recipe HERE. You’ll need to start this 7 days before baking, or 2 days before baking if you use our quick recipe option! I like to feed my starter 100% rye flour, or a 50/50 rye all-purpose mix.
- Flour: For my dutch oven sourdough boule I use bread flour or unbleached all-purpose.
- Water: You can use tap water to bake bread, I do. But if you prefer bottled or filtered, that works too!
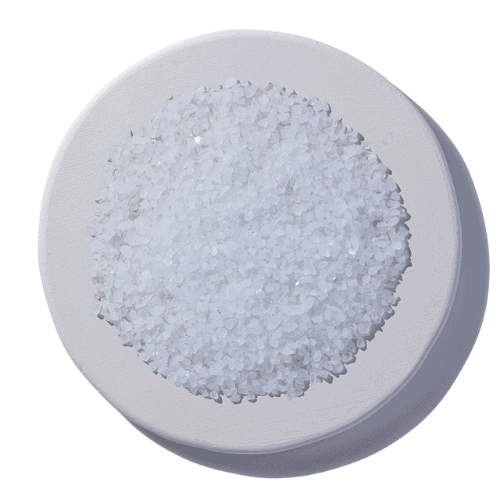
- Salt: Unrefined sea salt, please! Just make sure your sea salt is unrefined and free from anticaking agents.
- Spray Bottle Filled with Fresh Water: This is a must-have for stretching and folding the dough. (see the section below)
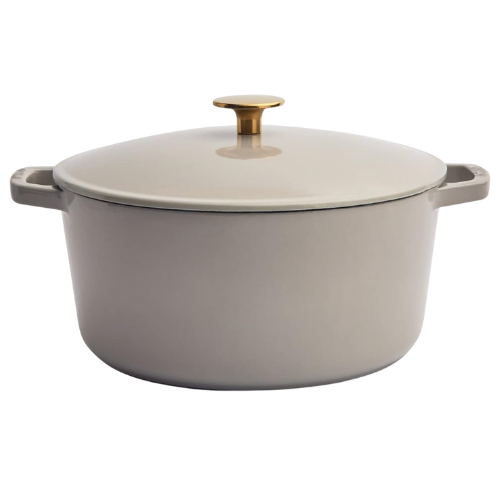
- Dutch Oven: a 6-quart dutch oven with a lid works best for this recipe.
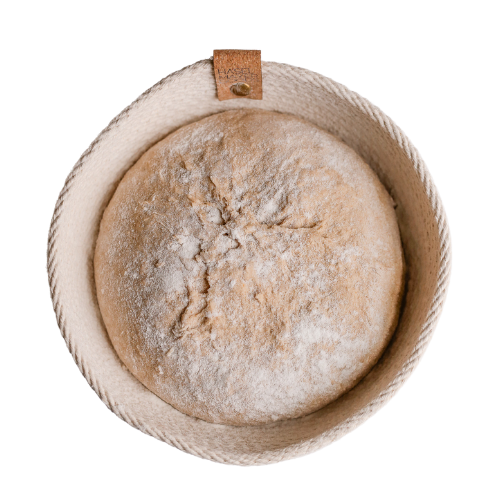
- Proofing Basket: You can use a proofing basket like this one, or you can use a bowl with a tea towel coated in flour.
- Cinnamon and Pecans: This is the filling for this flavorful sourdough! For a sweeter bread you can incorporate some organic sugar with the cinnamon and pecans.
- Maple Syrup: I incorporate Maple syrup into this dough to give it a slightly sweet flavor. I think dark maple syrup is the best.
Things You May Need:
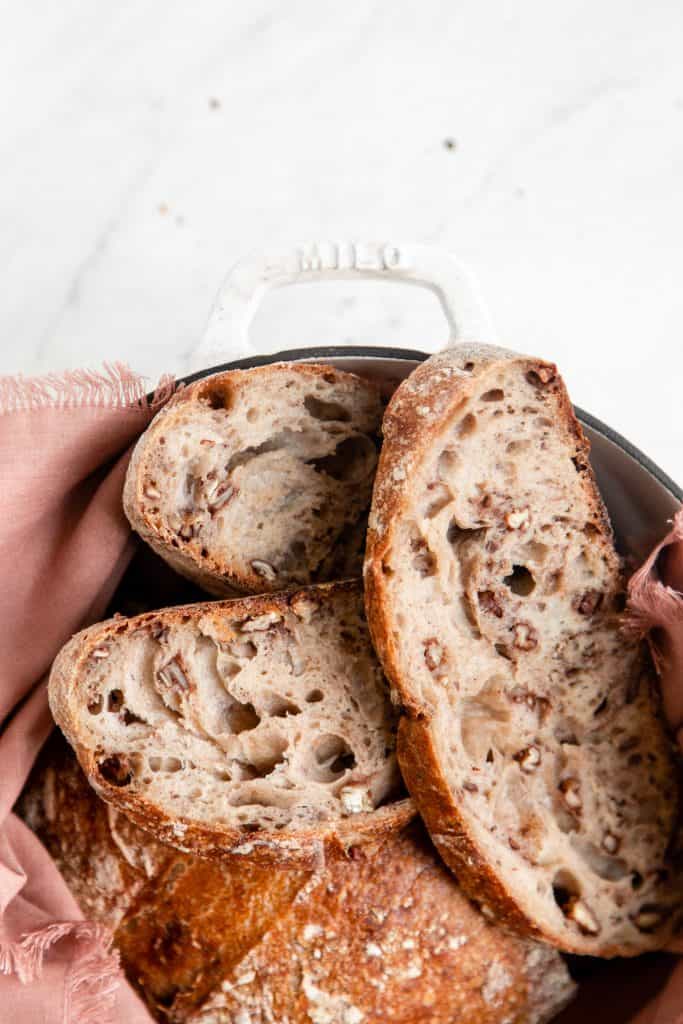
The Hardest Step to Sourdough Cinnamon Bread with Maple and Pecans
The hardest step to making this cinnamon pecan sourdough is the stretching and folding, and incorporating the pecans and cinnamon. It takes patience and a gentle touch.
I have three main rules for stretching and folding my sourdough loaves:
- Don’t use a floured surface. To stretch and fold you have to turn the dough out onto a clean surface. Some people suggest sprinkling flour on the surface but DO NOT. Get yourself a little spray bottle and fill it with fresh water. Spray your surface and hands with water before turning the dough out on the surface. This prevents sticking without making the dough dense with too much flour. The more hydrated your dough, the greater the rise will be.
- Make sure you adjust the time with the temperature. The time you need to wait in between stretch and folds depends on the temperature in your house. If your house is above 75° F, you may be able to reduce the amount of time between stretch and folds to one hour.
- Do at least three wet surface stretch and folds in a 6-hour span. You can do a stretch and fold every hour for six stretches and folds total, or every two hours for three stretch and folds minimum.
- Add in the cinnamon and pecans on the first stretch and fold: I wait until the first stretch and fold before incorporating the cinnamon and pecans. This helps the gluten build up a bit before adding things like pecans that can tear the dough.
To add fillings to sourdough, you need wet your counter and gently stretch the dough out without breaking the dough.
Then, you will carefully spread half the filling over the dough before you roll it up into the dough and fold the sides in over each other for the stretch and fold.
Then you will knead the dough again. It will get sticky, and some ingredients may tear through the dough, but that’s okay.
Here is a great video from my favorite baker on youtube, Bake with Jack, to help you learn how to incorporate fillings without breaking the dough. CLICK HERE. For more bread mix-in ideas, visit this blog post from That Sourdough Gal!
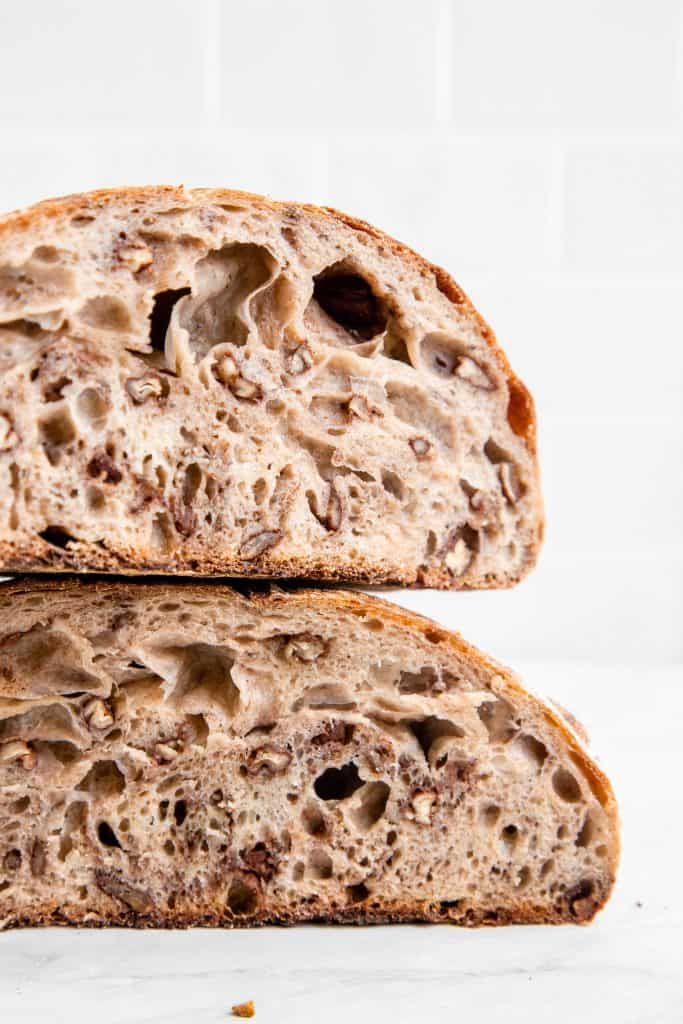
What Makes Sourdough More Digestible?
Sourdough is the oldest form of bread. Experts say the bread originated in Egypt long ago… as in 1,500 BC. Since commercial yeasts were obviously unavailable back then, bread products had to be naturally leavened using wild yeasts.
Wild yeasts are captured in a sourdough starter along with flavor-developing microorganisms, like lactic acid bacteria. When I say “captured,” I mean they come from the flour you use to make it.
The wild yeats are significantly more acid-tolerant than packages of baker’s yeast. So the yeasts in sourdough are still very active and able to produce carbon dioxide to make the bread rise even when they’re in the presence of acid-producing bacteria.
Visit our sourdough starter blog to learn more about the microbiology of sourdough starters.
Since sourdough ferments during a longer rise time than traditional bread, it’s much easier to digest and more flavorful.
The flavor comes from the wild yeasts and bacteria metabolizing the sugars in the dough during the long rise times and producing acids as byproducts. This is also why the bread is easier to digest! Essentially the microorganisms do some of the digesting for you in this sourdough bread recipe.

Sourdough Cinnamon Bread Nutrition
Sourdough bread is made out of flour, just like regular bread. However, the fermentation process makes the nutritional components of the flour more bioavailable.
Lactic acid bacteria in sourdough starters are able to reduce phytic acid, the compound that can prevent nutrient absorption in regular bread. Without the phytic acid, binding to the minerals, you can absorb more potassium, phosphate, magnesium, folate, and zinc from the bread.
Those amazing little lactic acid bacteria also produce antioxidant compounds (postbiotics) and SCFAs (short-chain fatty acids) during the fermentation process. Aren’t lactic acid bacteria awesome?!
Since we use cinnamon and pecans in this sourdough recipes, there’s even more variety of nutritional benefits. Pecans provide healthy fats and fiber and cinnamon is a natural anti-inflammatory spice.
Sourdough Starter Problems?
Do you want to make this recipe but struggle with your starter? CLICK HERE for our blog on The Most Common Sourdough Starter Problems and How to Fix Them.
More Sourdough Recipes to Try
Print
The Best Sourdough Cinnamon Bread with Maple and Pecans
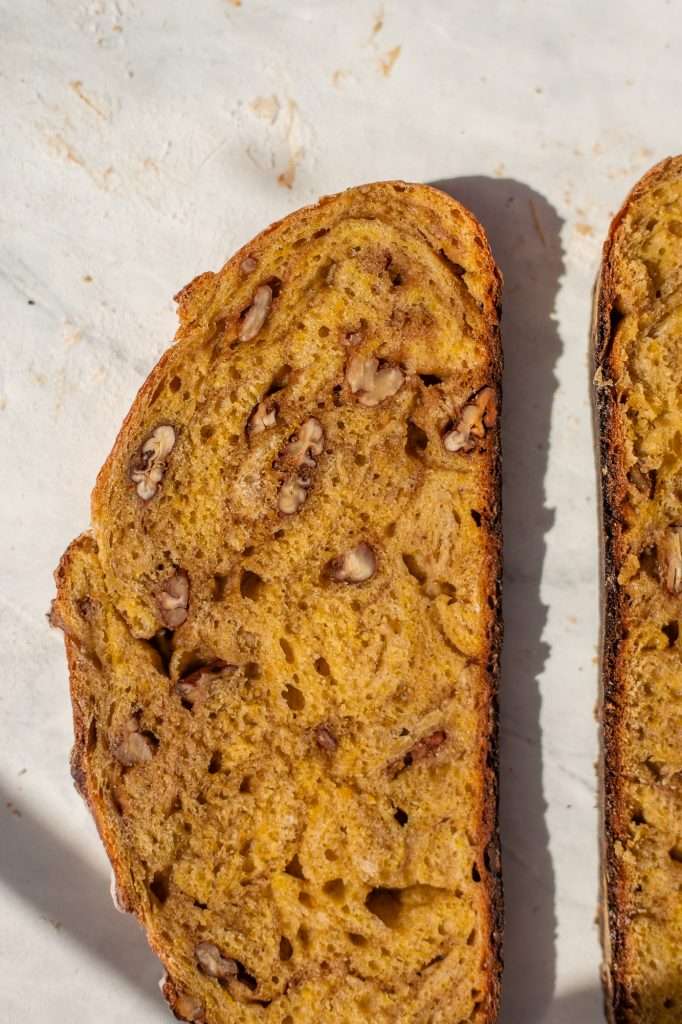
This recipe is perfect for beginners and perfect for fall! I love making this nutty, spiced maple pecan sourdough cinnamon bread all through autumn and winter. This recipe is for a slightly sweet, cinnamon pecan sourdough loaf baked in a dutch oven.
- Prep: 20 minutes
- Cook: 1 hour
- Total Time: 7 hours 20 minutes
Ingredients
- 500 Grams Organic Bread Flour
- 300 grams Cool Water
- 100 grams Sourdough Starter
- 10 grams Sea Salt
- 2 Tablespoons Maple Syrup
- 2–3 Tablespoons Pecans, Crushed
- 1 Tablespoon Cinnamon
Instructions
- It’s best to start the sourdough process before 9 am so you have enough time. Please check the notes section of this recipe for tips.
- In a large bowl, combine the starter, flour, maple syrup, and water.
- Knead the ingredients together until a uniform dough ball forms.
- Let the dough rest for 45 minutes.
- Wet your hands, and spray the dough with your water bottle. Sprinkle the salt over the dough, then knead it into the dough. Let rest for 30 more minutes.
- Using a spray bottle filled with water, mist your clean countertop. Wet your hands and wet the top of the dough ball with the spray bottle. Turn the dough out onto the wet counter surface. Scrape out the bowl and rinse the inside of the bowl really well. Leave the bowl wet.
- Stretch and fold the dough. Stretch the top of the dough over the bottom, side over side, and bottom over top. Place the dough back in the bowl with the seam side down. Let the dough rest for 30 minutes.
- Stretch and Fold 1 + adding the pecans: Using a spray bottle filled with water, mist your clean countertop again. Wet your hands and wet the top of the dough ball with the spray bottle. Turn the dough out onto the wet counter surface. Scrape out the bowl and rinse the inside of the bowl really well. Leave the bowl wet.
- Stretch out the dough into a rectangle, but be gentle and do not break or tear it. Sprinkle the dough with cinnamon and pecans. For a sweeter loaf, you can also sprinkle a bit of granulated sugar.
- Fold the ingredients into the dough, fold the top of the dough over the bottom, side over side, and bottom over top. Then you will knead the dough again, knead it until it is mostly smooth and the pecans are evenly distributed through the dough. It will get sticky and some pecans may tear through the dough, that’s okay. (Please watch the video linked in the blog post if you need more guidance).
- Repeat another stretch and fold then place the dough back in the bowl with the seam side down. Let the dough rest for 1 to 2 hours.
- Stretch and Fold 2: Using a spray bottle filled with water, mist your clean countertop again. Wet your hands and wet the top of the dough ball with the spray bottle. Turn the dough out onto the wet counter surface. Scrape out the bowl and rinse the inside of the bowl really well. Leave the bowl wet.
- Stretch and fold the dough. Stretch the top of the dough over the bottom, side over side, and bottom over top. Place the dough back in the bowl with the seam side down. Let the dough rest for 2 hours.
- Stretch and Fold 3: Using a spray bottle filled with water, mist your clean countertop again. Wet your hands and wet the top of the dough ball with the spray bottle. Turn the dough out onto the wet counter surface. Scrape out the bowl and rinse the inside of the bowl really well. Leave the bowl wet.
- Stretch and fold the dough. Stretch the top of the dough over the bottom, side over side, and bottom over top. Place the dough back in the bowl with the seam side down. Let the dough rest for 1 to 2 hours.
- Clean and dry the counter surface you’re working on. Sprinkle some flour on the surface of your counter and coat your hands in a bit of flour. Gently flip the dough out onto the floured surface so that it is seam side up.
- Pre-shape: Gently stretch out the dough, and fold it again. Fold side over side and top over bottom. Then flip the dough over so that the seam side is down on the counter. Tuck under any parts of the dough you need to form a nice circular shape. Leave the dough on the counter, sprinkle some flour on the top of the dough, and cover with a tea towel.
- Let the dough rest for 1 hour.
- Sprinkle a little more flour on the top of your pre-shaped dough and on the counter around the dough. With your hands coated in flour, flip the dough over so that the seam side is up again.
- Gently stretch out the dough, and fold it again. Fold side over side and top over bottom. Then flip the dough over so that the seam side is down on the counter. Tuck under any parts of the dough you need to form a nice circular loaf shape. This is the final shaping so take your time with it.
- Coat a proofing basket with flour. Be generous, as you do not want it to stick. You can also use a bowl lined with a towel and a generous amount of flour.
- Flour your hands and swiftly pick up and flip your dough into the basket. Smooth side down, seam side up.
- Cover and place in the fridge overnight for 8-12 hours.
- After 8-12 hours in the fridge, preheat your dutch oven with the lid, in your oven at 450° F. (see notes on temperature)
- Once your oven is preheated, carefully remove your dutch oven and place the lid to the side. *Don’t forget that the pot and the lid are both very hot!*
- Cut a large square of parchment paper and place it on the counter. Turn your dough out onto the paper so that the seam side is down and touching the parchment paper.
- Score the dough using a very sharp knife or a scoring tool.
- Picking up all four corners of the parchment paper, move your dough into the dutch oven.
- Place the lid on the dutch oven and bake at 450 F for 35 minutes.
- After baking covered, remove the lid and bake for another 20-30 minutes at 450 F.
- Remove your finished loaf from the dutch oven and allow it to cool for at least 1 hour.
Notes
- The time you need to wait in between stretch and folds depends on the temperature in your house. If your house is above 75° F, you may be able to reduce the amount of time between stretch and folds to one hour.
- You can also speed up the time in between stretch and folds by using a bread proofer or heating pad near the dough. Just stretch and fold when the dough has risen a bit and relaxes out into the bottom of the bowl, and make sure you do at least three stretches and folds. Monitor the dough to make sure you do not over-proof.
- when flouring your proofing basket, it helps to use coarse flour such as rye, masa, or rice flour.
- Depending on your oven, you can bake at a lower temperature. Some ovens run hotter than others.
- When baking with the dutch oven lid off, check every few minutes. Some ovens run hotter than others, so check to see when the loaf is golden brown.











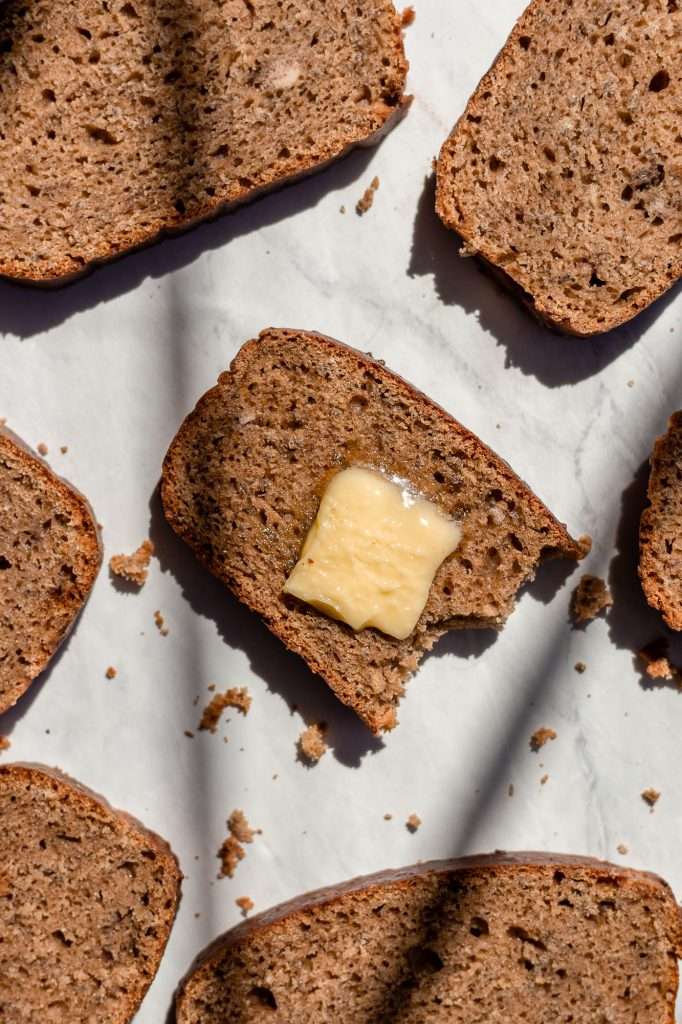


This is a very tasty bread and I will make it again. I did have to pull it from the oven after only 15 minutes without the Dutch oven lid- as it was becoming too dark/done.
That makes sense. All ovens vary in temperature. Some ovens run hotter than others, especially gas ovens versus conventional ovens. I’m glad to hear you enjoyed the recipe!
I read at the start of the recipe it says prep time 7 hours. This is much more than 7 hours. Starts with 30 minute rest after kneading, followed by 45 minute rest, followed by stretch and folds separated by 2 hours x3, then pre-shape and rest 1 hour, then shape and refrigerate 8-12 hours, bake for 55-60 minutes. I’m on stretch and fold 3 and hoping I can stay awake long enough to get it in the fridge for overnight! Dough is looking good though! Hoping it tastes delicious!
Thank you so much for your feedback! I adjusted the recipe card and added a note at the beginning of the recipe to help others better manage their time when making sourdough. You can also read all of the notes in the notes section, which has a couple of tips on speeding up the time intervals between stretch and folds.
Oops! I misread the instructions and added the nuts and cinnamon into the initial mix -that when I’ve done mix ins before so still going to move forward on the loaf and hope it doesn’t matter!
I mixed the initial ingredients (water, starter, flour, maple syrup) and the dough is very wet…it doesnt form a uniform ball. Should I add more flour? Or just keep kneading?
No, do not add any flour. Your dough ball may be wet and “shaggy” looking, and that’s fine. Just let it rest. It will smooth out and come together through the next steps and stretch and folds.
Love this recipe. Only problem is when you switch to 2x, it doesn’t change the water content (still says 1 1/2 cups) I was wondering why my dough was so dry. Looked back and realized but it was too late to salvage.
Thank you for letting me know! I’ll look into this issue and get it fixed!
Could I use this recipe but boil and bake as bagels after the last stretch and fold? I think it would be amazing in bagel form!
This may work! generally, bagel dough is denser than bread dough, so I’d maybe add an extra 1/2 cup flour to the mix.
Very soft inside, crusty on the outside! It rose so nicely. It’s worth the process!
Yay!! Good homemade bread is always worth it in the end! 🙂
Can you use more maple syrup or even honey when you add the pecans (instead of adding sugar) for a sweeter loaf?
absolutely!
Thanks for sharing! Does it keep long?
Would using brown sugar instead of granulated sugar mess up the bread?
Not at all. Brown sugar will work fine!
I finished making this today, and it was a huge hit with my parents, my husband and myself. It was simply delicious. Thank you so much for the clear instructions and inspiration.
Love that you and your whole family enjoyed this! Thanks for trying our recipe 🙂
Can I use my mixer for this recipe? Up to the first set of stretch and folds?
Yes! you can use a mixer with a dough hook to knead the dough together before stretching and folding.
This is my favorite recipe/technique thus far! It produces such a light and airy dough and the crust is perfect. I am preheating my Dutch oven right now for two loaves – one cinnamon raisin and one cranberry-pecan with Pumpkin Pie spice! Thank you for sharing this recipe!
I love to hear this!! the cranberry pecan with pumpkin pie spice sounds absolutely lovely!
I have been working on this dough but am struggling. It is so shaggy even after all the stretch and folds and the cinnamon and pecans are making it impossible to do any more stretch and folds or shape. It’s a giant pile of dough mess on my table haha. How do I stretch and fold without the insides coming out? I still can’t wait to taste it, I am just having a hard time getting it to come together.
Interesting, did you weigh your ingredients or use cups? are you using bread flour? It sounds like your dough may have been too dry.
I love that I found your page!! I’m just learning about fermentation and made my first sourdough today! Thank you so much for the background info you provided about sourdough and why it’s easier to digest. Can you tell me, through the process, does the gluten content decrease at all? I have one son who is gluten free due to sensitivity, not allergy. Hoping being sourdough he can eat this bread with no trouble.
you can read about what makes sourdough easier to digest here: https://cultured.guru/blog/what-makes-sourdough-healthier-and-easy-to-digest
You should always ask your doctor about introducing new foods if your son has GI issues.
Thank you for this recipe! You didn’t mention if you used active starter or strait from the fridge. Which do I use?
oh! definitely use bubbly active starter, any time you are baking bread.
Have you ever made your sourdough bread in a loaf pan instead of a Dutch oven?
Not this specific loaf, but yes I make sandwich loaves regularly. Soft Sourdough Sandwich Bread
I’m looking for a recipe to make Apple Butter Sourdough Rolls. I had a recipe about 40 years ago, but now I can’t find it. These were roundish, smelled amazing, and only needed butter to eat them. I just remember growing the starter on my Mother’s stove, then I made the rolls for breakfast in the morning.
Do you have any suggestions of how I would make this?
I’ve never made that before. Sounds kind of like a cinnamon roll? we have a recipe for cinnamon rolls here: Easy Gingerbread Cinnamon Rolls Made With Sourdough Starter
I made this bread today and WOW. Seriously, the best bread I’ve ever baked before. My loaf only needed about 10-15 minutes uncovered and I baked at 425 (oven runs hot). The texture inside was perfect (my last loaf was slightly gummy) and the outside is crisp. A keeper, for sure. It reminded me of a less sweet cinnamon roll bread (I added 1 tbls sugar). Thank you for sharing!
Love this recipe! I often omit the cinnamon and pecans to make a plain loaf. Curious what the calories are for a loaf?
Glad you enjoyed the recipe! I do not calculate calories or nutrition facts for any of my recipes.
Hi!
This is delicious 🤩
Wondering if it’s possible to let it long ferment to have less gluten, as I am more sensitive. If so, when would that take place?
Thanks!
You can leave it in the refrigerator for longer than 12 hours, for a long cold ferment.
This bread is AMAZING! My whole family loves it and I’ve made it several times now. It always turns out tasty and is worth the long process.
Happy to hear it!
I am so happy to have found this recipe! It is delicious! Your routine for this bread is great and the bread is always so light and fluffy that I use it for my other recipes. I make it every week for my husband’s morning toast. Thank you for sharing this wonderful recipe.
I’m making this bread right now. Which Size basket do you reccomend?
I’m not sure what size mine is. Any basket it fits in is fine!
Best bread I made so far! Extremely tender crumb and nice crust. It’s worth the long process.
Hi there,
My dough isn’t rising, is that normal when using cool water rather than warm?
If it’s not rising at all, and you have a healthy starter, it probably just needs more time. Have you baked sourdough before?
I just wanted to come back here to say that with your recipe I first got the result that blew my mind with sourdough baking. It gave me the confidence to bake more and start to built my own sourdough baking techniques.
Could I use honey instead of syrup?
of course!
I made this lay week and LOVED it! The whole family did too. Thank you! I’m making two more loaves for Christmas. 😊
A similar recipe says to add the cinnamon during the shaping since cinnamon has cinnamaldehyde, which can slow down the bread’s fermentation because of its anti-fungal properties. In my uncertainty, I did add the cinnamon-brown sugar-pumpkin spice combo during shaping. What are your thoughts on this?
Oops. Forgot the much-deserved high rating!
Thank you!
Made this and came out perfect! My second loaf of sourdough made. Added Demerara sugar with cinnamon and pecans. Used bourbon maple syrup. Absolutely delicious!! Thank you!!!
yum! glad you enjoyed this bread recipe!
Is it okay if it stays in the fridge a tad longer than 12 hours?!
yes! it’s fine if it stays in the fridge longer.
Perfect!! I just forgot I had a meeting in the morning 🤦♀️
Omg turned out beautifully! I’ll edit my uncovered bake time a tad next time as my crust got a little dark but in no way burnt! I use an enamel roasting pan with a lid! Can’t wait to cut into this!
This is delicious and turned out perfect going by the directions given. I also added brown sugar during my final shaping.
This was so fun to make and even more fun to eat! Perfect to share also! Thanks
This is one of the best sourdough loaves I’ve made so far! I did add 2 tbsp brown sugar and was glad I did. Other than that I followed the recipe to a T. Beautiful rise and crumb!
How many hours upfront do you advice to feed the starter?
I’m relatively new to the sourdough world.. this recipe is well written, easy to follow and the bread is absolutely delicious.
Absolutely love this recipe!
Wow, this recipe is perfection! My first time doing a meaningful add-in, the instructions were really good. The results were fantastic. Wish I could post pictures here! Thank you so much for this
Hello,
I was going to try your maple pecan cinnamon loaf.. Have you ever did all the mixing in a mixer? I have a OONI and have been mixing just about everything in it.
Thanks the bread looks so yummy.
Karan
I haven’t tried this bread dough in a mixer before!