Why I Eat Sauerkraut Every Day (And Why You Might Want To, Too)
Sauerkraut has been a staple in my kitchen for years, and it’s one of the first things I reach for every morning, usually alongside breakfast. Why? Daily sauerkraut is one of the simplest and most effective ways to support gut health and overall wellness.
But it’s not just about probiotics.
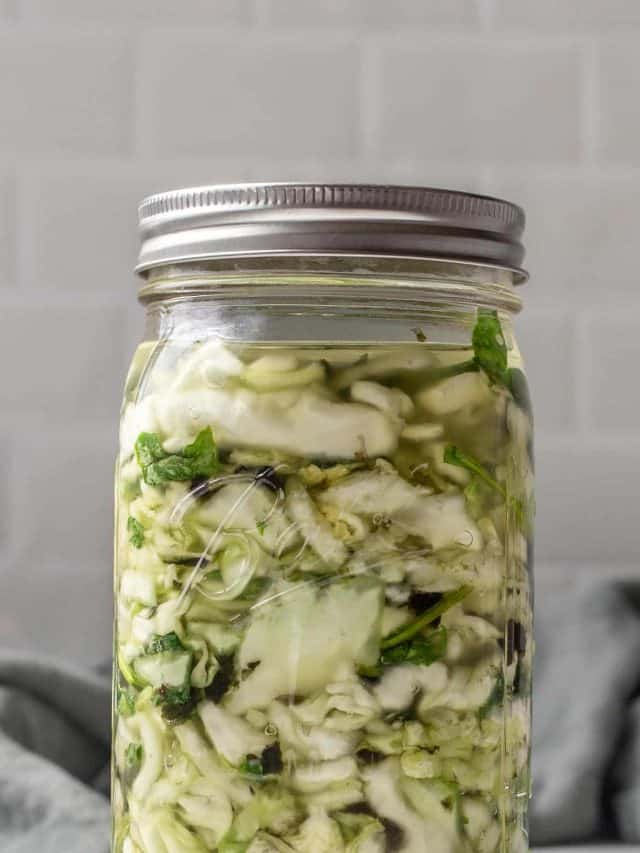
More Than Just Probiotics: The Real Gut Health Power of Sauerkraut
We often think of digestion as something that happens only in the gut. However, in reality, digestion is a comprehensive process that involves the entire body. Your nervous system, hormones, circulation, and even your immune system work together to help you break down and absorb nutrients from food.
For all of these systems to function well, your body needs the right raw materials, especially bioavailable vitamins and minerals. That’s where real, naturally fermented sauerkraut shines.
Fermented cabbage isn’t just probiotic-rich. It’s a nutrient powerhouse, offering enzymes, vitamins, and minerals in a form your body can easily absorb. And when you make it yourself with the right ingredients, it becomes an even more potent tool for nourishing your whole system.
Key Vitamins & Minerals for Digestion
When I think about digestion-supportive nutrients, I focus on a few key vitamins and minerals:
- B Vitamins: help regulate energy metabolism and support the nervous system
- Vitamin C: supports immune function and helps absorb iron
- Vitamin A: important for mucosal tissue health (like your gut lining)
- Vitamin D: modulates immune response and supports gut integrity
And equally important: minerals.
Rather than reaching for a multivitamin, I prefer to source minerals from real food. These are the six I prioritize most at every meal:
- Magnesium: for muscle relaxation and nervous system regulation
- Potassium: for fluid balance and cellular function
- Sodium: for nerve signaling and hydration
- Calcium: for enzymatic processes and gut motility
- Iodine: for thyroid function
- Iron: for oxygen transport and energy production

What Minerals Are in Sauerkraut?
When made with just cabbage, salt, and water, sauerkraut already offers an impressive nutrient profile:
- Vitamin C
- Vitamin K1
- Folate
- Iron
- Manganese
- Copper
- Potassium
However, if you want your sauerkraut to provide more magnesium, calcium, or iodine, it ultimately depends on what you put in the jar. The fermentation process makes minerals in the ingredients more bioavailable; it doesn’t add them.
A Mineral-Boosted Take on Traditional Sauerkraut
That’s why I developed a mineral-rich sauerkraut recipe, explicitly designed to boost your intake of hard-to-get nutrients like magnesium, iodine, and potassium.
Here’s a quick look at the functional ingredients I chose and why:
- Beet greens: magnesium + calcium
- Kale: calcium + vitamin C
- Coconut water: potassium + magnesium
- Sea salt: sodium (essential for proper fermentation)
- Cabbage: magnesium, potassium, and calcium
- Seaweed (like kombu or nori): iodine for thyroid support
The result? A probiotic-rich, enzyme-packed kraut that also helps you sneak in more of the minerals your body needs to thrive. It won’t meet your daily values on its own, but it’s a solid step toward a more nourished, balanced start to the day.

How Long to Ferment for Gut Health
I recommend fermenting this sauerkraut for at least 21 days, up to 28 days, to maximize its benefits. You can taste it by day 14, but a longer fermentation time allows beneficial bacteria to reach their peak, resulting in a deeper, tangier flavor.
Fermentation conditions:
- Duration: 4 weeks
- Salt concentration: ~2.5%
- Temperature: Room temp (60–78°F)
- Final pH: ~3.7
- Storage: Refrigerate after fermentation. Keeps up to 2 years.
Want to give your gut (and the rest of your body) a mineral-rich boost? Try the recipe below.
Print
How to Make Mineral Rich Sauerkraut
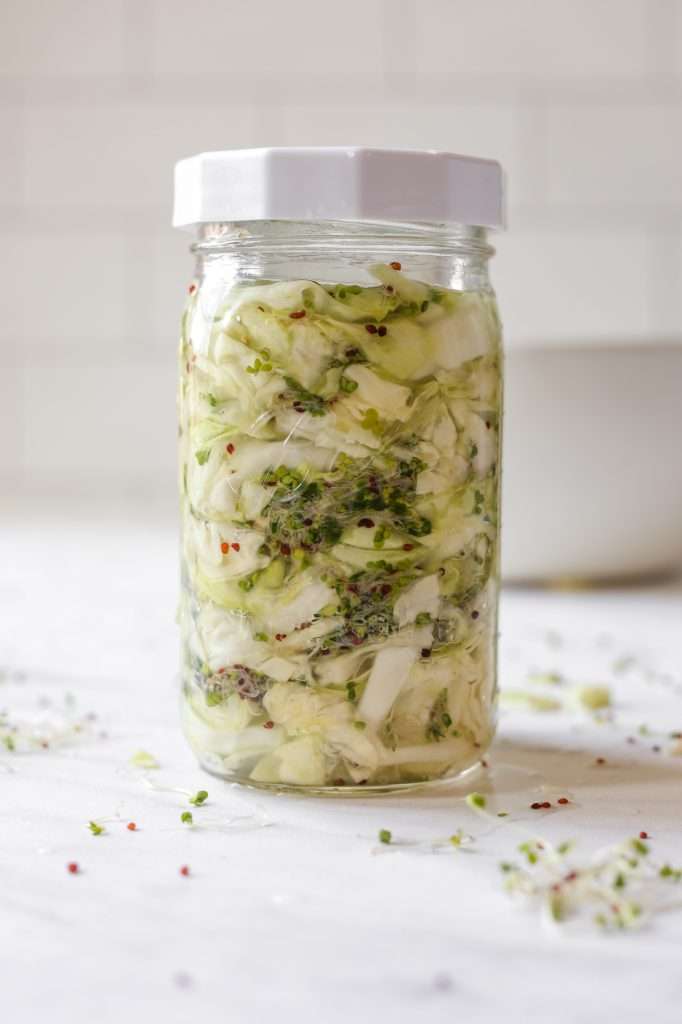
There are many benefits of eating sauerkraut daily because fermented cabbage contains probiotics, prebiotics, bioavailable vitamins, and bioavailable minerals. Enjoy my unique sauerkraut recipe that incorporates coconut water, kale, beet greens, seaweed, cabbage, and sea salt. Beneficial bacteria in sauerkraut transform these ingredients into bioavailable vitamins and minerals for optimal gut health. This recipe comes together in just 15 minutes and takes four weeks of fermentation at room temperature.
- Prep: 10 minutes
- Total Time: 504 hours 10 minutes
Ingredients
- 500 grams green cabbage
- 50 grams beet greens or baby kale, washed
- 5 grams seaweed
- 200 grams coconut water
- 19 grams sea salt
Instructions
- Wash your fermentation equipment (jar, weight, and lid). For this recipe, I suggest sterilizing the jar, lid, and weight with a little bit of vodka)
- Remove the outer leaves of your cabbage and lightly rinse with cool water. Using a knife, chop the cabbage to your desired thickness.
- Place your kitchen scale on the counter. Turn it on and set it to weigh in grams.
- Measure out all of your ingredients using your kitchen scale.
- Mix all the ingredients, including the water, in a large bowl. Lightly massage the cabbage and break up any large pieces.
- Pack it all, including the water, into a clean jar with a rust-proof lid. (a 32-ounce jar works best)
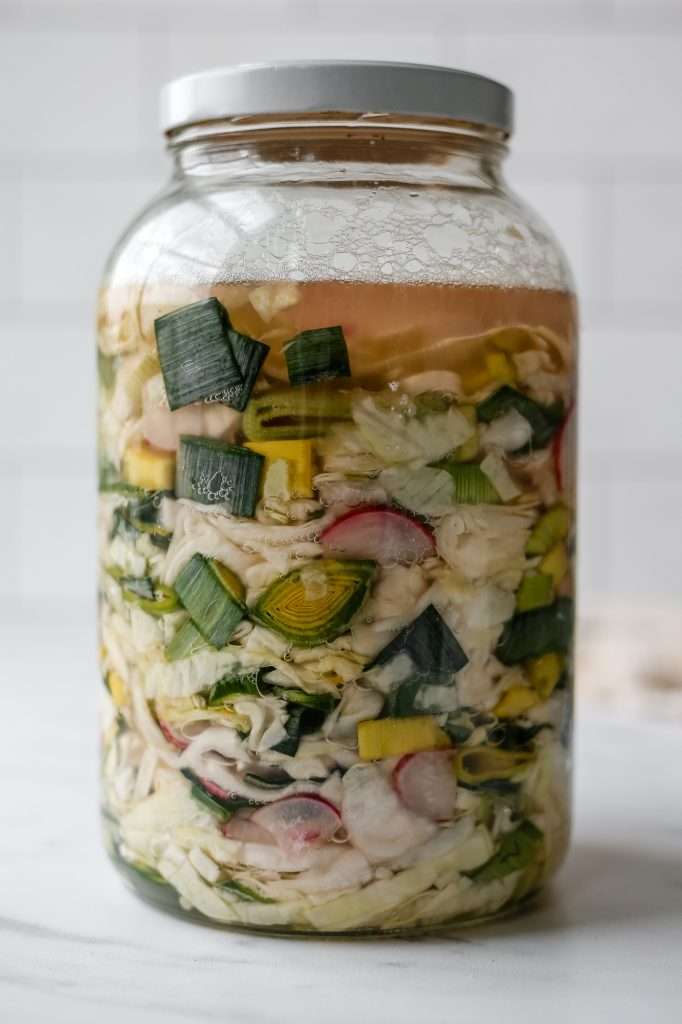
- Place a fermentation weight in the jar, making sure to submerge the cabbage pieces and weight fully into the liquid. If you don’t have quite enough liquid, place your glass fermentation weight in the jar and submerge as much as possible. Over the next 12 hours, the cabbage should release more liquid and you can press the fermentation weight down below the brine.
- Secure the lid (you do not need to tighten it all the way. Just secure the lid but leave it ever so slightly loose so the gas doesn’t build up too much). You can keep the jar in a glass dish to catch any spills.
- Burping the jar: It should get bubbly in the first few days. If you have a tightly secured lid, you will need to burp the jar. You should also wash off the lid to keep it clean and re-adjust the fermentation weight whenever needed. Anytime the weight comes up out of the brine, with clean hands press hard on the weight to tamper everything back down into the liquid.
- Ferment at room temperature for 21-28 days, then remove the fermentation weight and refrigerate.
- If you try this recipe and love it, please leave a five-star review below!









Hi, I’m new here, but really interested in learning best fermenting techniques.
Before I dive in though, a question – the answer might be a deal breaker….:
I live in a tropical country, my room temperature is usually around 30⁰ C. Electricity is comparatively (as part of living expenses) expensive, and running an aircon all day long every day would easily double our electricity bill. So, I’m wondering about my options.
Looking forward to your reply.
That temperature is fine! Everything will just happen a little faster for you. So on our blog here, if I suggest 21-28 days, your fermented vegetables might be ready to eat after only 14 days.
This recipe is very effective in gut health, and it is vital also to take care of your immunity which this recipe can surely do.
Hi. I am enjoying your website. Can I use blanched, frozen beet greens for this recipe? Thanks!
Yes, you can use frozen beet greens!
Hello! I have enjoyed your recipes, and your knowledge! Thank you for sharing it.
I have a question- Since I have successfully made a batch of sauerkraut using your recipe( which has given me a great deal of confidence and opened me up to the idea of making my own fermented foods as part of our lifestyle!!!), can I use some of the brine from the original batch to jump start my next batch? Or do I need to wait another twenty one- twenty eight days from when I start the new batch?
You’re welcome! I’m happy to hear that you feel more confident after trying my recipe! You can use some of the brine to add to the next batch. It does help ensure good end results, but it doesn’t make things go much faster. I still recommend fermenting for 21 days even with some brine added. I usually make a quart every three weeks and that’s the perfect amount for two people.
Can’t wait for it to finish fermenting! This recipe caught my eye because of it’s use of coconut water. I’m trying really hard to ~enjoy~ sauerkraut beyond just its wonderful probiotic benefits— and your recipes definitely help!
Thank you so much for sharing!
This looks great, especially like the idea of using coconut water. What is the amount of kale to include? It’s not mentioned in the actual recipe. Thank you 🙂
you can use 50 grams of beet greens, kale, or combination of both.
Hi, Kaitlynn! Love your blog. Can’t wait to try this recipe. I want to clarify, though, do we not use a cloth to cover the jar and let the ferment “breathe?” I read somewhere else to do that. But you are saying to cover the jar completely, with the standard metal lid the jar comes with? I realize this might be a silly question, but I just wanted to make sure I’m reading the recipe right. Hope to hear from you!
No, you do not use a cloth lid for fermented vegetables. Lactic acid fermentation of vegetables is an anaerobic process (meaning no oxygen) and you need to use a solid mason jar lid (two piece metal lid, one piece plastic lid, or metal lid with a plastic screw band etc.) You also have to loosen the lid daily to let some gas out.
Other types of fermented foods and drinks require cloth lids, like sourdough, or kombucha primary fermentation, but these are completely different fermentation processes.
Hi there!! Extremely excited to try this recipe. I’ve been on some pretty awful medications for a year and looking to rebuild my gut microbiome. Quick question: with the Weck jars (sealing silicone part removed) is it still necessary to burp the jars, or is there enough gas release to not do this? Thanks so much for your time!
If you use a weck jar without the silicone, you do not need to burp it.
Do you use fresh or dried seaweed?
dried. I get various kinds from the Asian supermarket