Cultured Guru Logo
Cultured Guru Logo
  • Start Here
  • RecipesWe love to create delicious recipes with gut health in mind. By using our recipes, you can easily create any dish knowing that it’s good for gut health! Our recipe blog also includes Vegan Recipes, Vegetarian Recipes, Gluten Free Recipes, and Paleo Recipes.
  • About
  • Learn
  • Shop
  • Contact
Beverage Fermentation

How to Establish, Maintain and Use a Ginger Bug Wild Culture

You need a ginger bug to brew naturally fermented soda. Use this complete guide to learn how to establish, maintain and use a ginger bug wild culture!

Prep: 15 minutes
Total: 48 hours 15 minutes
Jump to Recipe Rate Recipe
Recipe Index | Ferment | Beverage Fermentation

How to Establish, Maintain and Use a Ginger Bug Wild Culture

You need a ginger bug to brew naturally fermented soda. Use this complete guide to learn how to establish, maintain and use a ginger bug wild culture!

How to Establish a Ginger Bug

After testing a bunch of different ways to make a ginger bug, I’ve chosen my favorite. We begin with an establishment period. The establishment period is usually 2-3 days, and I’m adamant about measuring precisely. Measuring things using precise amounts gives us the best balance of wild microbes. You’ll also notice that I use a tiny bit of salt in the initial mixture. Salt helps encourage the growth of lactic acid bacteria and a well-mixed population of yeast and bacteria.

  • First, you’ll combine the following & stir until the sugar is dissolved.
    • 25 grams ginger root (chopped)
    • 50 grams of water
    • 5 grams organic sugar
    • 2 grams of salt
  • Feeding: Ferment for 24 hours, then add the following to the jar & stir well
    • 25 grams ginger root (chopped)
    • 50 grams of water
    • 5 grams organic sugar
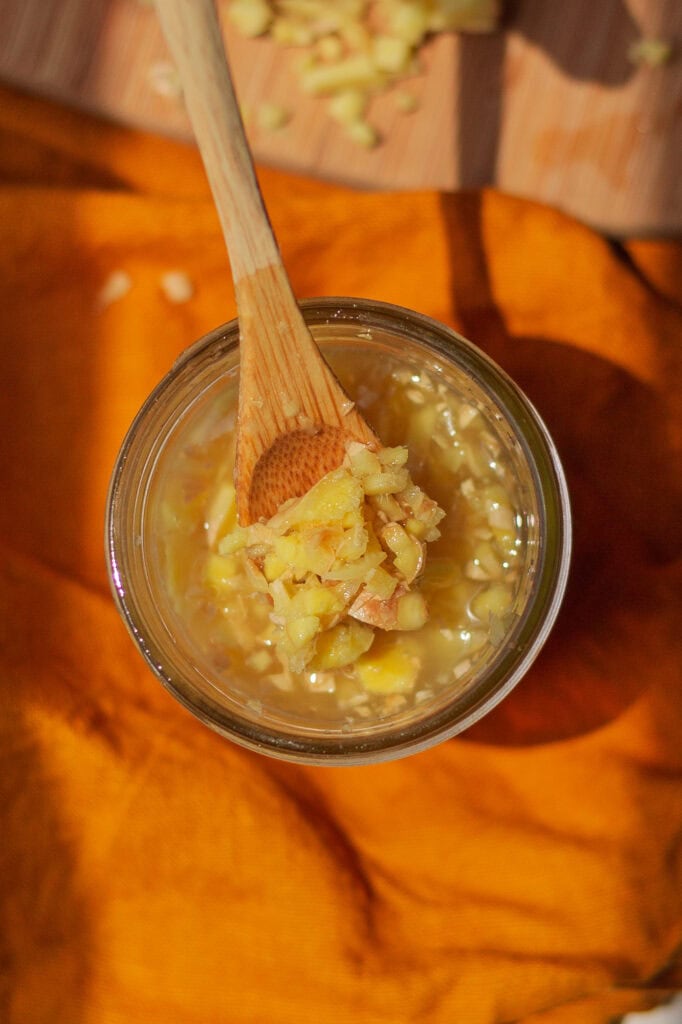
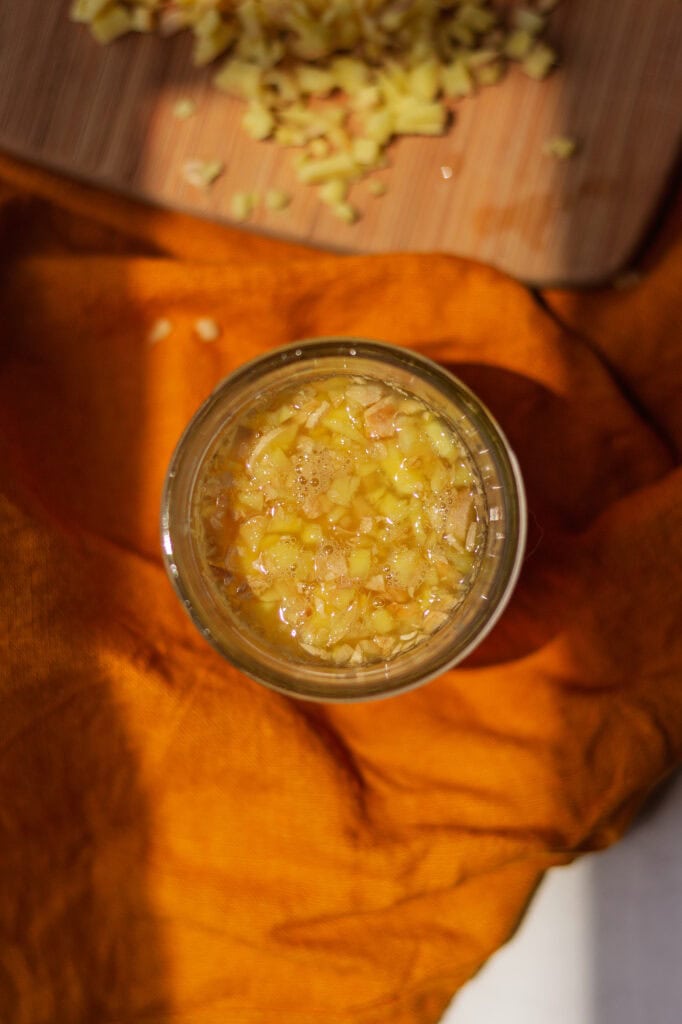
  • Repeat feeding every 24 hours until the mixture is bubbly. Once it’s very bubbly, we call it “established” and either use it all to brew or store it in the fridge, depending on how often you want to brew.
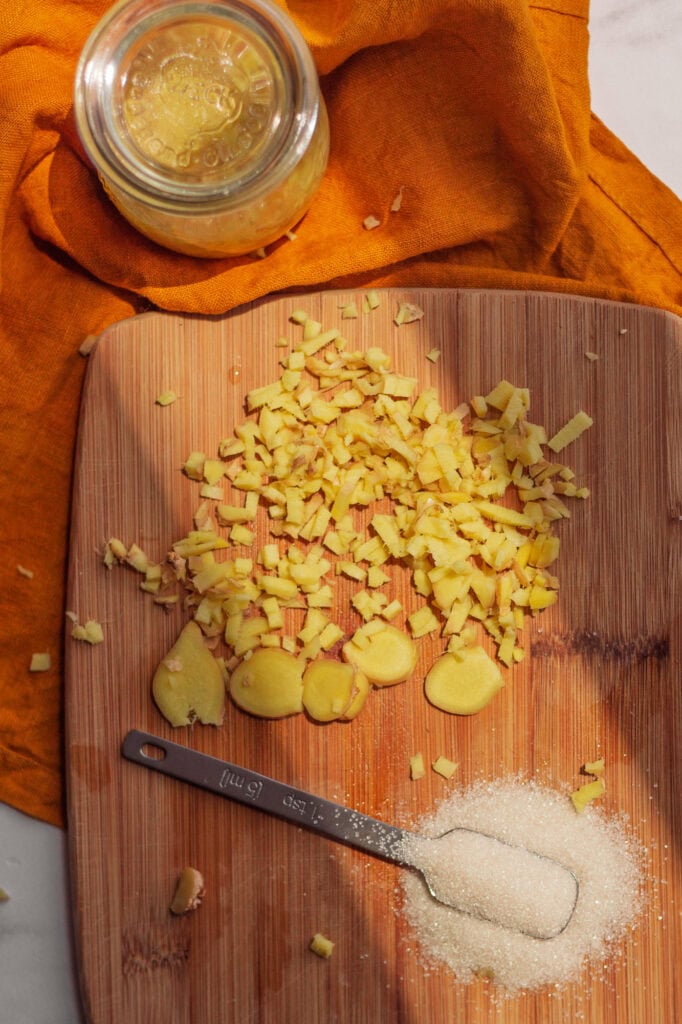
Fresh ginger root finely chopped on a wooden cutting board, next to a spoonful of organic cane sugar.

Deciding How Often to Brew

Once it’s all bubbly, we call it “established”, and we have a choice to make, which depends on how often we plan to brew natural soda.

  • Option one: Use it all to brew. Start over from step one and make a fresh bug next time you plan to brew soda.
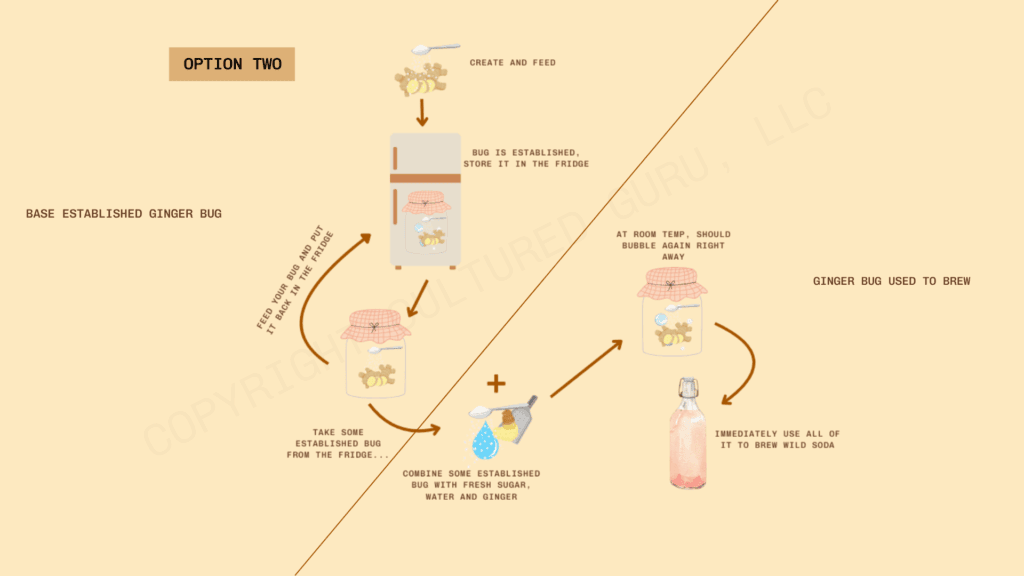
  • Option two: Use some to brew and store the rest in a closed jar in the fridge as a “base starter.”

I prefer other fermented drinks and don’t make ginger bug sodas that often. If you are like me and only brew wild soda occasionally, for instance, I usually make wild ginger bug soda once or twice a year, you’ll want to go with option one in the recipe.

Now, if option one does not resonate with you, because you’re planning to brew wild soda with your ginger bug regularly, like every week, all the time, because you love ginger bug wild sodas, then you’ll make your ginger bug, and once it is established, stick it in the fridge.

While it is in the fridge, consider it a base ginger bug starter. To brew wild soda with it, you pull some of that base starter from the fridge, feed it fresh ginger, water, and sugar to make more of the bubbly bug to brew with. If you are familiar with sourdough, it’s similar to taking some sourdough discard from the fridge and using it to make an active starter at room temperature to bake with.
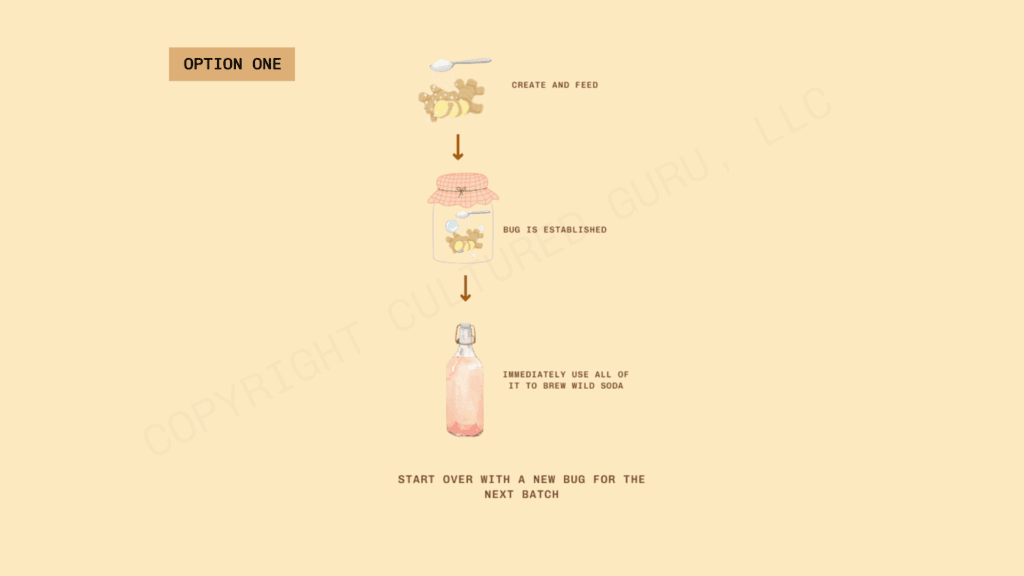
An infographic illustrating the first option for ginger bug maintenance. It begins with starting and feeding a ginger bug culture; once fully established, the entire bug is used, and a new culture is created for your next drink batch.
An infographic illustrating option 2 for ginger bug drinks. It starts with making a ginger bug, then using a portion to prepare your drink while the remainder is stored in the fridge for continued feeding and maintenance.

How to Store a Ginger Bug in the Fridge

So, if you plan to brew frequently, your base ginger bug should be stored in the refrigerator.

  • You occasionally feed it to keep it active, but it remains in the fridge.
    • To keep it moderately active, feed it once a week.
    • Feed it by pouring off the liquid, then add a 20% sugar solution, and occasionally add fresh ginger.
    • Feed, then immediately put it back in the fridge, so it metabolizes sugars more slowly.
    • Keep a regular, solid lid on the jar (not a cloth lid).
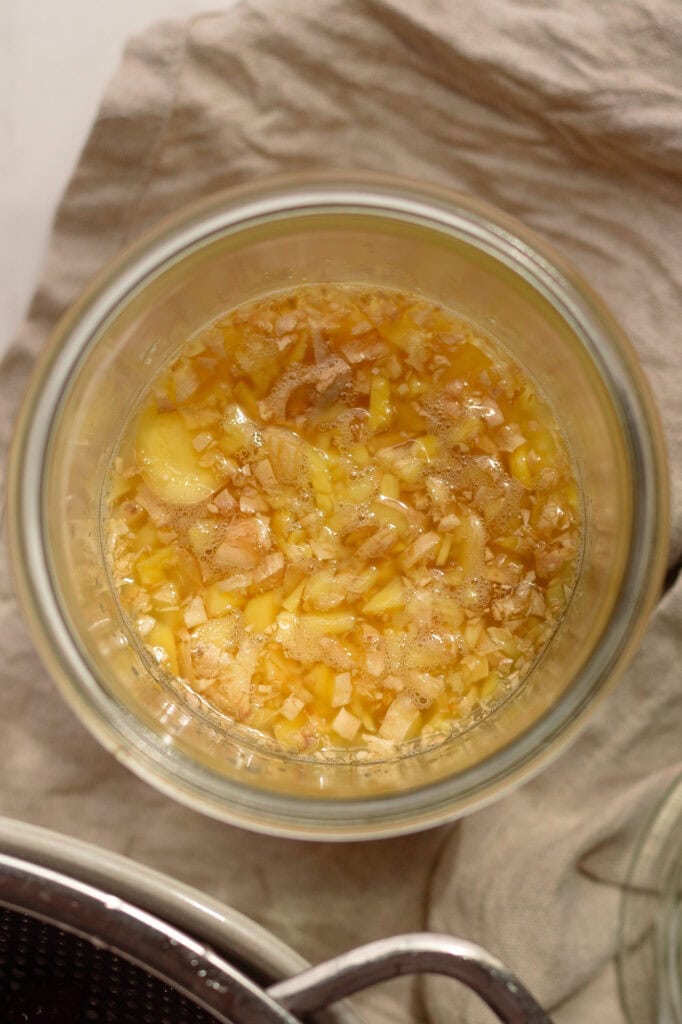
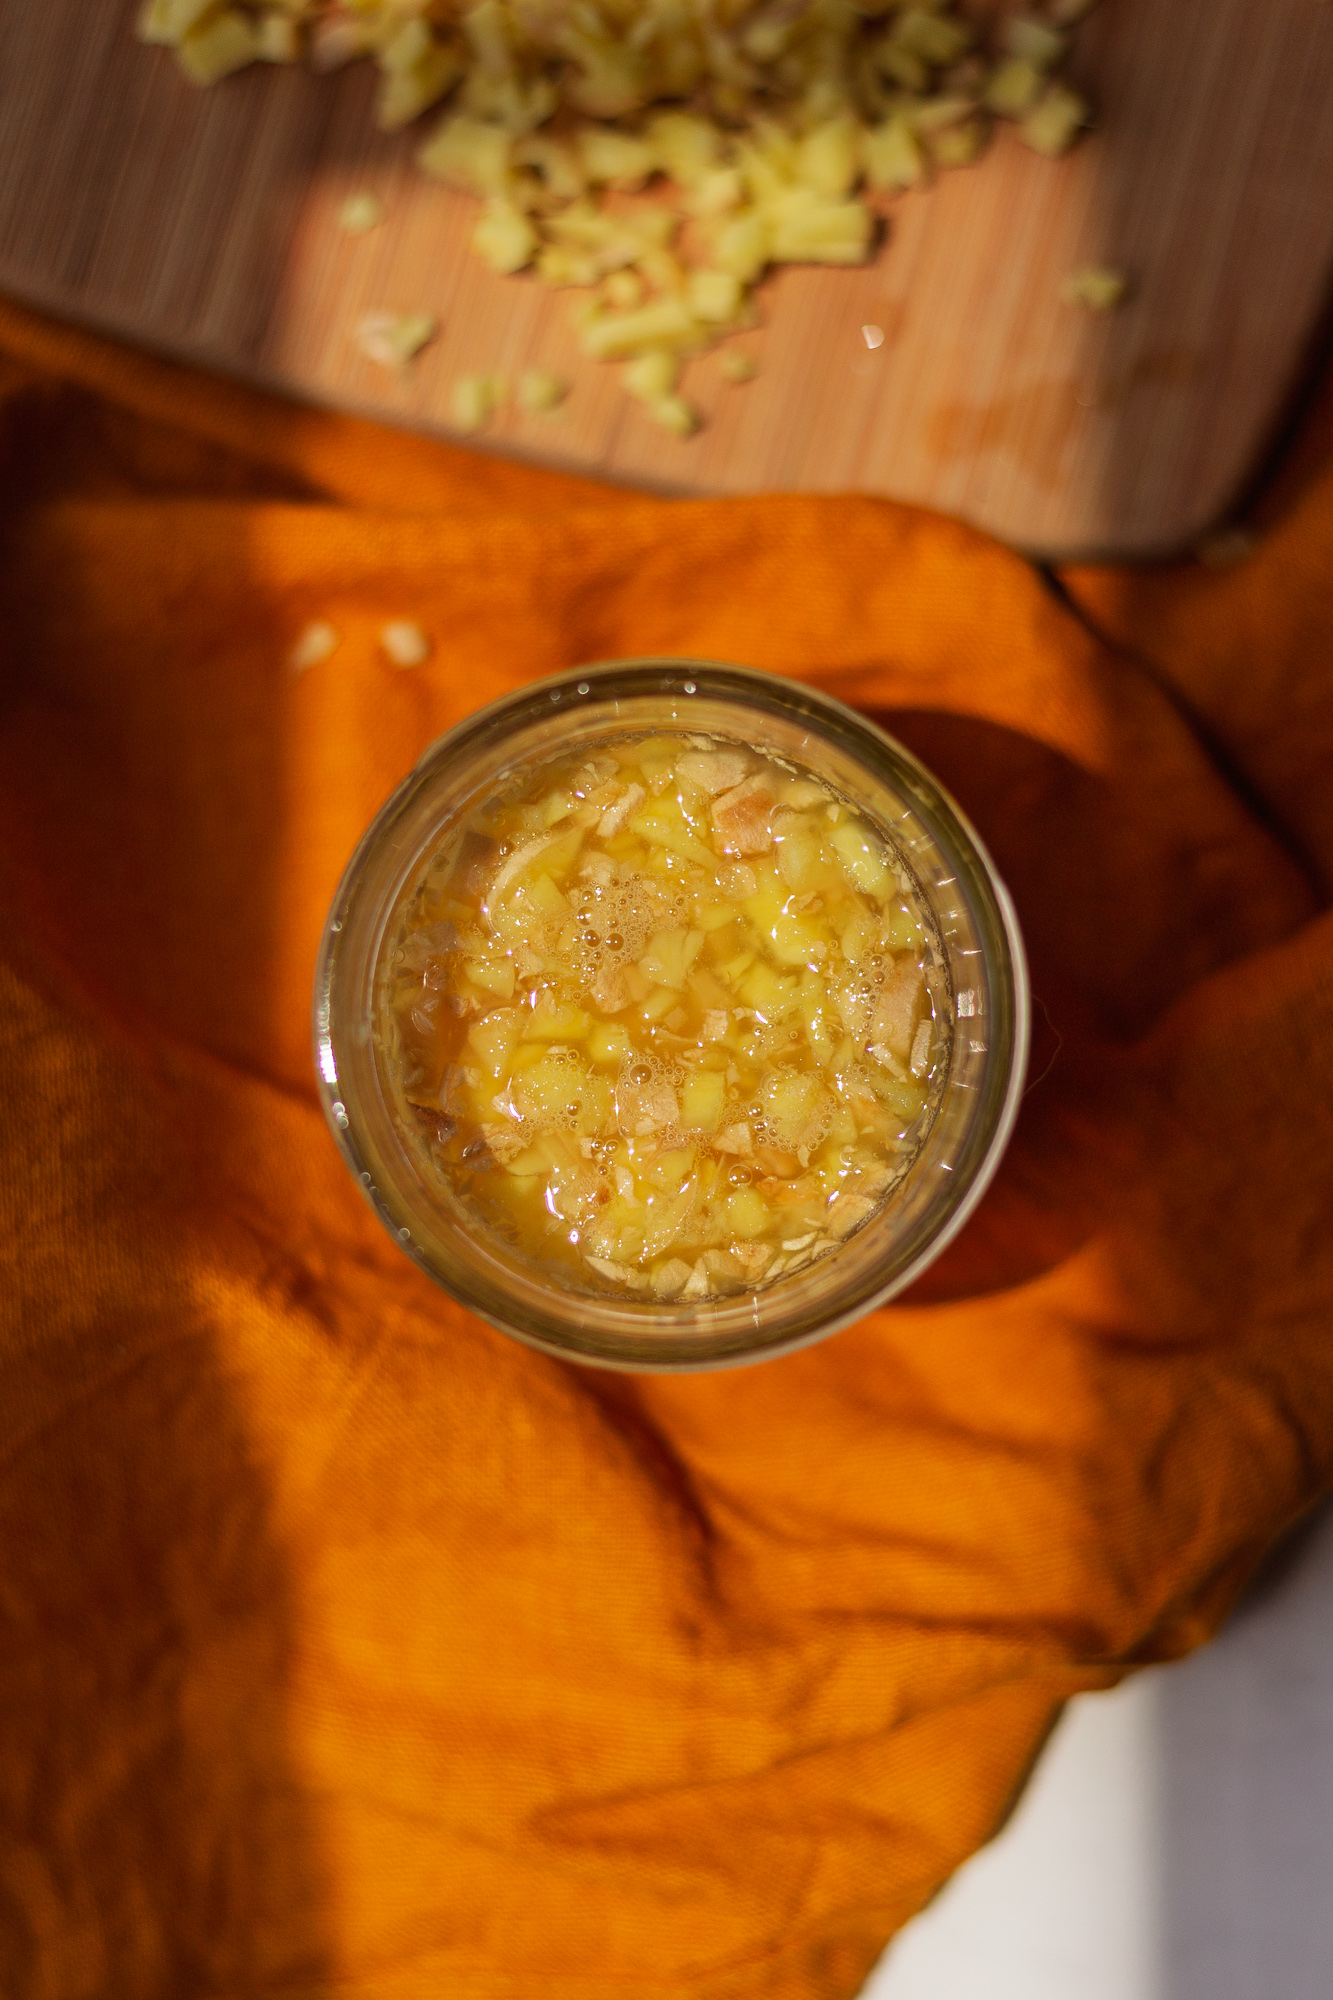
a close up of bubbles in a ginger bug after 3 days of fermentation and feeding.

How to Activate from the Fridge for Brewing

To use your established ginger bug in the fridge for brewing, determine how much soda you’d like to brew. I suggest using 50 grams of ginger bug per one liter of soda.

In a clean jar, combine these ingredients in the following ratios: 10% bug from the fridge, 20% fresh, chopped ginger, 50% water, and 20% sugar.

So, if I want to brew, say, two liters of wild soda, I need about 100 grams bug in total. So I’ll combine:

  • 10 grams of bug from the fridge
  • 20 grams fresh chopped ginger
  • 50 grams of water
  • 20 grams of sugar

It should bubble soon after feeding, and you use it right away to brew ginger bug soda.
Can I Feed My Ginger Bug Turmeric?

Yes! You can feed it with ginger or turmeric. Switching back and forth and feeding it a mix of ginger and turmeric is also a great option!

You can also incorporate edible flowers into your ginger or turmeric bug. Additionally, it’s enjoyable to experiment with other rhizomes and roots, such as lotus root, carrot, sweet potato, and beets.

How Much Ginger Bug Do I Need?

The amount of ginger bug you need is determined by the amount of soda you intend to brew. You need 50 grams of ginger bug per one liter (1,000 mL) of wild soda. For example, if I want to brew 2 liters (2,000 mL) of soda, I’d need approximately 100 grams of ginger bug in total.

Can I use store bought ginger?

I don’t recommend it unless you can verify it is organically farmed and from healthy soil. Ask a grocery employee if they can tell you where the ginger is from.

With ginger bugs, we are growing wild microbes in sugar. Which is extremely different from and does not have the same safe guards as wild fermentation with salt (like sauerkraut and pickles). To be blunt, if you cannot source quality ginger from quality, healthy soil then don’t make a ginger bug. Try kombucha or water kefir instead.

Conventional ginger is often grown as a monocrop in poor soil. If your ginger comes from dead soil, and a grocery bin, then your bug will have the same microbiome as dead soil and a grocery bin. 
Print
Beverage Fermentation

5 Stars 4 Stars 3 Stars 2 Stars 1 Star

5 from 1 review

How to Establish, Maintain and Use a Ginger Bug Wild Culture

You need a ginger bug to brew naturally fermented soda. Use this complete guide and recipe to learn how to establish, maintain, and use a ginger bug wild culture!

  • Prep: 15 minutes
  • Total Time: 48 hours 15 minutes

Ingredients

  • fresh ginger root, organic, minced
  • water
  • organic sugar
  • sea salt

Instructions

  1. Read the recipe notes before you begin. For this recipe to succeed, you must use high-quality, organic ginger from healthy soil. The bacteria and yeast cultures needed for fermentation live on the ginger. If you cannot source high quality ginger, please consider kombucha or water kefir instead.
  2. Ingredient amounts are not listed because you will all use different amounts depending on how long it takes for your bug to bubble and how much you plan to brew ginger bug sodas. 
  3. Wash about 25 grams of ginger root and finely chop. (I suggest chopping/mincing with a knife, not grating)
  4. Combine 25 grams ginger root, 50 grams water, 5 grams organic sugar, and 2 grams sea salt. Stir until the sugar is fully dissolved.
  5. Cover with a tight-weave cloth secured with a rubber band and allow to ferment for 24 hours.
  6. Feeding: after 24 hours, feed the bug by adding 25 grams chopped ginger root, 50 grams water, and 5 grams organic sugar to the jar. (do not add more salt when feeding)
  7. Cover with a tight-weave cloth secured with a rubber band and allow to ferment for another 24 hours.
  8. Repeat feeding every 24 hours until it is bubbly. (should only take about 2 days)
  9. Once it’s very bubbly, we call it “established,” and we have two options
  10. Option one: Use it all to brew. Then, start over from step one and make a fresh bug next time you plan to brew ginger bug soda.
  11. Option two: Use some to brew and store the rest in a closed jar in the fridge as a “base starter.”
  12. If you plan to keep it alive in the fridge, feed once a week: Pour off the liquid, then add a 20% sugar solution, and occasionally add some fresh ginger. ( a 20% sugar solution for example is 10 grams of sugar in 50 mL of water)
  13. To revive a ginger bug from the fridge for brewing you need about 50 grams of bug per one liter of ginger bug soda. To make 100 grams of bug for brewing: combine 10 grams of bug from the fridge, 20 grams of fresh chopped ginger, 50 grams of water, and 20 grams of sugar in a clean jar. Cover with a cloth lid and allow to ferment at room temperature. It should be bubbly in a few hours. Once bubbly use it to brew ginger bug soda. Click here for my ginger bug soda master recipe.

Notes

  • Your source of ginger matters. Homegrown and farmers’ market-sourced will yield the most lively, balanced bugs.
  • Conventional store bought ginger is not recommended. Most non-organic ginger is treated with chemicals to stop it from sprouting. Conventional ginger crops are also sprayed with a variety of herbicides, fungicides, and insecticides. Non-organic fresh ginger root imported into the US is irradiated to kill microorganisms and extend its shelf life. For these reasons, most conventional ginger will not provide the healthy microbes necessary for successful fermentation.
  • If you don’t have access to quality, organic ginger from healthy soil, try other roots. It’s enjoyable to experiment with other rhizomes and roots, such as lotus root, carrot, sweet potato, and beets. Just make sure they are organic and from healthy soil. 
  • Organic cane sugar is essential; conventional cane sugar contains too many pesticides to work well.
  • If you only plan to brew a couple of times a year, don’t keep a bug in the fridge. It’s wasteful. Start a new bug the next time you plan to brew.
  • You can use ginger or turmeric.

Did you make this recipe?

Please leave a 5-star review below if you loved it! Tag @cultured.guru on Instagram


Nutrition information is auto-calculated and estimated as close as possible. We are not responsible for any errors. We have tested the recipe for accuracy, but your results may vary.

author avatar
Kaitlynn Fenley Author, Educator, Food Microbiologist
Kaitlynn is a food microbiologist and fermentation expert teaching people how to ferment foods and drinks at home.
See Full Bio
fermentation food microbiology sourdough sauerkraut fermenting at home fermented foods fermented drinks
social network icon social network icon social network icon social network icon

welcome!

hey i’m kaitlynn, i’m a microbiologist and together with my husband jon we are cultured guru.

more about us

let’s connect!

newest recipe

Fermented Hot Sauce with Habaneros and Roasted Winter Squash
Peppers & Sauces

Fermented Hot Sauce with Habaneros and Roasted Winter Squash

never miss a thing

learn more about microbes from a microbiologist
Loading

on pinterest

Instant Pot Vegan Chicken Noodle Soup
Sourdough Smores Cookies
High Protein Cottage Cheese Mac and Cheese
Sourdough & Miso Chicolate Chip Cookies
Sourdough Dinner Rolls
Homemade Cottage Cheese

top rated recipes

How to Make Moroccan Preserved Lemons with Sea Salt
Fruits & Roots

How to Make Moroccan Preserved Lemons with Sea Salt

Slow Cooked Pork Roast with Sauerkraut Potatoes and Carrots
Protein

Slow Cooked Pork Roast with Sauerkraut Potatoes and Carrots

Sparkling Golden Beet Kvass Made the Traditional Way
Beverage Fermentation

Sparkling Golden Beet Kvass Made the Traditional Way

learn more

Understand microbes and master fermentation with our online courses!

learn

rate and review
We would love to hear what you think!
Cancel reply

Your email address will not be published. Required fields are marked *

Recipe rating 5 Stars 4 Stars 3 Stars 2 Stars 1 Star

  1. Karlee
    10|14|2025

    Hello! I am excited for you ginger bug/soda recipes. If you use tumeric instead, do you just start with tumeric or switch to it for feeding after the ginger bug is active? Assuming you add the salt for both versions? Thank you! I love every single recipe you create! I just made 3 more tonight 🤣 #addicted

    Reply
    1. Kaitlynn Fenley
      10|15|2025

      You can just start with turmeric instead of ginger and follow the same exact recipe as written.

      Reply
    2. Tal
      10|20|2025

      Hi…should the ginger be peeled? Or unpeeled?

      Reply
      1. Kaitlynn Fenley
        10|20|2025

        washed and unpeeled!

        Reply
  2. Mona
    10|29|2025

    Thank you for sharing everything with us. God bless you.

    Reply
    1. Kaitlynn Fenley
      10|30|2025

      you’re welcome!

      Reply

you may also like

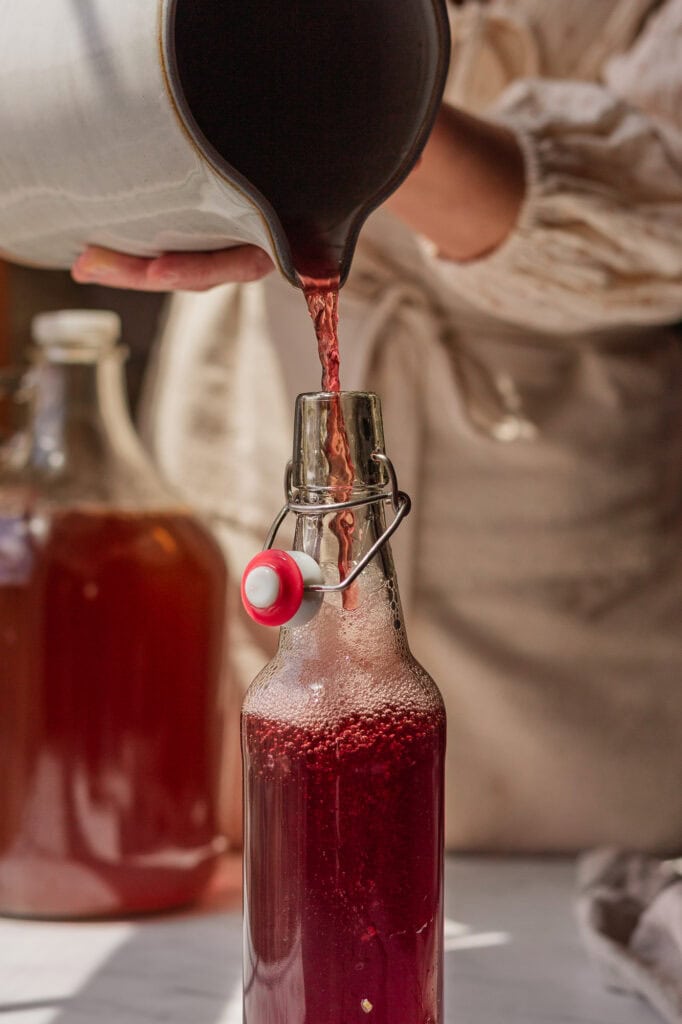
Hands pouring strained ginger bug drink into a pressure safe bottle for second fermentation.
Beverage Fermentation View Recipe

Ginger Bug Soda Master Recipe (Make Any Flavor Soda)

Beverage Fermentation View Recipe

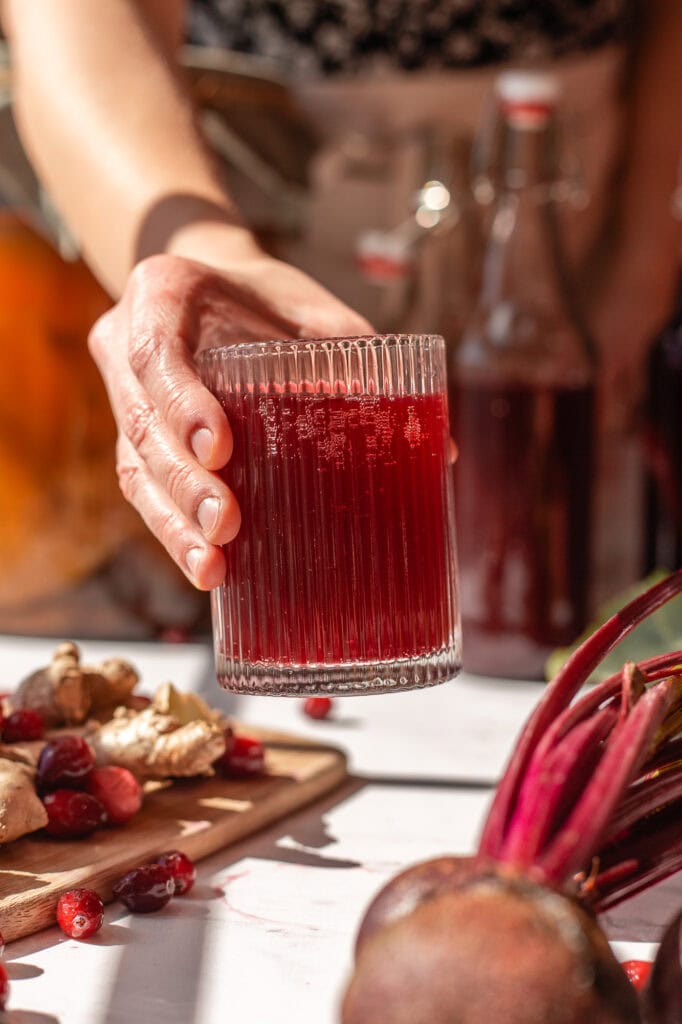
Healing Beet and Cranberry Kombucha with Ginger

Beverage Fermentation View Recipe

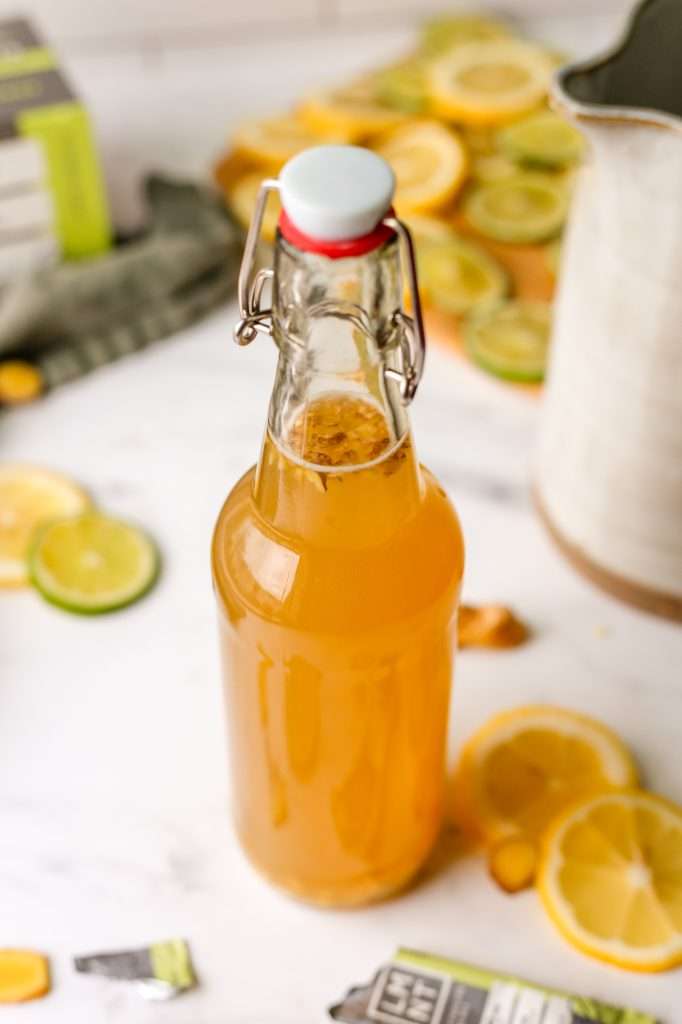
Citrus Ginger Green Tea Kombucha with Electrolytes

join us on insta

@cultured.guru

This earthy, tart, and naturally effervescent booc This earthy, tart, and naturally effervescent booch is rich in probiotics and health benefits. So you should make some to share with friends and family around the table next week! 🫧✨🥂

It’s extra fizzy too, thanks to the high levels of the FODMAP fructan in beet juice. The microbes metabolize the fructans to make the bubbles, so fermented beet juice kombucha is much lower in FODMAPs than plain beet juice! 

You can try the recipe by visiting the recipe index linked in my bio. #kombucha
Yes, they smell like farts. YES you should still m Yes, they smell like farts. YES you should still make them, because the fart smell is a really good indicator that the microbes are making the beneficial compounds in the Brussels sprouts more bioavailable. ✨🫧

Get the recipe on my website https://cultured.guru
is this rage bait? 🤠 #kombucha is this rage bait? 🤠

#kombucha
I decided to try using my sourdough discard with t I decided to try using my sourdough discard with this packaged brownie mix and left over s’mores stuff from our latest camping trip!

Sourdough starter makes brownies a little more cake-like, so I had to up the fats in the recipe a bit to keep them moist and used a combo of brown butter and oil. 

Get the recipe for these moist cakey sourdough s’mores brownies on my website, and let me know if you try it!

My recipe index is linked in my bio. https://cultured.guru/blog/brown-butter-sourdough-smores-brownies-from-box-mix
Fermented garlic honey, and I make mine as an oxym Fermented garlic honey, and I make mine as an oxymel 

🍯✨🫧🧄 the recipe is on my website!
https://cultured.guru

Many historical texts mention the use of both garlic and honey in traditional medicine. Still, none explicitly describe the modern method of combining only these two ingredients and leaving them to ferment. In all my readings on fermentation history, I’ve never come across any historical descriptions of fermented garlic honey, made with only garlic and honey.

However, I did come across many accounts of over 1,200 types of oxymel in Ancient Greece and Persia, many of which include garlic.The ancient Greeks and Persians used oxymels to extract and preserve potent herbs, including garlic. Oxymel is an ancient preparation, and Hippocrates wrote records about its benefits around 400 B.C.E. in On Regimen in Acute Diseases.

The thing to note here is that oxymel uses a combination of honey and raw vinegar.

When we make fermented garlic honey as an oxymel, the pH starts at a safe acidity and remains at a safe acidity (below 4.6). This is because the microbes in raw vinegar (or raw kombucha) ensure the honey is metabolized into more acids. These microbes “eat” sugars similarly to the way they do when making kombucha, wild mead, and vinegar. When we add raw vinegar or raw kombucha to a garlic honey oxymel, we are guaranteeing the presence of many acid-producing microbes that keep the mixture acidic and safe.

PSA: I’m not saying that your garlic honey made without raw vinegar is destined to have botulism. But I am saying without raw vinegar/kombucha it is a concern, and it can happen. I am saying that I’m not comfortable making it without raw vinegar/kombucha. 

I have compiled all my thoughts on garlic honey and botulism in the blog post, linked in my bio! You can also type “cultured.guru” right into your web browser and the recipe blog is on my homepage. 

#garlic #honey
Oxymel is a medicinal herbal elixir, made through Oxymel is a medicinal herbal elixir, made through the fermentation of herbs in honey and raw vinegar. 

It’s my favorite time-tested herbal remedy that’s over 2,400 years old. It originated in ancient Greece and Persia, where it was considered a gift from the gods.

Hippocrates, the famous ancient Greek physician, was a staunch advocate of oxymel and incorporated it into his medical practices. Depending on the herbs used to make it, oxymel can help with many ailments and improve health in various ways!

In a world where everyone is asking AI, I set out to learn about the best herbal combinations from real, practiced experts in herbalism.

I felt so much joy collaborating with these herbalists @openspace.center @karlytheherbalist @lilianaruizhealy and @the.brettivy to recommend the best medicinal herb combinations in this recipe!

You can get my oxymel recipe from the link in my bio!
Flower Icon
LEARN ABOUT MICROBES FROM A MICROBIOLoGIST
Loading

recipes

  • Sourdough
  • Sauerkraut
  • Yogurt & Kefir
  • Pickles
  • Sweets & Snacks

more

  • Start Here
  • About
  • Learn
  • Shop
  • Contact

social

  • TikTokVisit Cultured Guru TikTok Account
  • InstagramCultured Guru Instagram Account
  • PinterestVisit Cultured Guru’s Pinterest Account
  • FacebookVisit Cultured Guru’s Facebook page
  • Privacy & Terms
Footer Logo
Footer tagline
copyright

©2025

Cultured Guru

.

website by saevil row + MTT. all rights reserved.