Fermenting Summer Squash and Pepper Relish
When it comes to wild fermentation, I always suggest using organic ingredients. That can be store-bought organic, homegrown, or from the farmers’ market.
Like with sauerkraut, when we ferment summer squash and peppers, we rely on the microbes that live on the vegetables to do the fermenting. To make sure those microbes are the good kind, it’s important to use vegetables and fruits grown in healthy soil.
Here’s my checklist for choosing great ingredients to ferment:
- Soil health: What was the soil like where your ingredients were grown? Some indicators of soil health include organic farming, regenerative farming, and small-scale, biodiverse farming. I love shopping with farmers at our local farmers’ market. I always look for farmers who have a wide variety of fruits and vegetables. That variety indicates a biodiverse approach to farming and healthy plant microbiomes.
- Check for surface mold: Look for indentations and soft spots. You do not want to buy any vegetables that are squishy or about to go bad.
- Small is Better: The bigger the diameter of summer squash, the soggier the relish will be after fermentation. Go for smaller, younger fruits if you like your ferments to have a crisp texture.


Salt % For Fermentation
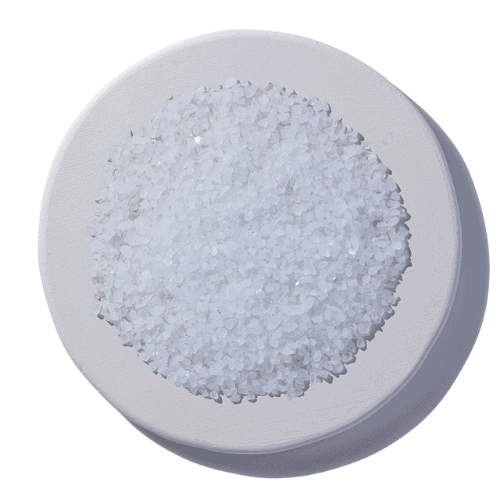
In this recipe, we use botanical fruits such as peppers and squash, which contain various fermentable sugars. For best results, I always start with a total salt concentration of 3.5%. This means the salt should equal 3.5% of the combined weight of all the water and vegetables you add. Through years of home and commercial fermentation, I’ve found that this level of salt is ideal for safety, flavor, and overall quality.


What Should My Fermented Relish Look Like and Smell Like?
As always, I tracked this pepper and summer squash relish through the whole fermentation process. So, I can tell you all about the sensory cues to watch for as it ferments! This timeline is for pepper and summer squash relish fermented at 72-78 degrees F. The process will be slower in colder conditions and faster in warmer conditions.
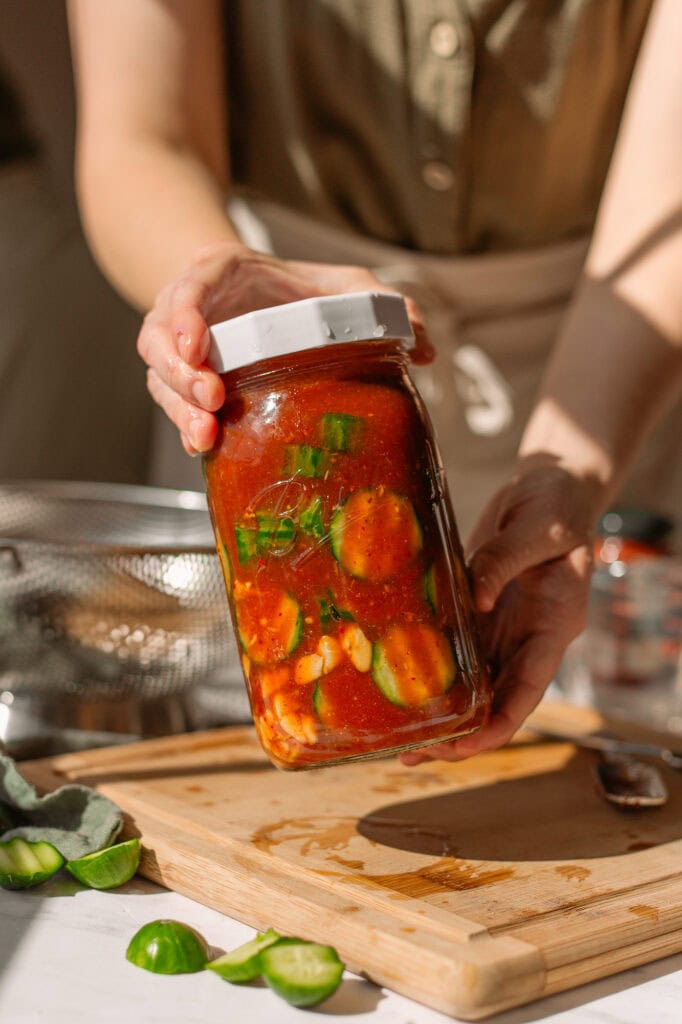
24 – 72 hours: All contents in the jar should be submerged beneath the brine. The brine will be pretty clear, but will start to get a bit murky, and you’ll see little bubbles forming in between the diced-up relish. There won’t be a ton of bubbles until about day 4, though. (This is called stage one of fermentation, and there’s not much going on that you can see). You won’t have much carbonation in the jar unless you really tighten the lid.
72 hours – 7 days: After 72 hours, you should start to see lots of bubbles. You need to burp the jar if you are using a rust-proof mason jar lid (as I recommend). You’ll notice the zucchini in this stage change color from vibrant green to pale olive. You will also notice the brine becomes very cloudy. Leuconostoc bacteria begin to thrive, producing lots of carbon dioxide and acetic acid. You can open the jar whenever to ensure everything is submerged and the lid stays clean. If anything is floating to the surface, scoop it out with a clean spoon. If the lid looks dirty at all, wash it with hot, soapy water, then place it back on the jar.
7 – 12 days: Bubbles in the brine will decrease as the ferment leaves stage two and enters stage three of fermentation. The brine will be quite cloudy and start to develop a pleasantly sour smell. You’ll probably start to see sediment at the bottom of the jar, and the bubbles will stop completely. Lactobacillus species are most abundant.
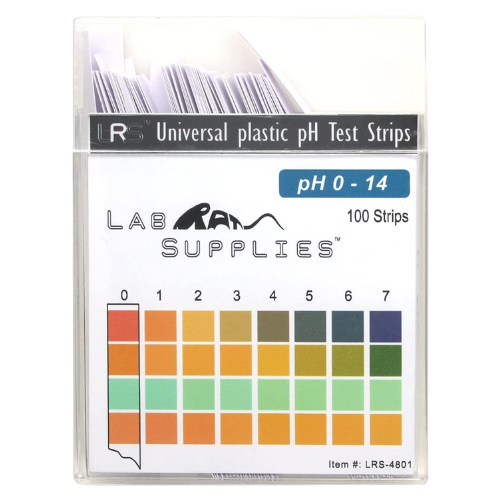
12 – 14 days: Lactobacillus makes up the majority or all of the microbial population now. They produce copious amounts of lactic acid, making the Bloody Mary pickles smell even more pleasantly sour. At this time, you can smell, taste, and refrigerate! The pickles should have a pH of 4 or below. They are now super-probiotic and well-preserved.

What if my relish is just too salty?
If this probiotic, fermented relish is too salty for your taste buds, it’s an easy fix! Pour off half the brine into an empty jar and top off the relish with apple cider vinegar. Shake to combine. This will dilute the saltiness and add a lovely vinegar flavor. And don’t worry, vinegar does not kill the acid-tolerant probiotic microbes in the fermented relish. Be sure to save the brine to make my probiotic pickled garlic or probiotic pickled onions.
Things You May Need:

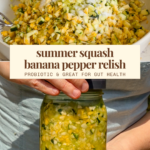
Fermented Summer Squash and Banana Pepper Relish
Preserve all those summer squash and peppers from the garden with this probiotic, fermented relish recipe! It’s made with summer squash and banana peppers and ready in just 10-14 days.
- Prep: 20 minutes
- Total Time: 336 hours 20 minutes
Ingredients
- 400 grams banana peppers, chopped
- 450 grams summer squash, chopped
- 100 grams water
- 34 grams sea salt
- 1 large lettuce leaf or cabbage leaf
Instructions
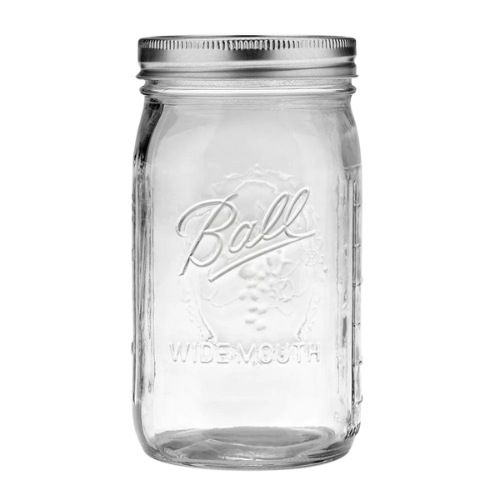
- This recipe at 1x works best with a 32-ounce jar.
- Wash your banana peppers and summer squash in cool water.
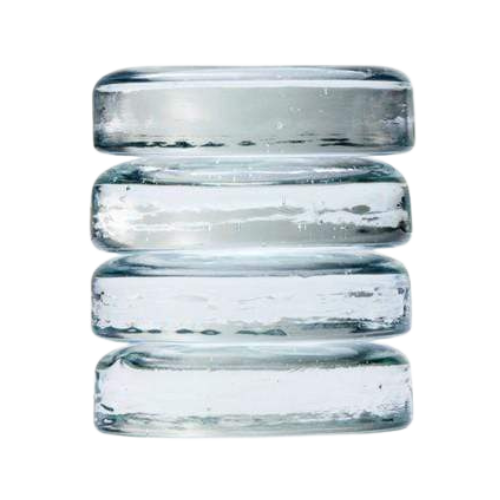
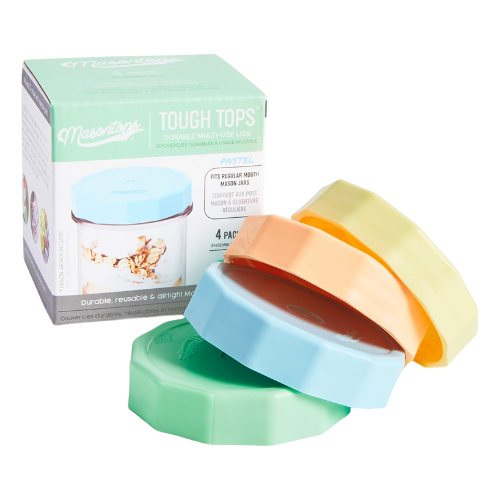
- Make sure your fermentation jar, weight and lid are washed and clean.
- Mix all the ingredients together in a large bowl to get the salt evenly distributed.
- Transfer everything, including the liquid to the jar and pack it in.
- Use a piece of a lettuce leaf or cabbage leaf to tuck the relish in the brine, and place your fermentation weight on top to keep everything submerged.
- Place the lid on the jar (you don’t have to tighten it super-duper tight, just close it). Place the jar in a dish to catch any spills and let it ferment at room temp. for 2 weeks.
- If you do tighten the lid a lot, you should burp the jar daily when it is bubbling. It also helps to open up the jar daily to rinse the lid clean and re-submerge or scoop out any floating bits.
- After 2 weeks, remove the fermentation weight and smell and taste test. Your relish should smell pleasantly sour and taste tart and salty. (if it’s warmer in your kitchen you can taste test around 10 days).
- Too salty for you? Pour off half the brine into an empty jar and top off the relish with apple cider vinegar! Shake to combine. Save the extra salty brine to make my probiotic pickled garlic or probiotic pickled onions.
- Store in the fridge. Please leave a five-star rating below if you love this recipe!
Notes
- The timeline is adjustable based on temperature. Fermentation is faster at warm temperatures. You can taste test at 10 days and see how you like them.
- This recipe at 1x is for a 32- ounce jar.
- You can use any peppers you want in this recipe! Peppers above 500,000 Scoville units contain an extremely high concentration of capsaicin. At those levels, capsaicin is bactericidal and can prevent or stall natural fermentation.
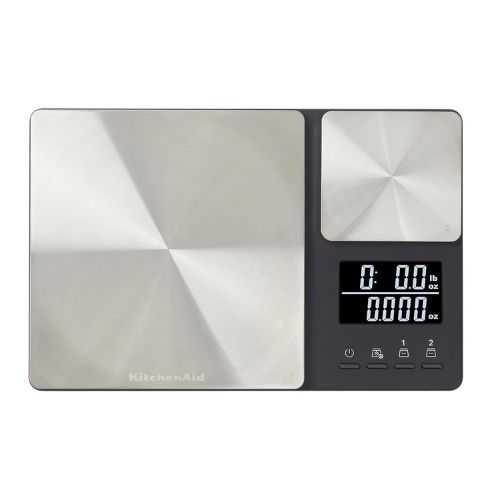
- Taring/zeroing the scale with a container on it subtracts the weight of the container, allowing you to weigh only what is added to the container. After taring/zeroing the scale, the scale should read 0.0 with the container on it.
- Peppers and summer squash sold in a bags are sometimes triple-washed. If they are they may lack essential microbes for fermentation. If using bagged vegetables, I highly suggest adding two fresh cabbage leaves to this recipe as a “starter” for fermentation. You can eat the cabbage leaves after or compost them.