

Choosing Quality Cucumbers for Fermentation
I suggest using one of three cucumber varieties when making these fermented Bloody Mary pickles. First, English cucumbers, the long cucumbers normally sold tightly wrapped in plastic, work well. The second is pickling cucumbers; these are the shorter, bumpy, lighter-green cucumbers. Third is the Persian cucumber (my favorite), also known as teeny tiny or cocktail cucumbers.
Do not use slicing cucumbers for fermentation. These are very smooth, dark green cucumbers. They’re usually fat and long. Most slicing cucumbers will turn into a soggy mess through the fermentation process. Slicing cucumbers are also normally wax-coated, which disrupts the fermentation process.
Here’s my checklist for choosing good cucumbers:
- Density: The cucumber should feel heavy, like it is hydrated and has turgor pressure. It should not feel hollow, like yellow squash, if you tap your finger against it.
- Check for surface mold: Look for indentations and soft spots in the cucumbers. You do not want to buy a squishy cucumber. Cucumbers near molding will have dark, small, circular indentations or black “pocks” on the surface.
- Small is Better: The bigger the diameter of the cucumber, the soggier your pickles will be. For English cucumbers, look for a smaller-diameter cucumber. If you are buying pickling cucumbers, go for the smaller, daintier ones. If you can find cocktail cucumbers, they will work fantastically.
- Color: Pickling cucumbers should be predominantly green with streaks of yellowish-green. English cucumbers should be a solid medium green color.

Crisp, Fermented Pickles
How you slice cucumbers impacts how your Bloody Mary pickles will hold up during fermentation. You should always remove the ends of cucumbers and not include the ends in the fermentation. The blossom end of cucumbers contains enzymes that can soften the cucumbers. I would say just remove the blossom end, but I never know which end is the blossom, so I remove both.
There are two slicing techniques I’ve found work best with all my fermented pickle recipe tests: pickle chips. and pickle spears. For pickle chips, I find that ripple-cut pickles hold up better than straight-sliced pickles. You can get a cheap and simple ripple cutter by clicking here.
For pickle spears or halves, which tend to hold up even better than pickle chip slices, I just cut those with a regular knife.


Preventing Sogginess in Fermented Pickles
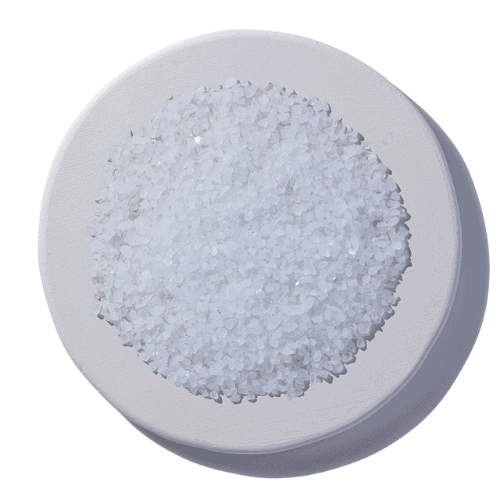
To help prevent sogginess, I always start with cold cucumbers and a total salt concentration of 3.5%. The most important thing you can do to keep your fermented pickles crisp is to use at least 3.5% total salt. That’s what my recipe calls for, so just follow it as written. (p.s. 3.5% total salt means 3.5% of the total weight of all water and cucumbers added! Cucumbers are 95-98% water, so I always account for the water inside the vegetable too!)
I occasionally add bay leaves, sencha green tea, or grape leaves for tannins. However, I find that added tannins don’t change the results if you’ve got that proper salt concentration of 3.5%. If you have frequent sogginess problems, you can try adding calcium chloride salt to pickles (sometimes called pickle crisp), which is very effective at keeping them crunchy.
Don’t forget, as mentioned above, how you slice your cucumber matters. Stick to ripple cuts or spears/halves for the best results.
If you still end up with pickles that just aren’t as crisp as you’d like, use them to make delicious Fermented Pickle de Gallo!

What Should My Bloody Mary Pickles Look Like and Smell Like?
As always, I tracked these Bloody Mary pickles through the whole fermentation process, so I can tell you all about the sensory cues to watch for as they ferment! This timeline is for pickles fermented at 72-78 degrees F. The process will be slower in colder conditions and faster in warmer conditions.
24 – 72 hours: All contents in the jar should be submerged beneath the brine. The brine will be pretty clear, but will start to get a bit murky, and you’ll see little bubbles forming in between the pickle slices. There won’t be a ton of bubbles until about day 4, though. (This is stage one of fermentation, and there’s not much going on that you can see)
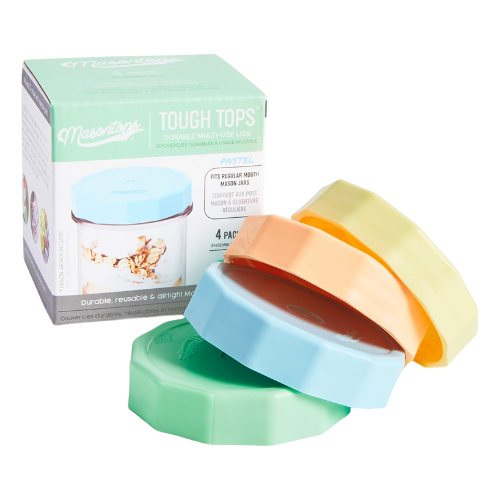
72 hours – 7 days: After 72 hours, you should start to see lots of bubbles. You need to burp the jar if you are using a rust-proof mason jar lid (as I recommend). Cucumbers in this stage should change color from vibrant green to pale olive. You will also notice the brine becomes very cloudy. Leuconostoc bacteria begin to thrive, producing lots of carbon dioxide and acetic acid. You can open the jar whenever to ensure everything is submerged and the lid stays clean. If anything is floating to the surface, scoop it out with a clean spoon. If the lid looks dirty at all, wash it with hot, soapy water, then place it back on the jar.
7 – 12 days: Bubbles in the brine will decrease as the ferment leaves stage two and enters stage three of fermentation. The brine will be quite cloudy and start to develop a pleasantly sour smell. You’ll probably start to see sediment at the bottom of the jar, and the bubbles will stop completely. Lactobacillus species are most abundant.
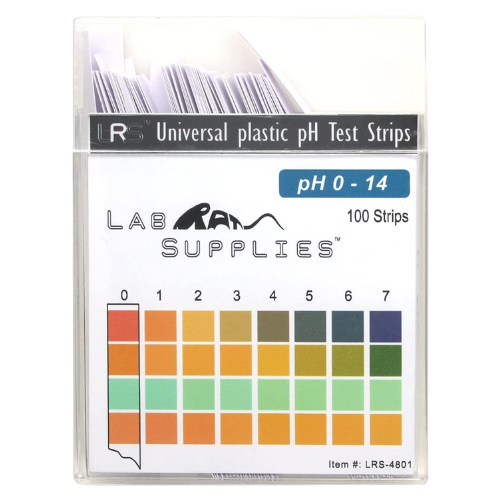
12 – 14 days: Lactobacillus makes up the majority or all of the microbial population now. They produce copious amounts of lactic acid, making the Bloody Mary pickles smell even more pleasantly sour. At this time, you can smell, taste, and refrigerate! The pickles should have a pH of 4 or below. They are now super probiotic and well preserved.


What if my Bloody Mary pickles are too salty?
If these fermented pickles are too salty for your taste buds, it’s an easy fix! Pour off half the brine into an empty jar and top off the pickles with apple cider vinegar. Shake to combine. This will dilute the saltiness and add a lovely vinegar flavor. And don’t worry, vinegar does not kill the acid-tolerant probiotic microbes in the pickles. Be sure to save the brine to make my probiotic pickled garlic or probiotic pickled onions.

Things You May Need:

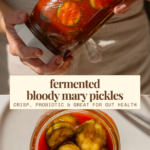
Fermented Bloody Mary Pickles
- Prep: 20 minutes
- Total Time: 336 hours 20 minutes
Ingredients
- 460 grams cucumber
- 225 grams water
- 75 grams Worcestershire sauce*
- 50 grams tomato paste
- 6 garlic cloves, peeled and crushed
- 1/2 tsp paprika
- 1/2 tsp red chili flakes
- 1 tsp onion powder
- 1 tablespoon prepared horseradish
- 25 grams sea salt
Instructions
- Please see the recipe notes before you begin.
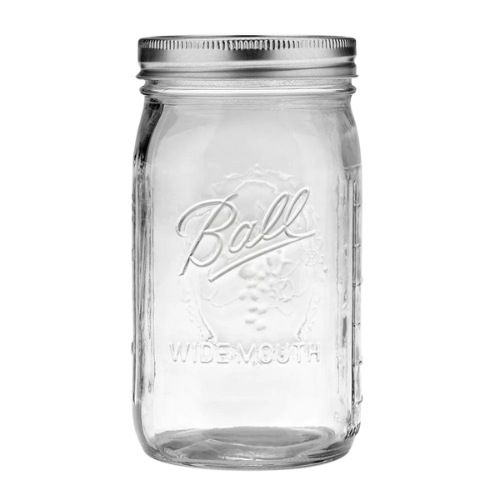
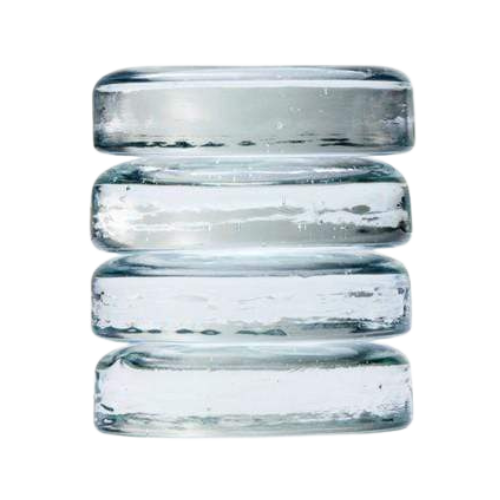
- Wash all of your fermentation equipment (jar, weight and lid)
- Wash your cucumbers in cool water.
- Slice your cucumbers either as ripple cut chips or as spears/halves. Remove and discard the cucumber ends.
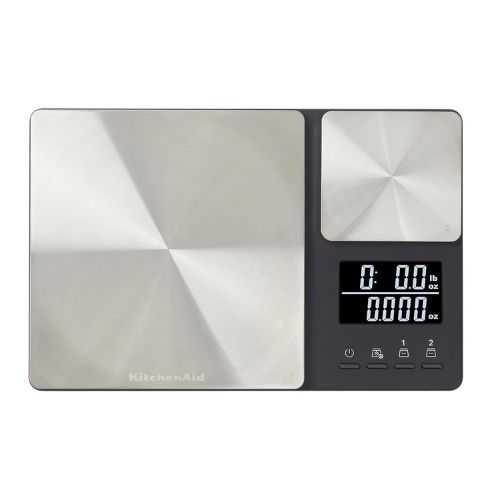
- Place your kitchen scale on the counter. Turn it on and set it to weigh in grams.
- Weigh out the designated amounts of all your ingredients.
- Add everything to the mason jar. (After testing a few batches, I learned that it helps if you whisk together the water, tomato paste, and Worcestershire sauce first, then add everything to the jar)
- Place the lid on the jar, and secure it. Shake the jar vigorously for 2 minutes to dissolve all the salt.
- Remove the lid. Place your clean fermentation weight in the jar, making sure to submerge the cucumber pieces and weight fully in the liquid.
- Rinse the lid cleans and secure the lid to the jar (you don’t need to tighten it too much; just close it).
- Let the Bloody Mary pickles ferment for 10-14 days at room temperature. Set the jar in a glass dish to catch any spills.
- If you tighten the lid a lot, you should burp the jar daily when it is bubbling. It also helps to open up the jar daily to rinse the lid clean and re-submerge or scoop out any floating bits.
- After 2 weeks, remove the fermentation weight and smell and taste test. Your Bloody Mary pickles should smell pleasantly sour and taste tart and salty. (if it’s warmer in your kitchen you can taste test around 10 days).
- Too salty for you? Pour off half the brine into an empty jar and top off the pickles with apple cider vinegar! Shake to combine. Save the brine to make my probiotic pickled garlic or probiotic pickled onions.
- Store in the fridge. Please leave a five-star rating below if you love this pickle recipe!
Notes
- The timeline is adjustable based on temperature. Fermentation is faster at warm temperatures. You can taste test at 10 days and see how you like them.
- This recipe at 1x is for a 32- ounce jar.
- Pickling, Persian, or cocktail cucumbers work best. Cucumber recommendations are in the first paragraph of this blog post.
- you can sub Worcestershire sauce with soy sauce


fantastic combination – great(and healthy) savory refreshment even sans alcohol – Thank you so much for the great recipe!
Thanks for leaving a review! Glad you enjoyed this pickle recipe! 🙂
Creative recipes…..love the probiotics
Fermented Veggies 🤝 Bloody Maries
Such a cool and creative recipe. Also if anyone has advice on how to spell the plural of Mary, let me know. 😅
Creative fun and delicious innovation on pickle flavours!
Thank you. I appreciate very much the detailed times, description and microbiology Of this recipe. Cheers from argentina
Yeah.. this one came to my home to stay.
You simply cannot find anything like this to buy. The flavor is surprising! Like a smack on your face! A great way to awaken the senses and fall in love with fermentation.
I highly recommend it. I even bought the wavy slicer which hasn’t arrived yet and then I’ll make more.
These pickles are amazing! They are so crunchy and full of flavor. I can’t wait to make a Bloody Mary with the brine.
These turned out amazing! A perfect Father’s Day gift! So so good.
so glad you love the pickles! Such a great gift!
These are unreal! This is the first thing I’ve ever fermented and I’m speechless. Will definitely be making this recipe again.