Fermented Old Bay Pickles
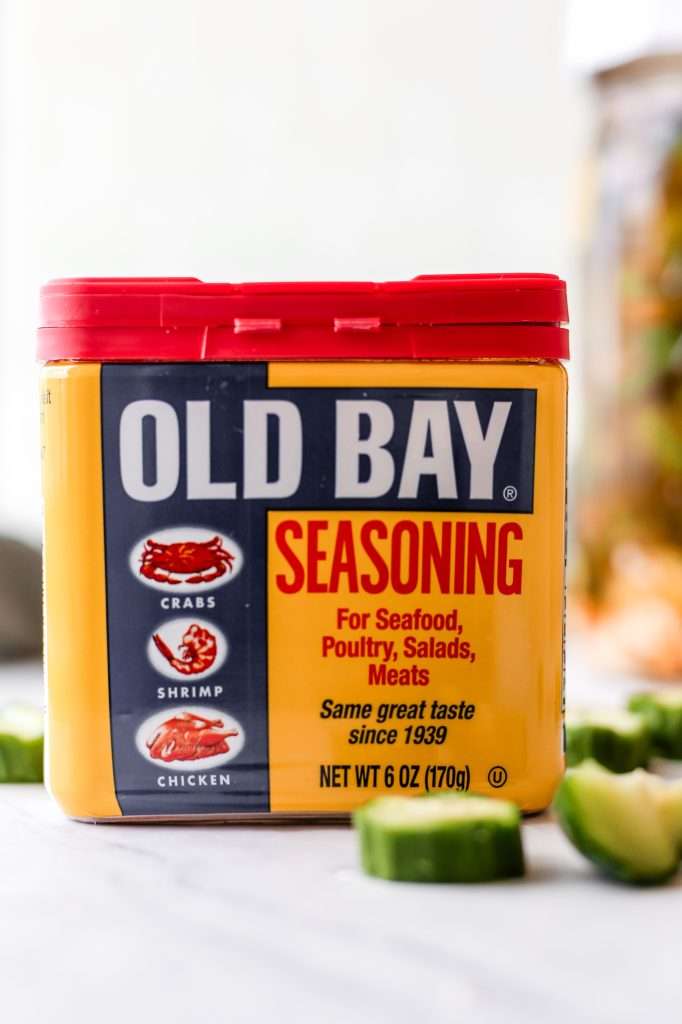
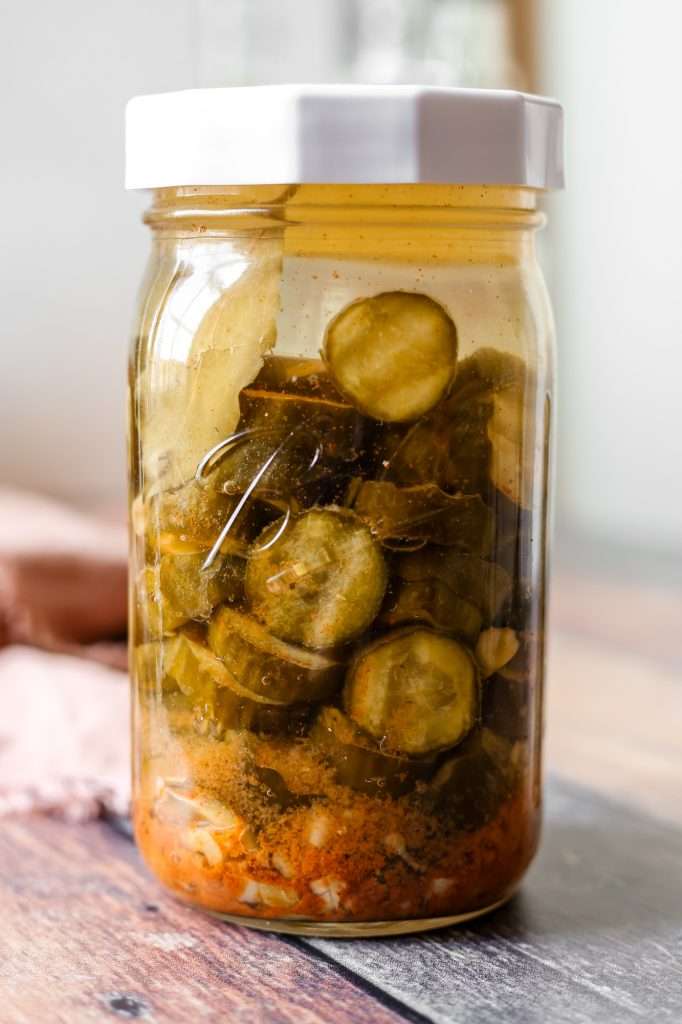
You didn’t think fermented pickles could get more flavorful, did you? Enter full sour fermented old bay pickles, made with Old Bay seasoning, a legendary blend of herbs and spices from the Chesapeake Bay area.
Its aromatic combination includes celery salt, paprika, mustard, pepper, and other secret ingredients, creating a symphony of flavors that complements seafood dishes and more.
By incorporating Old Bay into the brine for your pickles, you infuse them with a delightful medley of savory, zesty, and slightly spicy notes.
Choosing Quality Cucumbers for Fermentation
I suggest using one of three types of cucumbers to ferment your pickles. First, English cucumbers, the long cucumbers normally sold tightly wrapped in plastic, work well. The second is pickling the shorter, bumpy, lighter green cucumbers. Third, is the Persian cucumber (my favorite), also known as teeny tiny or cocktail cucumbers.
Do not use slicing cucumbers for fermentation. These are very smooth, dark green cucumbers. They’re usually fat and long. Most slicing cucumbers will turn into a soggy mess through the fermentation process. Slicing cucumbers are also normally wax-coated, which disrupts the fermentation process.
Here’s my checklist for choosing good cucumbers:
- Density: The cucumber should feel heavy like it is hydrated and has turgor pressure. It should not feel hollow, like yellow squash, if you tap your finger against it.
- Check for surface mold: Look for indentions and soft spots in the cucumbers. You do not want to buy a squishy cucumber. Cucumbers near molding will have dark, small, circular indentions or black “pocks” on the surface.
- Small is Better: The bigger the diameter of the cucumber, the soggier your pickles will be. For English cucumbers, look for one with a smaller diameter. If you are buying pickling cucumbers, go for the smaller dainty cucumbers. If you can find cocktail cucumbers, they will work fantastically.
- Color: Pickling cucumbers should be predominately green with streaks of yellowish-green. English cucumbers should be a solid medium green color.
Fermenting Sliced Cucumbers
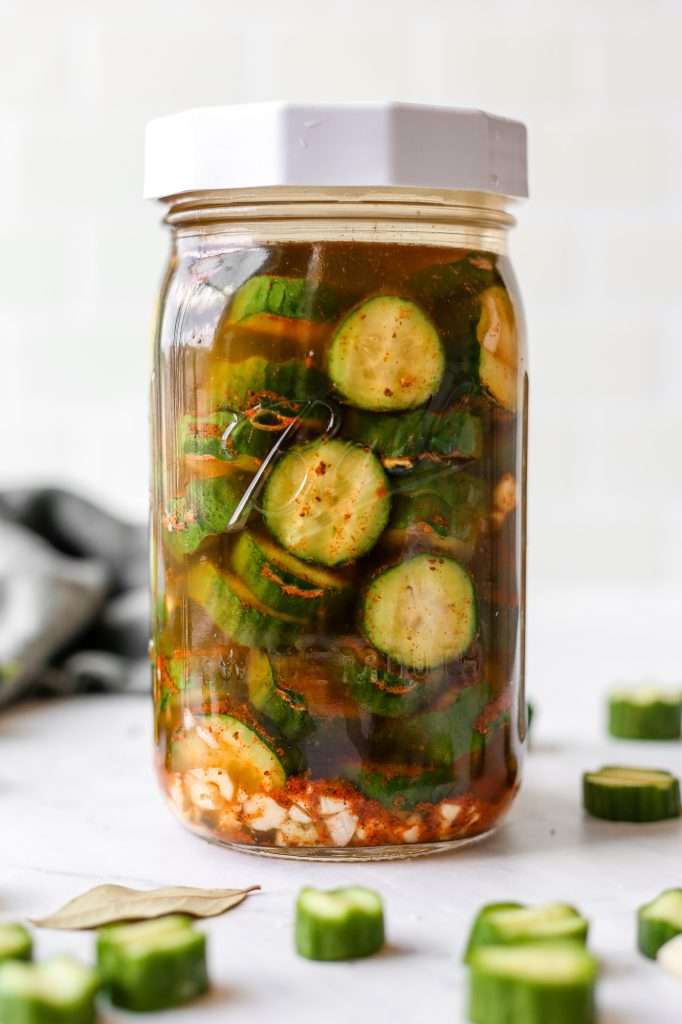
How you slice cucumbers impacts how the pickles hold up during fermentation. You should always remove the ends of cucumbers and not include the ends in the fermentation. The blossom end of cucumbers contains enzymes that can soften the cucumbers.
There are two slicing techniques I recommend when fermenting cucumbers into pickles.
For pickle chips, a ripple-cut pickle holds up better than a straight-sliced pickle. You can get a cheap and simple ripple cutter by clicking here.
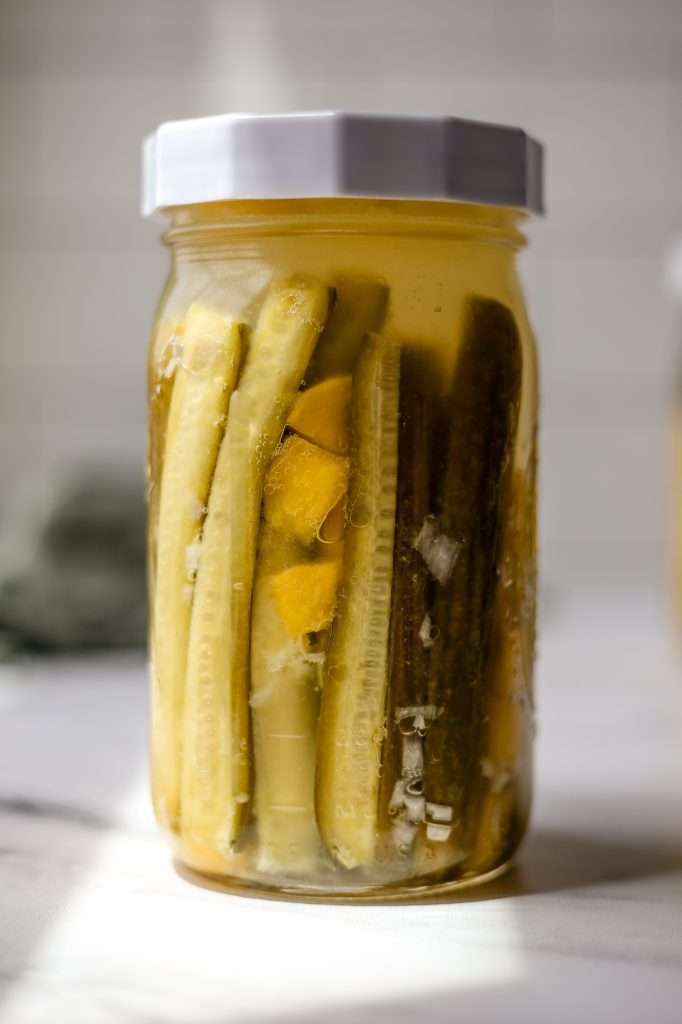
I also suggest fermenting pickle spears or halves, which hold up even better than pickle chip slices. Spears and halves can be cut with a regular knife.
Probiotic Bacteria in Fermented Old Bay Pickles
Cucumbers naturally have a lot of Lactobacillus plantarum on their surface. This means that cucumbers ferment a little faster than other vegetables. While cabbage takes four weeks to ferment, pickles take about two weeks.
You can ferment pickles for four weeks for extra sour flavor. This abundance of Lactobacillus makes fermented pickles excellent for gut health.

Crisp Fermented Old Bay Pickles
To help prevent sogginess, start with cold cucumbers and a 3.5% total salt concentration. The most important thing you can do to keep your fermented pickles crisp is to use at least 3.5% total salt.
You can add bay leaves, sencha green tea, and grape leaves for tannins. You can also try adding calcium chloride salt to pickles, which is very effective at keeping things crunchy. (Some sources of calcium chloride are natural from limestone… and some are chemically produced. I suggest researching this salt and deciding if you’d like it in your food).
Don’t forget, as mentioned above, how you slice your cucumber matters. Stick to ripple cuts or spears/halves for the best results.
Supplies You Need for Fermenting Cucumbers
Here is the equipment you will need to make it:
- 32-ounce Wide Mouth Mason Jar
- Fermentation Weight
- Standard Metal Mason Jar Lid (this can rust in the presence of salt)
- OR Rust-Free Plastic Lid
- OR you can use a Weck Jar (without the gasket; only use the clips to secure the lid)
- Sea Salt
- Scale
- Mixing Bowl
- Ripple cutter
If you would like to read more about the best jars and lids for fermenting vegetables, click here.
Fermented Old Bay Pickles Timeline
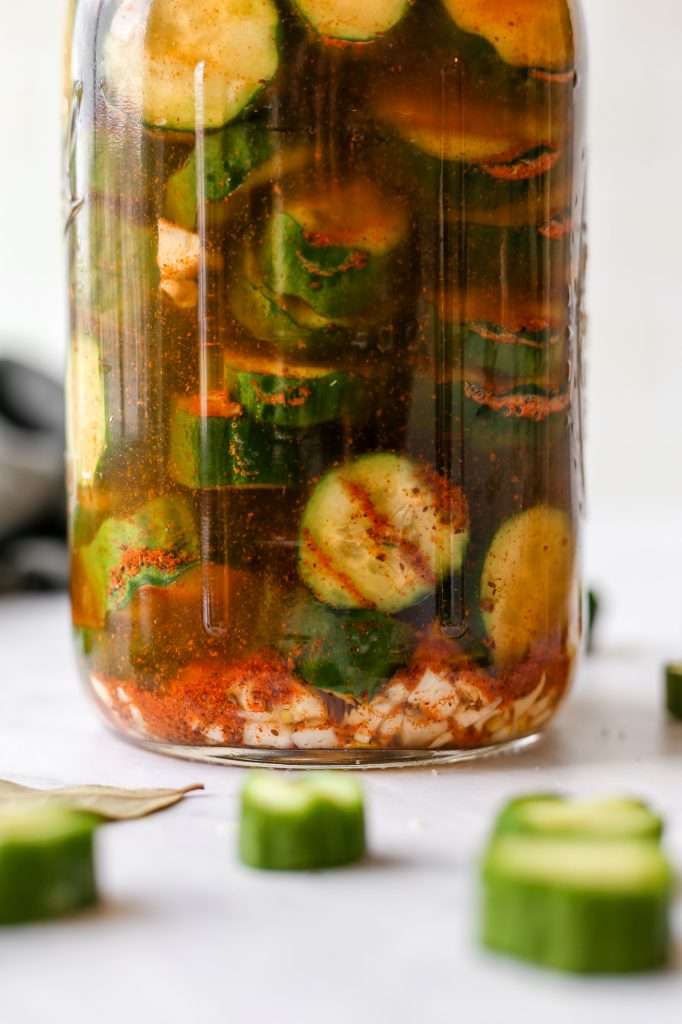
We tracked our fermented pickles throughout the fermentation process. If you follow our recipe and directions, your timeline for fermented cucumbers should approximately match ours. This timeline is for fermenting cucumbers at 72-78 degrees F. The process will be slower in colder conditions and faster in warmer conditions.
24 – 72 hours: All contents in the jar should be submerged beneath the brine. At this time, there are still Gram negative bacteria and possible pathogens present.
72 hours – 7 days: After 72 hours, you should see lots of bubbles. You need to burp the jar if you are using a standard mason jar and lid. Cucumbers in this stage should change color from vibrant green to pale olive. You will also notice the brine becomes very cloudy. Leuconostoc bacteria begin to thrive and produce a lot of carbon dioxide and acetic acid. Gram negative organisms die off during this time.
7 – 12 days: Bubbles in the brine will decrease as the ferment leaves stage two and enters stage three. The mixture will become cloudy and start to develop a pleasantly sour smell. Lactobacillus species are most abundant during this time.
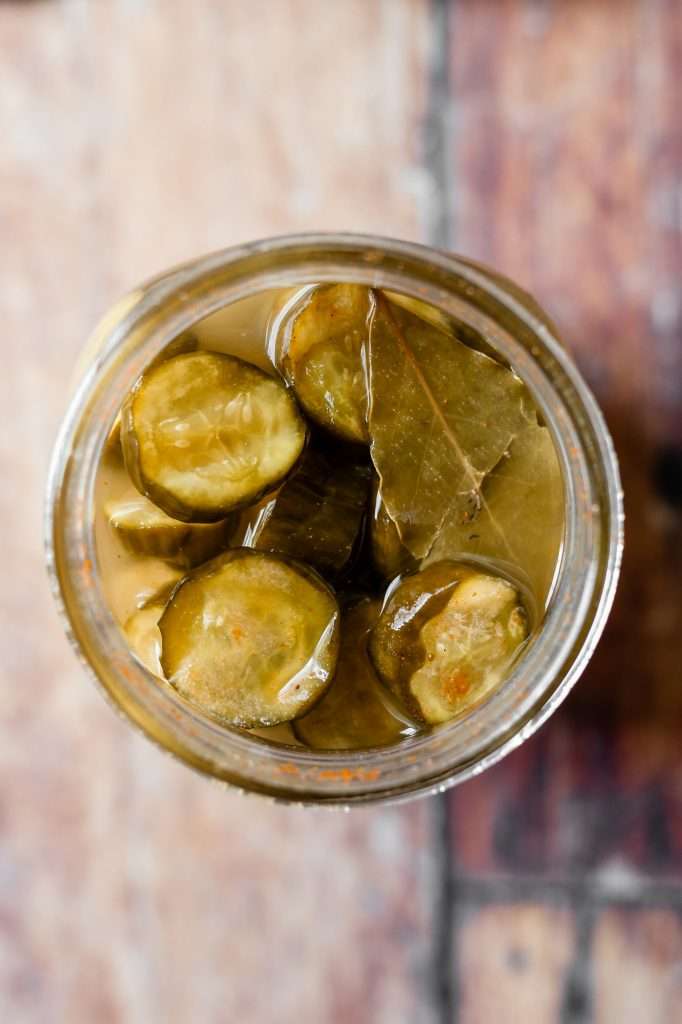
12 – 14 days: Lactobacillus make up the majority or all of the microbial population. They produce copious amounts of lactic acid and make the fermented cucumbers smell even more pleasantly sour. This is the time in which the vegetable mixture becomes preserved. At this time, you can smell and taste test.
Fermented Pickles Recipe Tips
During the first few days of fermentation: carbon dioxide and bubbles will be produced. Sometimes jars will become full of liquid, and this liquid can seep out. You can store the jar in a bowl or on a plate to catch anything that seeps out.
Remove the lid and tamper everything using a gloved hand, tamper, or spoon if necessary. Make sure everything remains submerged below the brine during fermentation. You can take the lid off regularly and rinse it off if it is dirty.
Fermented cucumbers should smell pleasantly sour and more smooth than a vinegar pickle. Never eat fermented vegetables that smell repulsive or like alcohol.
How to Eat Old Bay Pickles
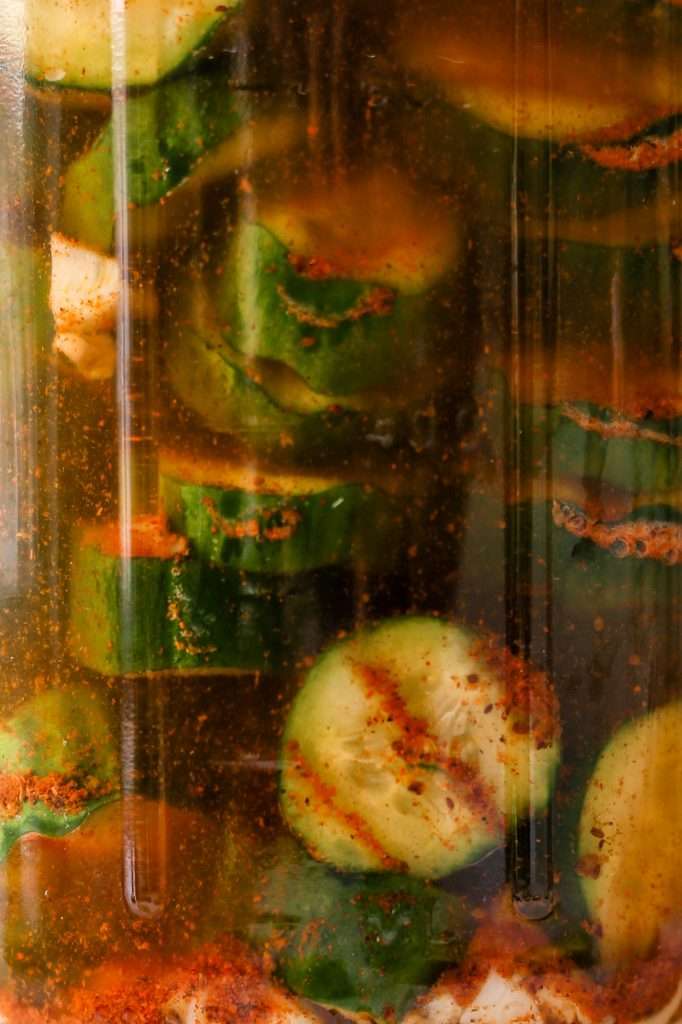
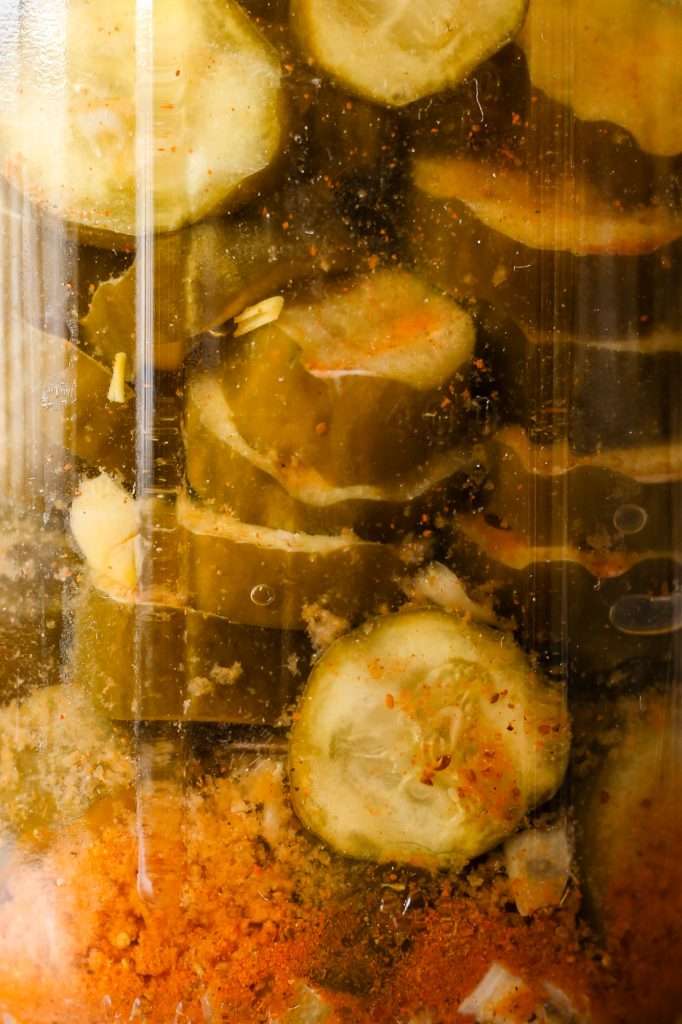
The marriage of fermented pickles and Old Bay seasoning elevates the humble pickle to a new level. The tangy and probiotic-rich benefits of fermentation blend harmoniously with Old Bay’s bold and unique flavor profile. These pickles make an excellent addition to burgers, sandwiches, and salads, or enjoy them as a delicious snack.
Print
Full Sour Fermented Old Bay Pickles with Crushed Garlic
If you’re a fan of pickles and crave bold flavors, you’re in for a treat! Forget the ordinary pickles; we’re diving into fermented Old Bay pickles today. The fusion of tangy pickles and iconic Old Bay seasoning creates a mouthwatering experience that will leave your taste buds begging for more.
- Prep: 20 minutes
- Total Time: 336 hours 20 minutes
Ingredients
- 450 grams cucumber
- 325 grams water
- 30 grams garlic, fresh
- 25 grams salt
- 2 bay leaves
- 2 teaspoons old bay seasoning* (contains salt)
Instructions
- This recipe at 1x works best with a 32-ounce wide mouth mason jar. Please see equipment recommendations above. Please use the right type of cucumber. Recommendations can be found in the first paragraph of the blog post. Please also read the slicing recommendations.
- Wash all of your fermentation equipment (jar, weight and lid)
- Wash your cucumbers in cool water.
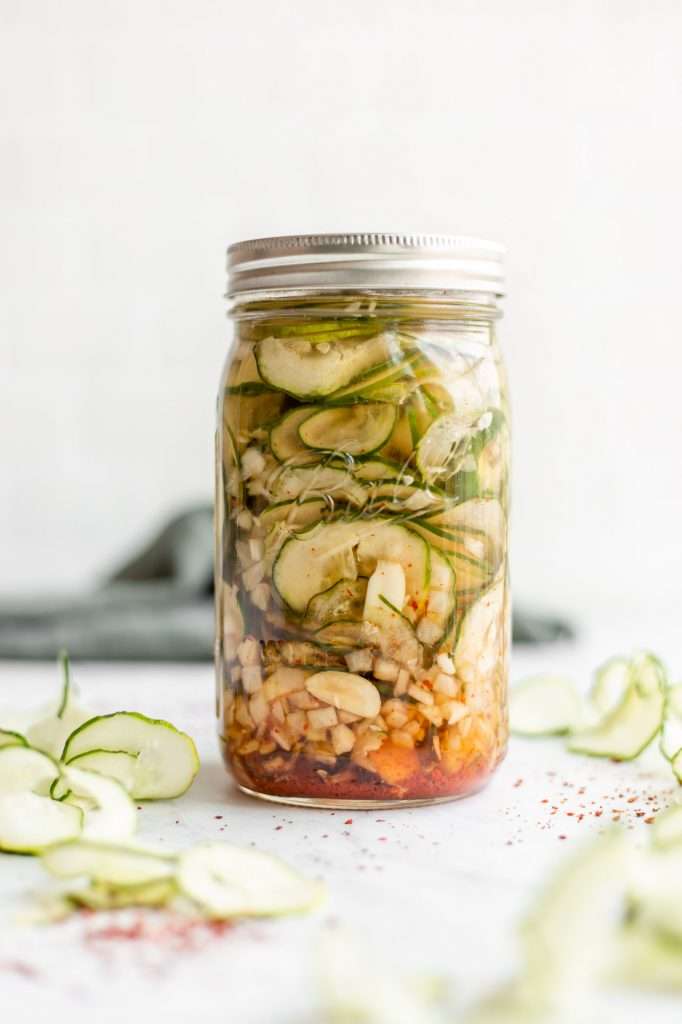
- Slice your cucumbers either as ripple cut chips or as spears/halves. Peel and crush your garlic and let it sit for 10 minutes to allow the flavors to develop.
- Place your kitchen scale on the counter. Turn it on and set it to weigh in grams.
- Place a mixing bowl on your kitchen scale and tare/zero the scale.
- Weigh out the designated amount of cucumbers.
- Add the cucumbers and the designated amount of water to the jar.
- Place a small bowl on your scale and tare/zero the scale.
- Weigh out the salt. Then add salt to the jar of cucumber and water.
- Add in the old bay seasoning, garlic and bay leaves.
- Place your standard mason jar lid on the jar, and secure it. Shake the jar vigorously for 2 minutes to dissolve all the salt.
- Remove the lid. Place your clean fermentation weight in the jar making sure to submerge the cucumber pieces and weight fully in the liquid.
- Secure the lid to the jar.
- Let the cucumbers ferment for 14 days at room temperature. Set the jar in a glass dish to catch any spills.
- If using a regular mason jar lid, you will need to burp the jar daily when it is bubbling.
- After 2 weeks, remove the fermentation weight and smell and taste test. Your fermented pickles should smell pleasantly sour. They should taste tart, like a smoother version of a vinegar pickle.
- Store in the fridge.
Notes
- The salt concentration is calculated to be approximately 3.5%, accounting for the salt in old bay seasoning.








Thank you so much for sharing this recipe! The flavor was out of this world. Unfortunately, the variety of cucumber that I used didn’t hold up as far as texture goes. Is it possible to reuse the fermentation liquid and garlic with new cucumbers or would you have to start from scratch? Thank you!
Best pickle recipe ever! Followed it exactly as written. Added oak leaves for tannins. I also used this recipe for jalapeños. Yummy. Thank you for posting this amazing recipe.
yay! I’m glad to hear you loved this one! I’ll have to try this with jalapenos too!