Cultured Guru Logo
Cultured Guru Logo
  • Start Here
  • RecipesWe love to create delicious recipes with gut health in mind. By using our recipes, you can easily create any dish knowing that it’s good for gut health! Our recipe blog also includes Vegan Recipes, Vegetarian Recipes, Gluten Free Recipes, and Paleo Recipes.
  • About
  • Learn
  • Shop
  • Contact
Fermented Pickles

Green Onion Kimchi Inspired Fermented Relish

It’s light, sour, briny, and full of delicious onion flavor. You’re going to love this green onion kimchi inspired fermented relish.

Prep: 30 minutes
Total: 336 hours 30 minutes
Jump to Recipe Rate Recipe
Recipe Index | Ferment | Fermented Pickles

Green Onion Kimchi Inspired Fermented Relish

It’s light, sour, briny, and full of delicious onion flavor. You’re going to love this green onion kimchi inspired fermented relish.

Green Onion Kimchi

Kimchi is usually a spicy mix of fermented cabbage and other ingredients. What kimchi is made of depends on who is making it and where you are trying it! Another popular variety is green onion kimchi, and that type inspires this recipe.

In Korea, families use local and seasonal ingredients in their kimchi recipes, so there are over 200 types of kimchi, each unique.

One type of kimchi is green onion kimchi, also called Pa-Kimchi. It is made similarly to cabbage-based kimchi, but with green onions as the base.
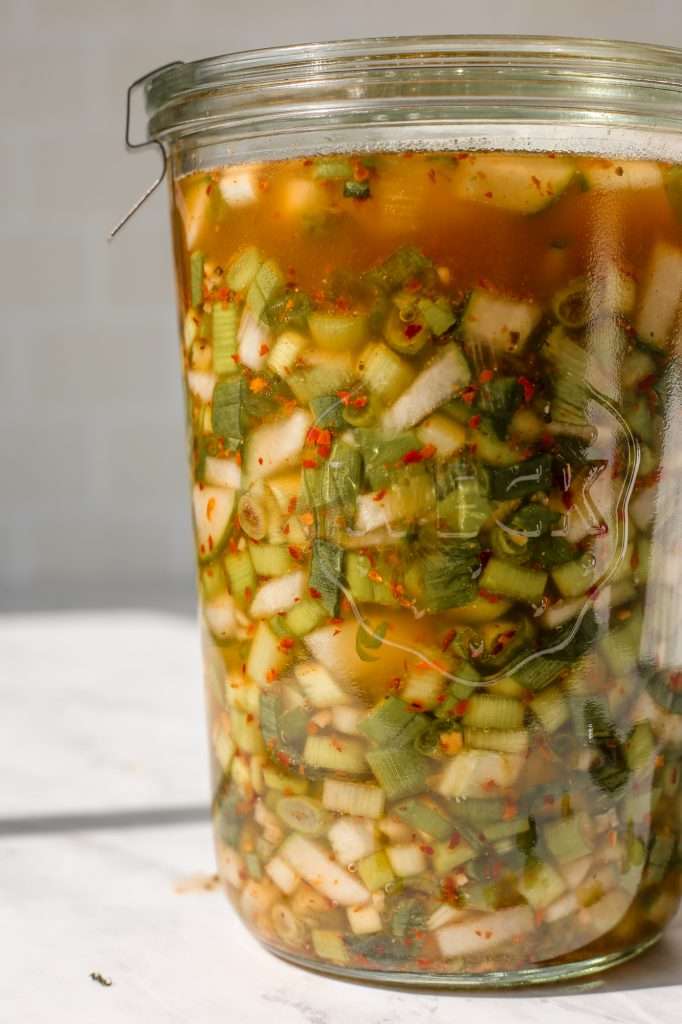
Fermented Relish

My recipe is inspired by the flavors and ingredients used in pa-kimchi, but it is quite different. If you want to make traditional pa-kimchi check out this recipe from Korean food blogger, Maangchi. Otherwise, stay here and try making my green onion kimchi relish!

Instead of keeping the green onions whole, I like to chop them and mix them with cucumbers for a relish. So this recipe has all the great flavor of green onion kimchi, but it’s easy to incorporate into meals as a relish.

Green Onion Kimchi Relish Ingredients

Here is everything you need to make this recipe:

  • 325 grams green onions, chopped
  • 175 grams cucumbers, minced
  • 10-15 grams Kimchi spice blend (or to taste)*
  • 150 grams filtered water
  • 23 grams unrefined sea salt
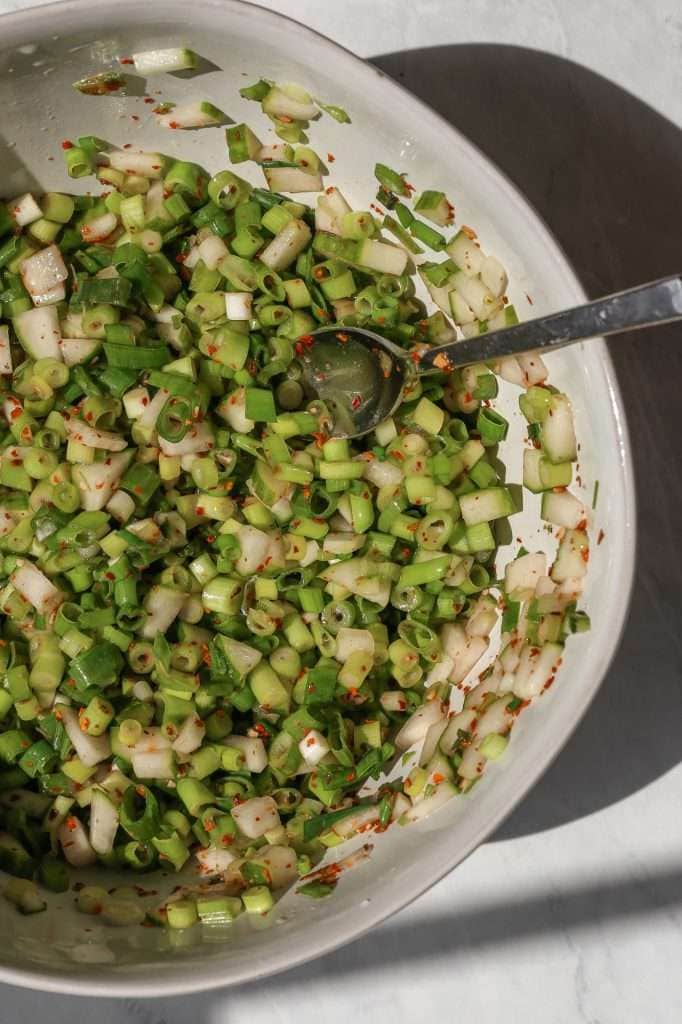
chopped green onions and cucumbers in a white bowl with kimchi spices.

Kimchi Spice Blend

This recipe calls for my kimchi spice blend. I blend these spices in bulk and keep them in an airtight jar to easily use the kimchi spice whenever I want to start a new batch.

This is a dry spice blend, and I use organic bulk spices from Starwest Botanicals.

Here is how I make it:

  1. You will need 455 grams gochugaru chili flakes, 300 grams minced garlic, 100 grams ginger powder, and 75 grams kelp granules (all of these are dry ingredients).
  2. Mix the ingredients in a large bowl until evenly combined.
  3. Store in an airtight container, such as a mason jar or weck jar.
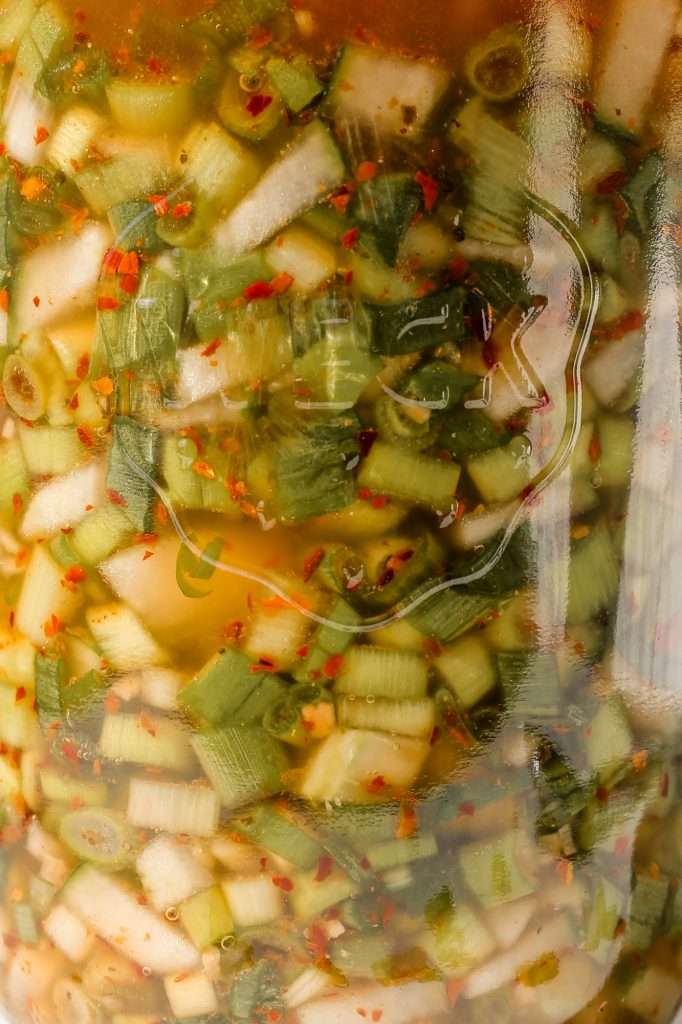
Timeline for Green Onion Kimchi Fermented Relish

24 – 48 hours: All contents in the jar should be submerged beneath the brine. At this time, there are still Gram-negative bacteria and possible pathogens present.

48 hours – 5 days: After 48 hours, you should start to see lots of bubbles being produced. This is when the ferment enters stage two of vegetable fermentation. Leuconostoc bacteria begin to thrive, and Gram-negative organisms die off.

5 – 10 days: The bubbles in the brine will decrease as the ferment leaves stage two and enters stage three. The ferment will become cloudy, the color will change, and a pleasant sour smell will develop. You should also recognize onion, garlic, and pepper smells. Lactobacillus species begin to thrive at this time.

10 – 15 days: Next, Lactobacillus make up most or all of the microbial population. They produce copious amounts of lactic acid, making the fermented green onions smell even more pleasantly sour. This is when the relish becomes naturally preserved.

14-21 days: This is when you want to smell and taste test. Wait for the green onion relish to smell and taste as you like, and refrigerate when you find the smell and taste most pleasant! We like ours best when we refrigerate at about 15 days.

Supplies You Need for Fermenting Green Onion Kimchi Relish

For the best sauerkraut flavor and texture, you should use weight measurements for your fermentation ingredients. That means you need a kitchen scale. Weighing your ingredients gives you consistent and superior fermentation results. This is the scale we use in our home kitchen.  

Here is the equipment you will need to make it:

  • Wide Mouth Mason Jar
  • Fermentation Weight
  • Standard Metal Mason Jar Lid (this can rust in the presence of salt)
  • OR Rust-Free Plastic Lid
  • or you can use a Weck Jar (without the gasket; only use the clips to secure the lid)
  • Sea Salt
  • Scale
  • Mixing Bowl 

If you would like to read more about the best jars and lids for fermenting vegetables, click here.

More Fermentation Recipes to Try

  • Homemade Kimchi Inspired Spicy Sauerkraut Recipe
  • Cucumber Kimchi Inspired Spicy Garlic Pickles
  • Fermented Green Tomato Pickles
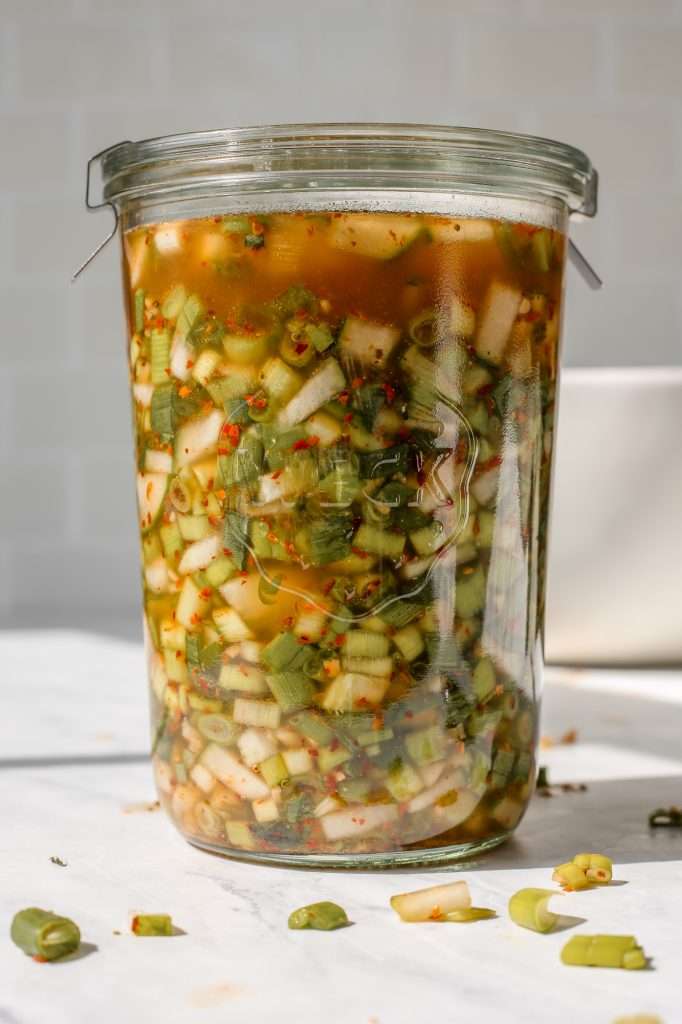
green onion kimchi inspired fermented relish in a large class weck jar. There is a fermentation weight in the jar and the glass lid is held on the jar with metal clips.
Print
Fermented Pickles

5 Stars 4 Stars 3 Stars 2 Stars 1 Star

5 from 2 reviews

Green Onion Kimchi Inspired Fermented Relish

Light, sour, briny, and full of delicious onion flavor. You’re going to love this green onion kimchi inspired fermented relish. Use it anywhere you would use kimchi.

  • Prep: 30 minutes
  • Total Time: 336 hours 30 minutes

Ingredients

  • 325 grams green onions, chopped
  • 175 grams cucumbers, minced
  • 10–15 grams Kimchi spice blend (or to taste)*
  • 150 grams filtered water
  • 23 grams unrefined sea salt

Instructions

  1. This recipe at 1x fits best in a 25-ounce jar.
  2. Wash your fermentation equipment (jar, weight, and lid)
  3. Mince the green onions, tops and bulbs, (removing the roots), and lightly rinse with cool water removing any dirt.
  4. De-seed the cucumber and mince it.
  5. Place your kitchen scale on the counter. Turn it on and set it to weigh in grams.
  6. Place a mixing bowl on your kitchen scale and tare/zero the scale.
  7. Add the designated amounts green onions, cucumber and spice blend.
  8. Remove the bowl from the scale and set it aside.
  9. Place a small, empty bowl on your scale and tare/zero the scale. Weigh out the salt.
  10. Add the salt into the bowl with the green onions and cucumber and mix with your hands until it becomes wet.
  11. Place your empty, clean jar on the scale, and tare/zero the scale. Make sure your scale is still set to grams, and add the designated amount of filtered water to your jar.
  12. Add the water into the bowl with the green onions and cucumber salt. Mix everything well.
  13. Add the entire contents of the bowl into your jar, and pack everything down. (If you have a large cabbage leaf, you can stick that in the top of the jar to help hold all the onion pieces down).
  14. Place your glass fermentation weight in the jar, submerging everything and the weight fully into the liquid.
  15. Secure the lid to the jar.
  16. Ferment for 14-21 days, then refrigerate. Don’t forget to burp the jar daily during the bubbly phase. You can place the jar on a plate to catch any drips.

Notes

  • See the blog post above this recipe for kimchi spice blend directions.

Did you make this recipe?

Please leave a 5-star review below if you loved it! Tag @cultured.guru on Instagram


Nutrition information is auto-calculated and estimated as close as possible. We are not responsible for any errors. We have tested the recipe for accuracy, but your results may vary.

author avatar
Kaitlynn Fenley Author, Educator, Food Microbiologist
Kaitlynn is a food microbiologist and fermentation expert teaching people how to ferment foods and drinks at home.
See Full Bio
fermentation food microbiology sourdough sauerkraut fermenting at home fermented foods fermented drinks
social network icon social network icon social network icon social network icon

welcome!

hey i’m kaitlynn, i’m a microbiologist and together with my husband jon we are cultured guru.

more about us

let’s connect!

newest recipe

Fermented Brussels Sprouts with Garlic and Toasted Pepper
Fermented Pickles

Fermented Brussels Sprouts with Garlic and Toasted Pepper

never miss a thing

learn more about microbes from a microbiologist
Loading

on pinterest

Instant Pot Vegan Chicken Noodle Soup
Sourdough Smores Cookies
High Protein Cottage Cheese Mac and Cheese
Sourdough & Miso Chicolate Chip Cookies
Sourdough Dinner Rolls
Homemade Cottage Cheese

top rated recipes

How to Make Moroccan Preserved Lemons with Sea Salt
Fruits & Roots

How to Make Moroccan Preserved Lemons with Sea Salt

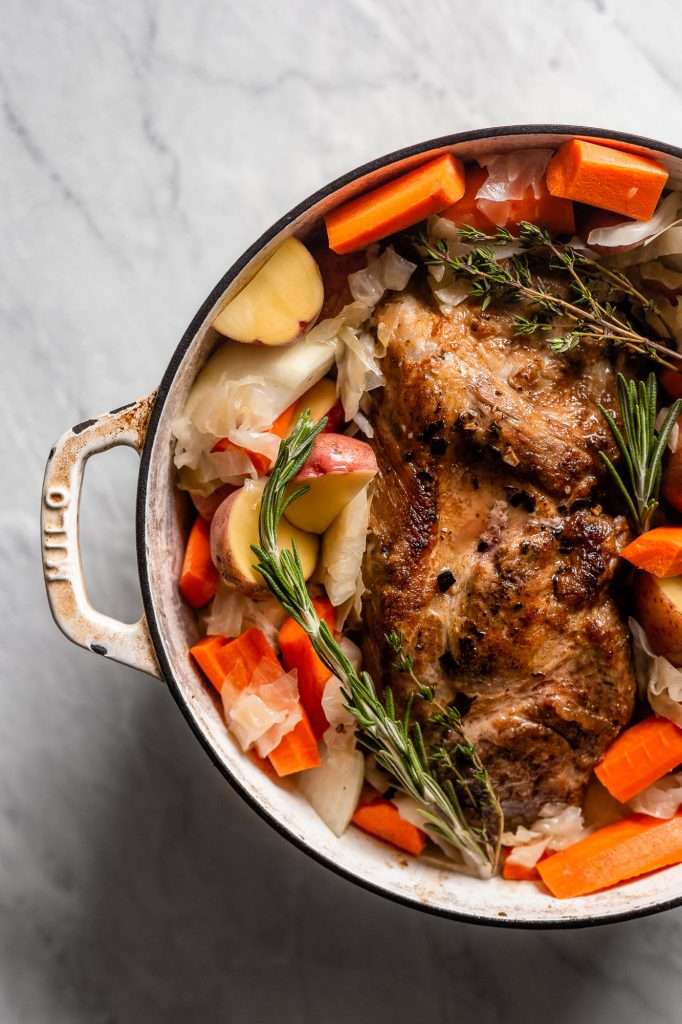
Slow Cooked Pork Roast with Sauerkraut Potatoes and Carrots
Protein

Slow Cooked Pork Roast with Sauerkraut Potatoes and Carrots

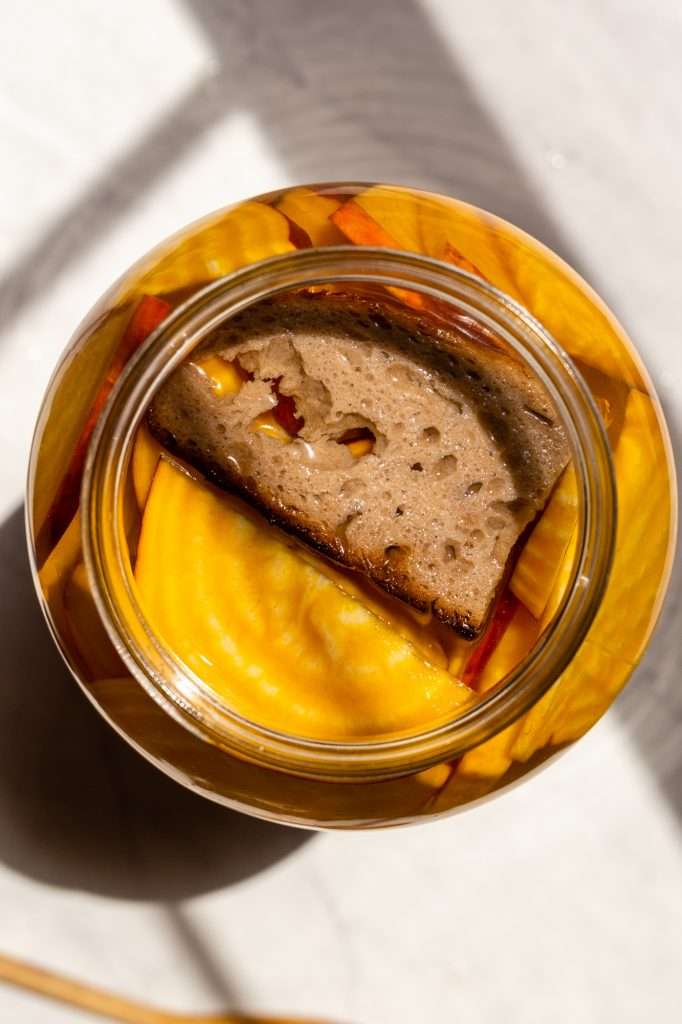
Sparkling Golden Beet Kvass Made the Traditional Way
Beverage Fermentation

Sparkling Golden Beet Kvass Made the Traditional Way

learn more

Understand microbes and master fermentation with our online courses!

learn

rate and review
We would love to hear what you think!
Cancel reply

Your email address will not be published. Required fields are marked *

Recipe rating 5 Stars 4 Stars 3 Stars 2 Stars 1 Star

  1. Hayley
    09|13|2023

    Thank you so much for this recipe! It turned out amazing! I had to go a little heavier on the cucumber since I didn’t have quite enough green onions on hand, but it still worked out great.

    Reply
    1. Kaitlynn Fenley
      09|15|2023

      Glad you enjoyed the recipe! Thank you for leaving a review!

      Reply
  2. Karlee Blair
    10|20|2025

    Hello- I am excited to try this! It has been fermenting about a week and smells delicious. I am using an airlock lid (I know that you don’t recommend 🤦🏼‍♀️) but I’ve lost a lot of brine and it is looking a little dry at the top. Should I add more? Tamper it down? Or just Try again? Any advice?

    Reply
    1. Kaitlynn Fenley
      10|20|2025

      just open it up and tamper everything down below the brine with a clean utensil, then replace the lid!

      Reply

you may also like

Beginner Friendly
Sourdough Discard View Recipe

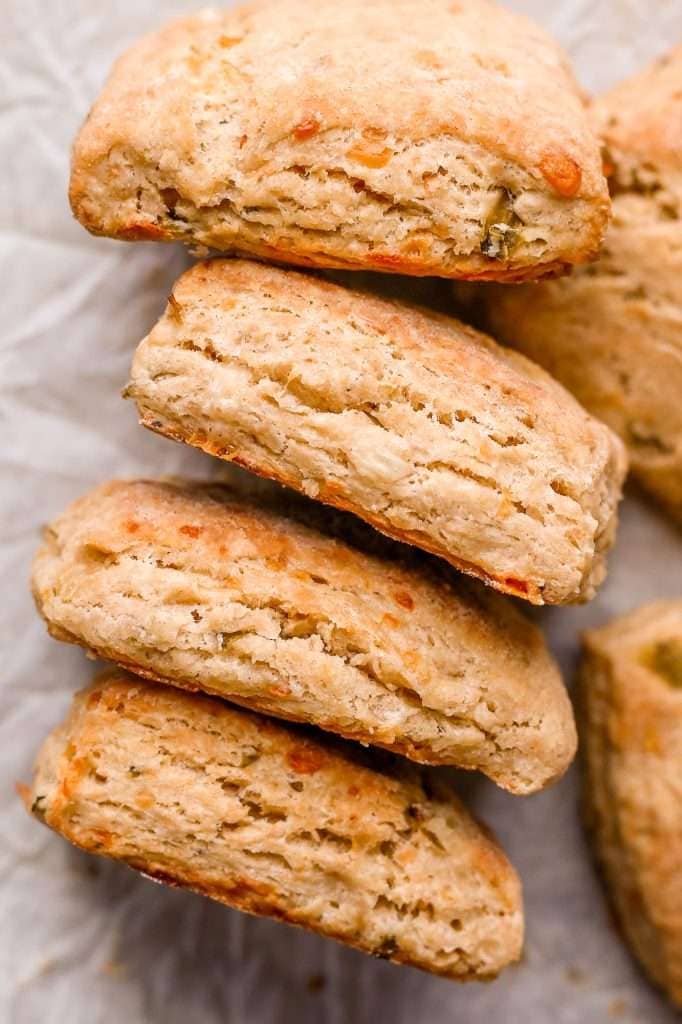
Sourdough Kimchi Cheddar Biscuits with Green Onion Kimchi

Beginner Friendly
Sauerkraut & Kimchi View Recipe

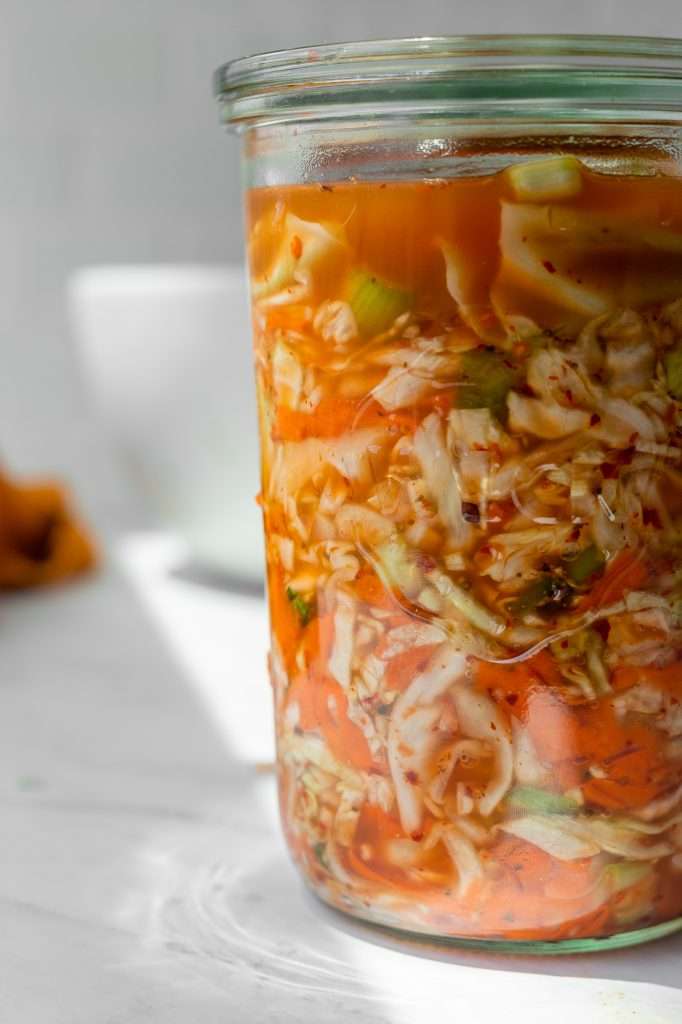
Homemade Kimchi Inspired Spicy Sauerkraut Recipe

Summer Harvest
Fermented Pickles View Recipe

Cucumber Kimchi Inspired Spicy Garlic Pickles

join us on insta

@cultured.guru

Yes, they smell like farts. YES you should still m Yes, they smell like farts. YES you should still make them, because the fart smell is a really good indicator that the microbes are making the beneficial compounds in the Brussels sprouts more bioavailable. ✨🫧

Get the recipe on my website https://cultured.guru
is this rage bait? 🤠 #kombucha is this rage bait? 🤠

#kombucha
I decided to try using my sourdough discard with t I decided to try using my sourdough discard with this packaged brownie mix and left over s’mores stuff from our latest camping trip!

Sourdough starter makes brownies a little more cake-like, so I had to up the fats in the recipe a bit to keep them moist and used a combo of brown butter and oil. 

Get the recipe for these moist cakey sourdough s’mores brownies on my website, and let me know if you try it!

My recipe index is linked in my bio. https://cultured.guru/blog/brown-butter-sourdough-smores-brownies-from-box-mix
Fermented garlic honey, and I make mine as an oxym Fermented garlic honey, and I make mine as an oxymel 

🍯✨🫧🧄 the recipe is on my website!
https://cultured.guru

Many historical texts mention the use of both garlic and honey in traditional medicine. Still, none explicitly describe the modern method of combining only these two ingredients and leaving them to ferment. In all my readings on fermentation history, I’ve never come across any historical descriptions of fermented garlic honey, made with only garlic and honey.

However, I did come across many accounts of over 1,200 types of oxymel in Ancient Greece and Persia, many of which include garlic.The ancient Greeks and Persians used oxymels to extract and preserve potent herbs, including garlic. Oxymel is an ancient preparation, and Hippocrates wrote records about its benefits around 400 B.C.E. in On Regimen in Acute Diseases.

The thing to note here is that oxymel uses a combination of honey and raw vinegar.

When we make fermented garlic honey as an oxymel, the pH starts at a safe acidity and remains at a safe acidity (below 4.6). This is because the microbes in raw vinegar (or raw kombucha) ensure the honey is metabolized into more acids. These microbes “eat” sugars similarly to the way they do when making kombucha, wild mead, and vinegar. When we add raw vinegar or raw kombucha to a garlic honey oxymel, we are guaranteeing the presence of many acid-producing microbes that keep the mixture acidic and safe.

PSA: I’m not saying that your garlic honey made without raw vinegar is destined to have botulism. But I am saying without raw vinegar/kombucha it is a concern, and it can happen. I am saying that I’m not comfortable making it without raw vinegar/kombucha. 

I have compiled all my thoughts on garlic honey and botulism in the blog post, linked in my bio! You can also type “cultured.guru” right into your web browser and the recipe blog is on my homepage. 

#garlic #honey
Oxymel is a medicinal herbal elixir, made through Oxymel is a medicinal herbal elixir, made through the fermentation of herbs in honey and raw vinegar. 

It’s my favorite time-tested herbal remedy that’s over 2,400 years old. It originated in ancient Greece and Persia, where it was considered a gift from the gods.

Hippocrates, the famous ancient Greek physician, was a staunch advocate of oxymel and incorporated it into his medical practices. Depending on the herbs used to make it, oxymel can help with many ailments and improve health in various ways!

In a world where everyone is asking AI, I set out to learn about the best herbal combinations from real, practiced experts in herbalism.

I felt so much joy collaborating with these herbalists @openspace.center @karlytheherbalist @lilianaruizhealy and @the.brettivy to recommend the best medicinal herb combinations in this recipe!

You can get my oxymel recipe from the link in my bio!
Okay, fine, it’s not the only reason, but it’s Okay, fine, it’s not the only reason, but it’s a reaallllyy good reason to buy another pumpkin!

My new sourdough pumpkin bagel recipe is up on our blog!
https://cultured.guru

these roasted pumpkin bagels can be made savory or sweet! Both options are included in the recipe and are perfect for fall sourdough baking. 

The savory is a pumpkin, parmesan, onion (leek) flavor, and the sweet is a cinnamon brown sugar pumpkin flavor! ✨

You can also choose to use active starter or discard with yeast. It’s up to you! 

Let me know if you try baking these this weekend! 🍂🎃🥯
#bagels #pumpkin
Flower Icon
LEARN ABOUT MICROBES FROM A MICROBIOLoGIST
Loading

recipes

  • Sourdough
  • Sauerkraut
  • Yogurt & Kefir
  • Pickles
  • Sweets & Snacks

more

  • Start Here
  • About
  • Learn
  • Shop
  • Contact

social

  • TikTokVisit Cultured Guru TikTok Account
  • InstagramCultured Guru Instagram Account
  • PinterestVisit Cultured Guru’s Pinterest Account
  • FacebookVisit Cultured Guru’s Facebook page
  • Privacy & Terms
Footer Logo
Footer tagline
copyright

©2025

Cultured Guru

.

website by saevil row + MTT. all rights reserved.