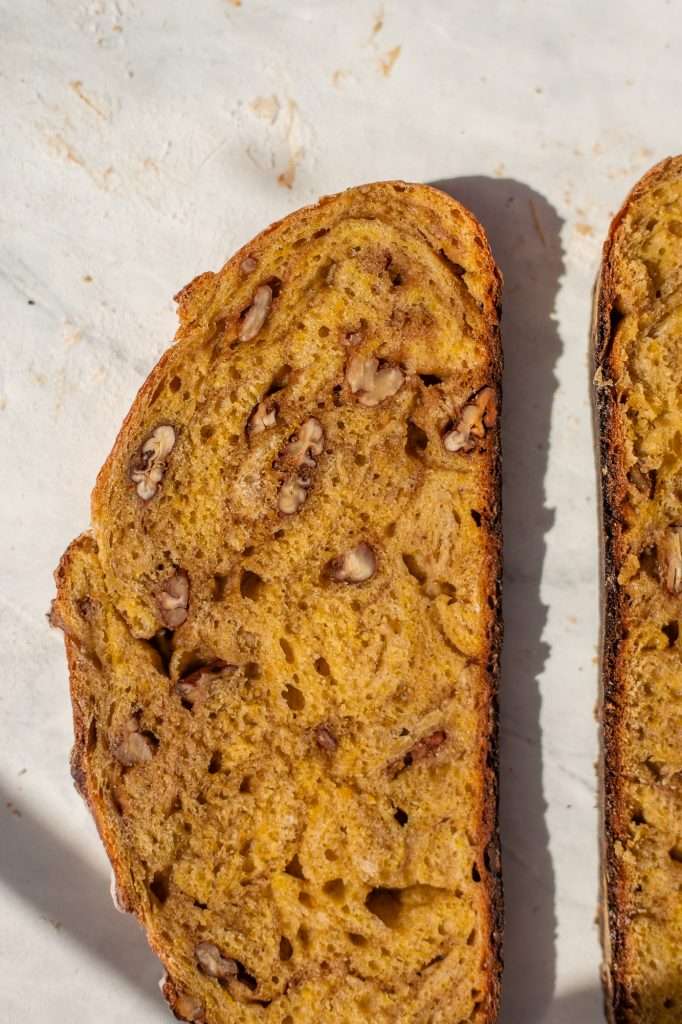
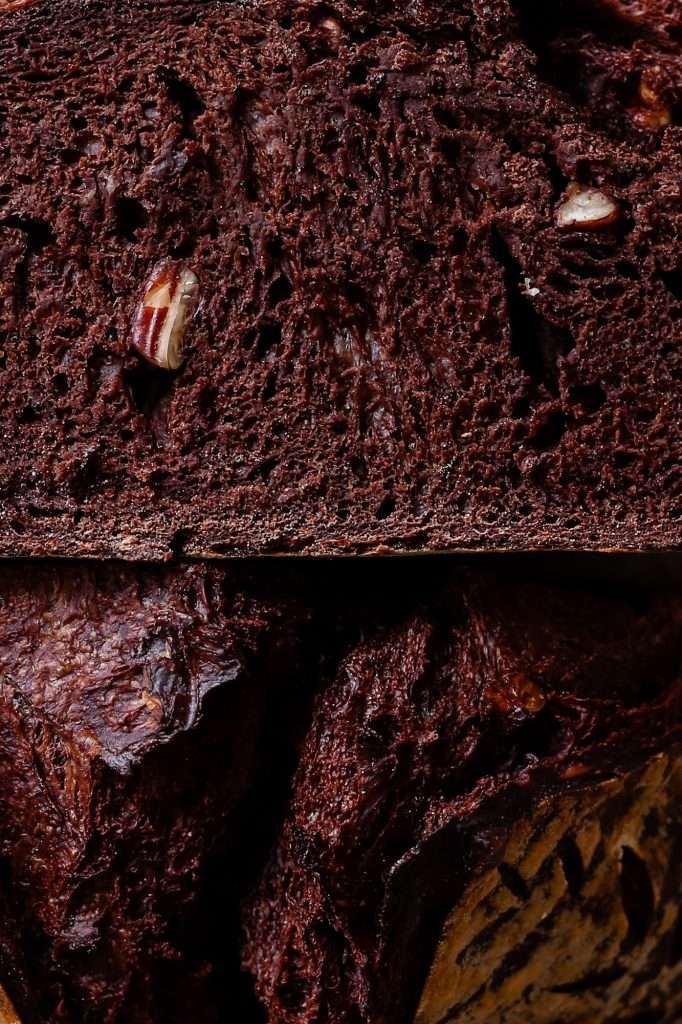
Dark Chocolate Sourdough with Honey and Pecans
Here is everything you need to get started with this delicious double chocolate sourdough bread recipe:
- Sourdough Starter: We have an easy sourdough starter recipe HERE. You’ll need to start this 7 days before baking or 2 days before baking if you use our quick recipe option.
- Flour: Organic bread flour works best
- Organic Fair-Trade Cacao: Click here for the cacao I always use. Also, you can use cocoa powder instead, but I really enjoy the nutritional benefits of cacao (more on that below).
- Water: You can use tap water to bake bread; I do. However, if you prefer bottled or filtered, that works too.
- Salt: Use natural sea salt, please! Just make sure your salt does not contain anticaking agents.
- Spray Bottle Filled with Fresh Water: This is a must-have for stretching and folding the dough. (see the section below)
- Dutch Oven: a 6-quart Dutch oven with a lid works best for this recipe.
- Proofing Basket: You can use a proofing basket like this or a bowl with a tea towel coated in flour.
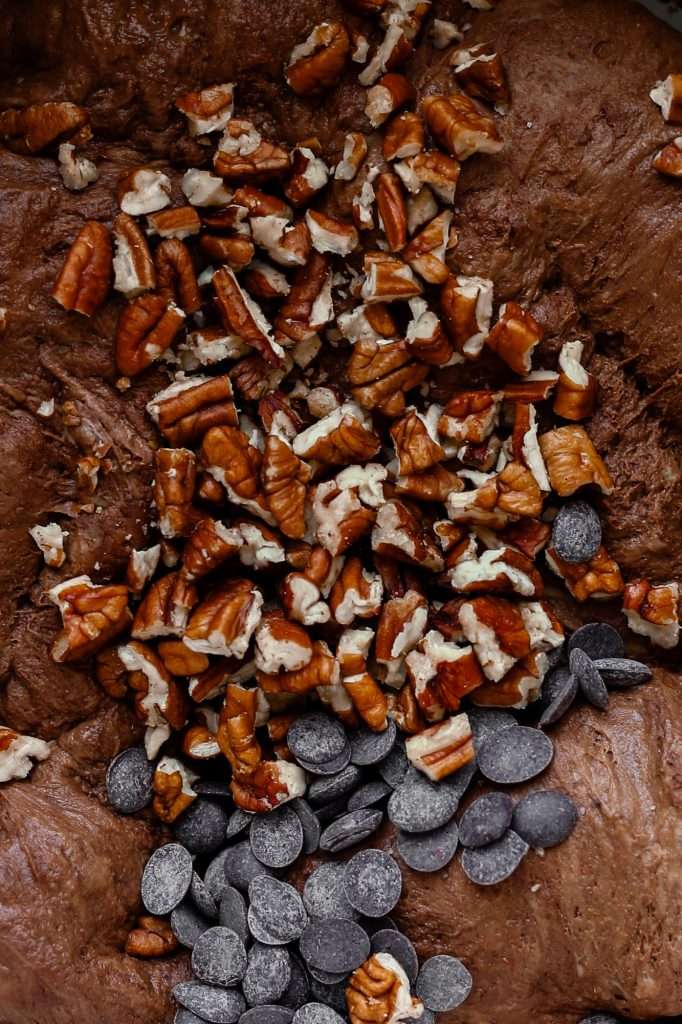
- Dark Chocolate Chips and Pecans: This is the filling for this flavorful sourdough! You can incorporate some organic milk chocolate chips for a sweeter bread.
- Honey or Maple Syrup: I love using local raw honey in this dough to give it a slightly sweet flavor. I think dark maple syrup works well, too.

Tips for Making Double Chocolate Sourdough Bread with Pecans
The hardest step to making this chocolate sourdough bread is stretching, folding, and incorporating the pecans and chocolate. It takes patience and a gentle touch.
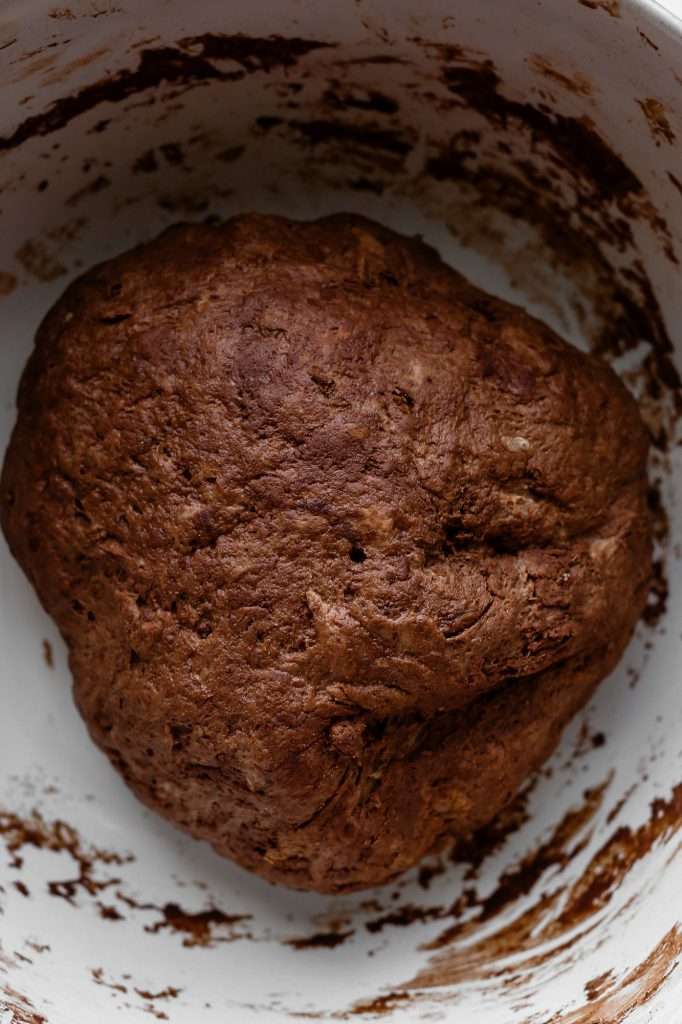
I have three main rules for stretching and folding my sourdough loaves:
- Don’t use a floured surface. You must turn the dough onto a clean surface to stretch and fold. Some people suggest sprinkling flour on the surface, but DO NOT. Get yourself a little spray bottle and fill it with fresh water. Spray your surface and hands with water before turning the dough out on the surface. This prevents sticking without making the dough dense with too much flour. The more hydrated your dough, the greater the rise will be.
- Make sure you adjust the time with the temperature. The time you need to wait in between stretch and folds depends on the temperature in your house. If your house is above 75° F, you may be able to reduce the amount of time between stretch and folds to one hour.
- Do at least three wet surface stretches and folds in 6 hours. You can do a stretch and fold every hour for six stretches and folds or every two hours for three stretches and folds minimum.
- Add the chocolate chips and pecans on the first stretch and fold: I wait until the first stretch and fold before incorporating the chocolate chips and pecans. This helps the gluten build up before adding things like pecans that can tear the dough.
Adding Fillings to Double Chocolate Sourdough Bread
To add fillings to sourdough, wet your counter and gently stretch the dough out without breaking the dough.
Then, you will carefully spread half the filling over the dough before you roll it up into the dough and fold the sides in over each other for the stretch and fold.
Then, you will knead the dough again. It will get sticky, and some ingredients may tear through the dough, but that’s okay.
Here is an excellent video from my favorite baker on YouTube, Bake with Jack, to help you learn how to incorporate fillings without breaking the dough. CLICK HERE.

Double Chocolate Sourdough Bread Nutrition
You probably already know that sourdough is the most digestible bread. Sourdough bread is made out of flour, just like regular bread. However, the fermentation process makes the nutritional components of the flour more bioavailable.
Lactic acid bacteria in sourdough starters are able to reduce phytic acid, the compound that can prevent nutrient absorption in regular bread. Without the phytic acid binding to the minerals, you can absorb more potassium, phosphate, magnesium, folate, and zinc from the bread.
Speaking of magnesium, since this double chocolate sourdough bread contains cacao powder, it’s loaded with beneficial minerals. Cacao contains significant amounts of magnesium, copper, potassium, and calcium, which have been shown to reduce the risk of hypertension and atherosclerosis. The minerals in cacao become more bioavailable through the fermentation process, making this bread a nutritious superfood.
How to Eat Chocolate Sourdough Bread
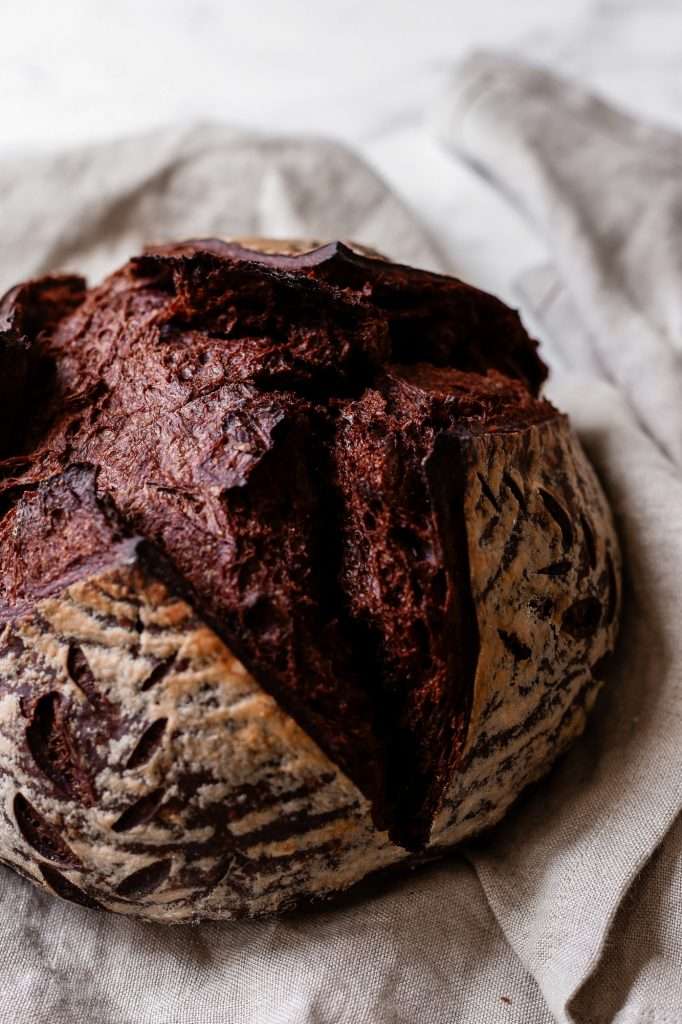
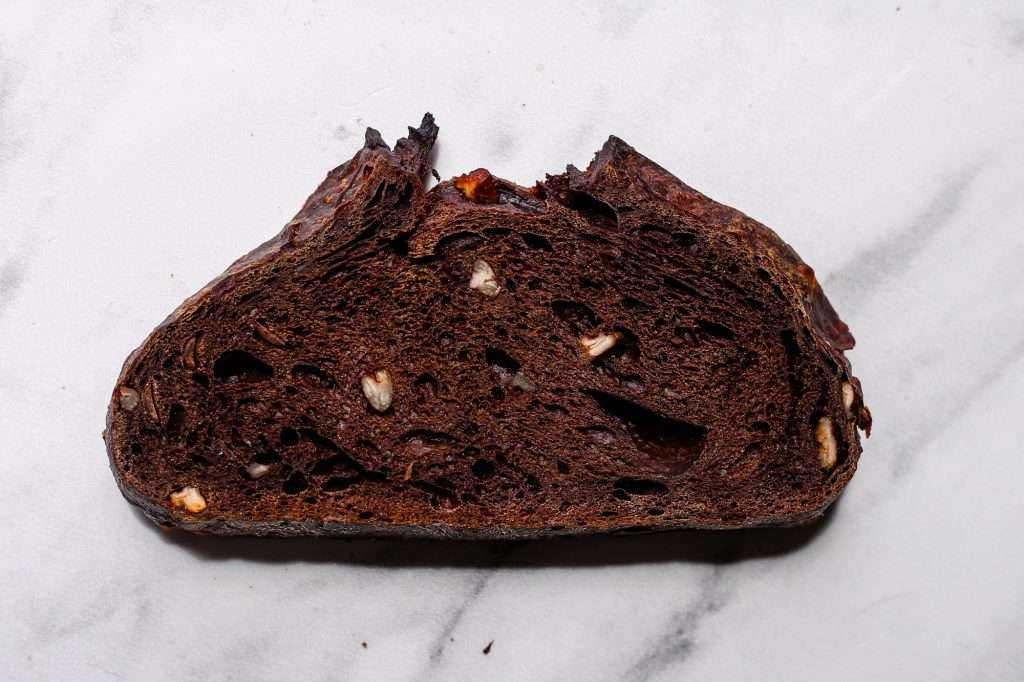
You can eat this double chocolate sourdough bread with a savory breakfast or use it for a sweeter pairing. My favorite way to eat this chocolate sourdough is with some fresh butter and raw honey slathered on top. It’s also delicious for peanut butter and jelly sandwiches.
Sourdough Starter Problems?
Do you want to make this recipe but struggle with your starter? CLICK HERE for our blog on The Most Common Sourdough Starter Problems and How to Fix Them.
More Sourdough Recipes to Try
- Sweet Sourdough Pumpkin Bread With Cinnamon and Pecans
- Dutch Oven Sourdough Bread Recipe (Master Recipe)
- The Best Sourdough Cinnamon Bread with Maple and Pecans
- Rustic Rosemary Sourdough Bread


Double Chocolate Sourdough Bread with Honey and Pecans
This recipe is perfect for beginners! I love making this decadent honey pecan chocolate sourdough bread all through autumn and winter. This recipe is for a slightly sweet, rich, chocolatey sourdough loaf baked in a Dutch oven. Serve this bread warm with butter and honey drizzled on top.
- Prep: 20 minutes
- Cook: 1 hour
- Total Time: 7 hours 20 minutes
Ingredients
- 425 grams organic bread flour
- 75 grams cacao powder
- 360 grams filtered water
- 150 grams sourdough starter
- 10 grams sea salt
- 50 grams honey
- 1/4 cup pecans, crushed
- 1/4 cup dark chocolate chips
Instructions
- It’s best to start the sourdough process before 9 am so you have enough time. Please check the notes section of this recipe for tips.
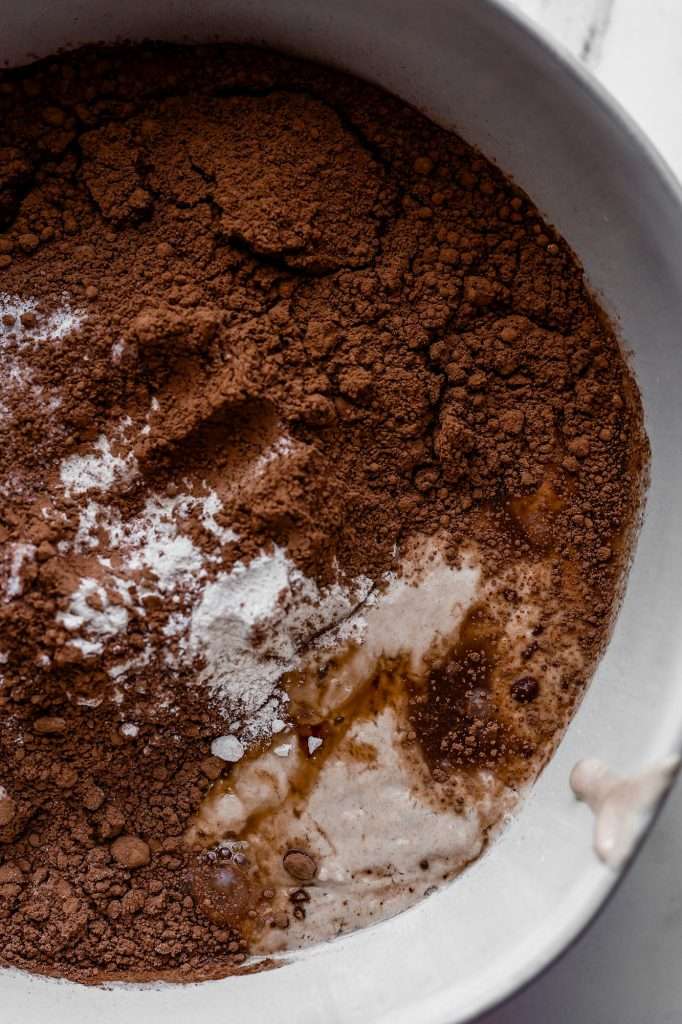
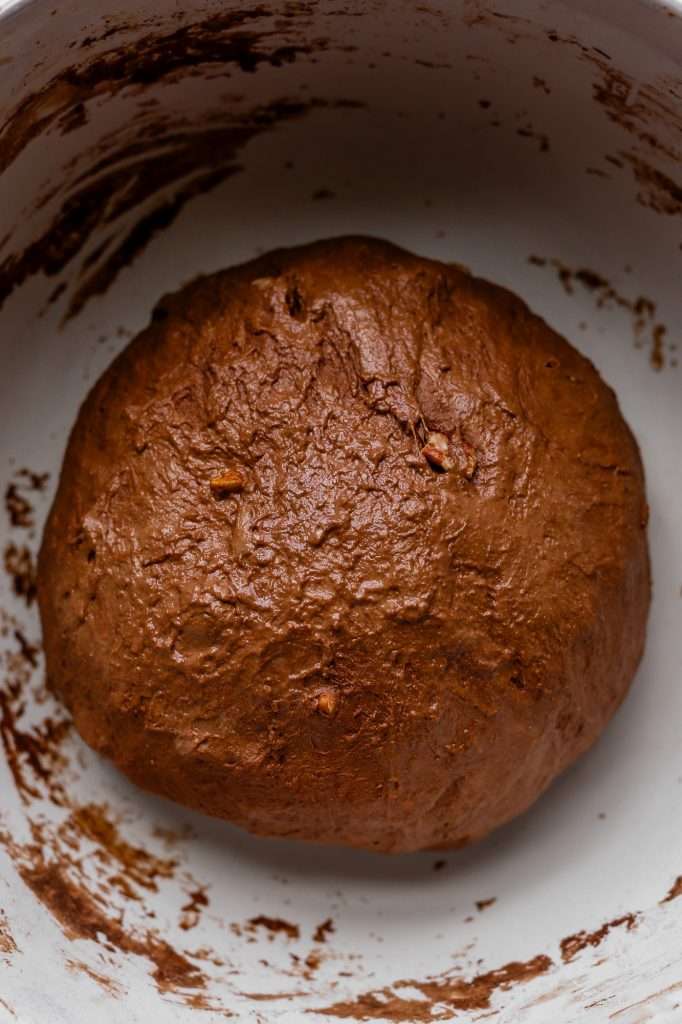
- In a large bowl, combine the starter, flour, cacao, honey, and water. Knead the ingredients together until a uniform dough ball forms.
- Let the dough rest for 45 minutes.
- Wet your hands, and spray the dough with your water bottle. Sprinkle the salt over the dough, then knead it into the dough. Let rest for 30 more minutes.
- Using a spray bottle filled with water, mist your clean countertop. Wet your hands and wet the top of the dough ball with the spray bottle. Turn the dough out onto the wet counter surface. Scrape out the bowl and rinse the inside of the bowl really well. Leave the bowl wet.
- Stretch and fold the dough. Stretch the top of the dough over the bottom, side over side, and bottom over the top.
- Place the dough back in the bowl with the seam side down. Let the dough rest for 30 minutes.
- Stretch and Fold 1 + adding the pecans and chocolate chips: Using a spray bottle filled with water, mist your clean countertop again. Wet your hands and wet the top of the dough ball with the spray bottle. Turn the dough out onto the wet counter surface. Scrape out the bowl and rinse the inside of the bowl really well. Leave the bowl wet.
- Stretch out the dough into a rectangle, but be gentle and do not break or tear it. Sprinkle the dough with chocolate chips and pecans. For a sweeter loaf, you can also sprinkle a bit of granulated sugar.
- Fold the ingredients into the dough, fold the top of the dough over the bottom, side over side, and bottom over top. Then you will knead the dough again, knead it until it is mostly smooth and the pecans are evenly distributed through the dough. It will get sticky and some pecans may tear through the dough, that’s okay. (Please watch the video linked in the blog post if you need more guidance).
- Repeat another stretch and fold then place the dough back in the bowl with the seam side down. Let the dough rest for 1 to 2 hours.
- Stretch and Fold 2: Using a spray bottle filled with water, mist your clean countertop again. Wet your hands and wet the top of the dough ball with the spray bottle. Turn the dough out onto the wet counter surface. Scrape out the bowl and rinse the inside of the bowl really well. Leave the bowl wet.
- Stretch and fold the dough. Stretch the top of the dough over the bottom, side over side, and bottom over top. Place the dough back in the bowl with the seam side down. Let the dough rest for 2 hours.
- Stretch and Fold 3: Using a spray bottle filled with water, mist your clean countertop again. Wet your hands and wet the top of the dough ball with the spray bottle. Turn the dough out onto the wet counter surface. Scrape out the bowl and rinse the inside of the bowl really well. Leave the bowl wet.
- Stretch and fold the dough. Stretch the top of the dough over the bottom, side over side, and bottom over top.
- Place the dough back in the bowl with the seam side down. Let the dough rest for 1 to 2 hours.
- Clean and dry the counter surface you’re working on. Sprinkle some flour on the surface of your counter and coat your hands in a bit of flour. Gently flip the dough out onto the floured surface so that it is seam side up.
- Pre-shape: Gently stretch out the dough, and fold it again. Fold side over side and top over bottom. Then flip the dough over so that the seam side is down on the counter. Tuck under any parts of the dough you need to form a nice circular shape. Leave the dough on the counter, sprinkle some flour on the top of the dough, and cover with a tea towel.
- Let the dough rest for 1 hour.
- Sprinkle a little more flour on the top of your pre-shaped dough and on the counter around the dough. With your hands coated in flour, flip the dough over so that the seam side is up again.
Gently stretch out the dough, and fold it again. Fold side over side and top over bottom. Then flip the dough over so that the seam side is down on the counter. Tuck under any parts of the dough you need to form a nice circular loaf shape. This is the final shaping so take your time with it. - Coat a proofing basket with flour. Be generous, as you do not want it to stick. You can also use a bowl lined with a towel and a generous amount of flour.
- Flour your hands and swiftly pick up and flip your dough into the basket. Smooth side down, seam side up.
- Cover and place in the fridge overnight for 8-12 hours.
- After 8-12 hours in the fridge, preheat your dutch oven with the lid, in your oven at 450° F. (see notes on temperature)
- Once your oven is preheated, carefully remove your dutch oven and place the lid to the side. *Don’t forget that the pot and the lid are both very hot!*
- Cut a large square of parchment paper and place it on the counter. Turn your dough out onto the paper so that the seam side is down and touching the parchment paper.
- Score the dough using a very sharp knife or a scoring tool.
- Picking up all four corners of the parchment paper, move your dough into the dutch oven.
- Place the lid on the dutch oven and bake at 450 F for 35 minutes.
- After baking covered, remove the lid and bake for another 20-30 minutes at 450 F.
- Remove your finished loaf from the dutch oven and allow it to cool for at least 1 hour.
Notes
- The time you need to wait in between stretch and folds depends on the temperature in your house. If your house is above 75° F, you may be able to reduce the amount of time between stretch and folds to one hour.
- You can also speed up the time in between stretch and folds by using a bread proofer or heating pad near the dough. Just stretch and fold when the dough has risen a bit and relaxes out into the bottom of the bowl, and make sure you do at least three stretches and folds. Monitor the dough to make sure you do not over-proof.
- when flouring your proofing basket, it helps to use coarse flour such as rye, masa, or rice flour.
- Depending on your oven, you can bake at a lower temperature. Some ovens run hotter than others.
- When baking with the dutch oven lid off, check every few minutes. Some ovens run hotter than others, so check to see when the loaf is golden brown.


