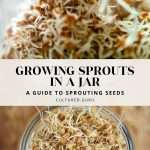
Growing sprouts in a jar is an easy and rewarding experience with many nutritional benefits. So, gather your mason jars, pick your favorite sprouting seeds using this guide, and start sprouting seeds at home.
Growing Sprouts in a Jar
If you want to boost your gut health, sprouting seeds in a mason jar is a fantastic option to explore.
Sprouts contain a myriad of essential nutrients. They also offer significant gut health benefits. This comprehensive guide walks you through growing sprouts in a mason jar, what equipment you need, and picking the best seeds to get you started.

The Gut Health Benefits of Sprouts
Sprouts are young, tender shoots that emerge from germinated seeds. They are abundant in fiber, vitamins, minerals, enzymes, and antioxidants, making them a nutrient-dense addition to your diet.
The high fiber content in sprouts supports a healthy digestive system and aids in bowel regularity, promoting better gut health. Additionally, the enzymes present in sprouts can enhance digestion and nutrient absorption, further supporting your overall health.
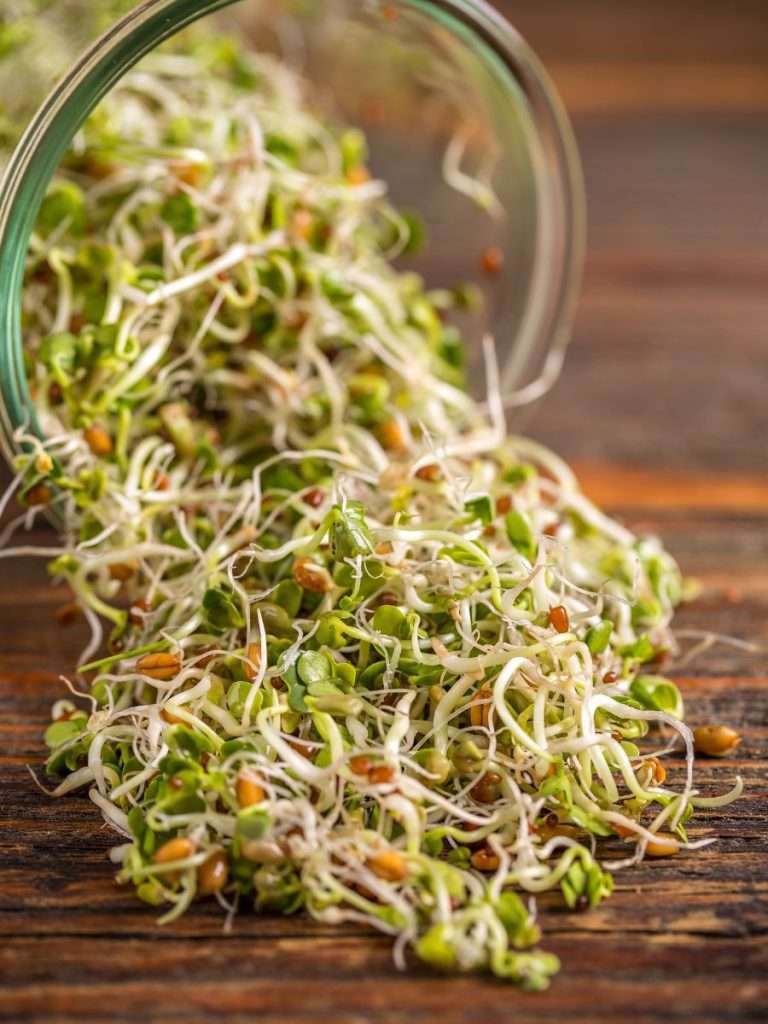
Why you should grow sprouts in a jar
Apart from their gut health advantages, sprouts offer a host of other benefits:
- Improved Nutrient Bioavailability: Sprouting breaks down compounds in seeds that can inhibit nutrient absorption, making the nutrients more accessible to your body.
- Rich Source of Protein: Sprouts are an excellent plant-based protein source, perfect for vegetarians and vegans looking to meet their protein needs.
- Boosted Antioxidant Levels: Sprouts contain elevated antioxidants, which can help neutralize harmful free radicals and protect your cells from damage.
- Enhanced Digestibility: The sprouting process partially breaks down complex carbohydrates and proteins, making them easier for your body to digest.
- Immune System Support: The vitamins and minerals found in sprouts can contribute to a strengthened immune system, helping your body ward off illnesses.
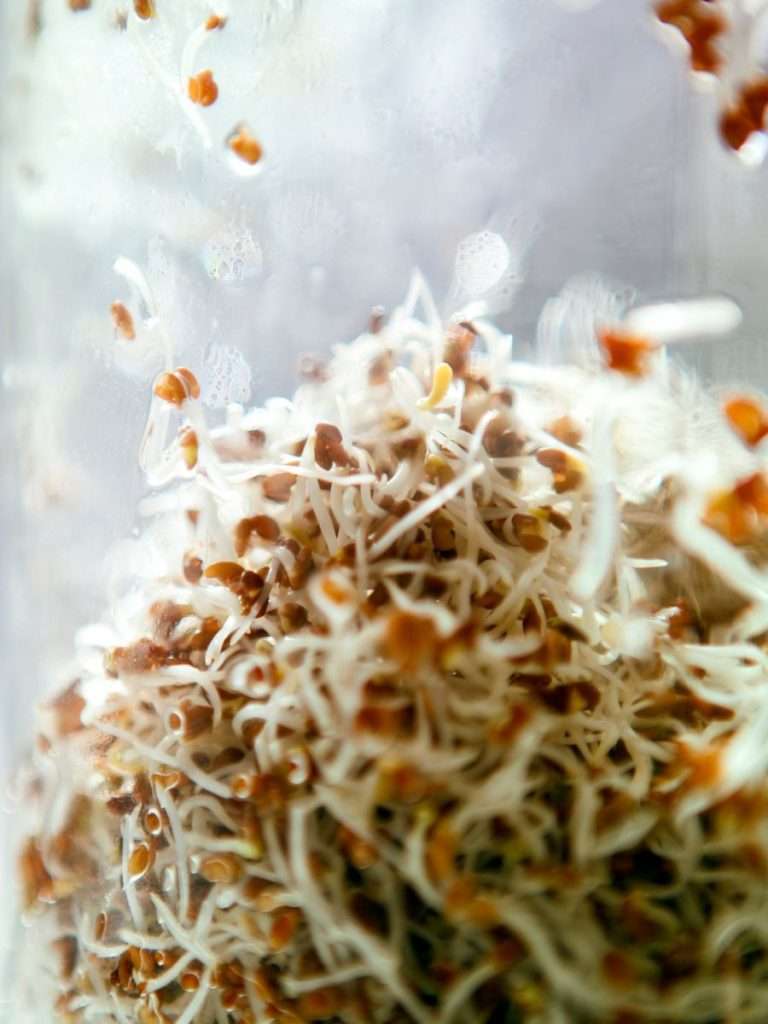
Types of sprouts to grow in a jar
Here are some popular sprouts you can grow in a mason jar:
- Alfalfa Sprouts: These delicate, mild-tasting sprouts are packed with vitamins A, C, and K, along with minerals like calcium and iron. (alfalfa sprouts are my favorite)
- Broccoli Sprouts: Broccoli sprouts are rich in sulforaphane, a powerful antioxidant associated with various health benefits, including anti-inflammatory and anti-cancer properties. (these are one of the best for gut health)
- Mung Bean Sprouts: These crunchy sprouts are commonly used in Asian cuisine and are an excellent source of protein, fiber, vitamins, and minerals.
- Radish Sprouts: With a peppery flavor, radish sprouts add a zing to salads and sandwiches while providing vitamins C and E.
- Lentil Sprouts: High in protein and fiber, lentil sprouts are a satisfying addition to your meals, contributing to a sense of fullness and supporting gut health. (I suggest cooking these before eating)
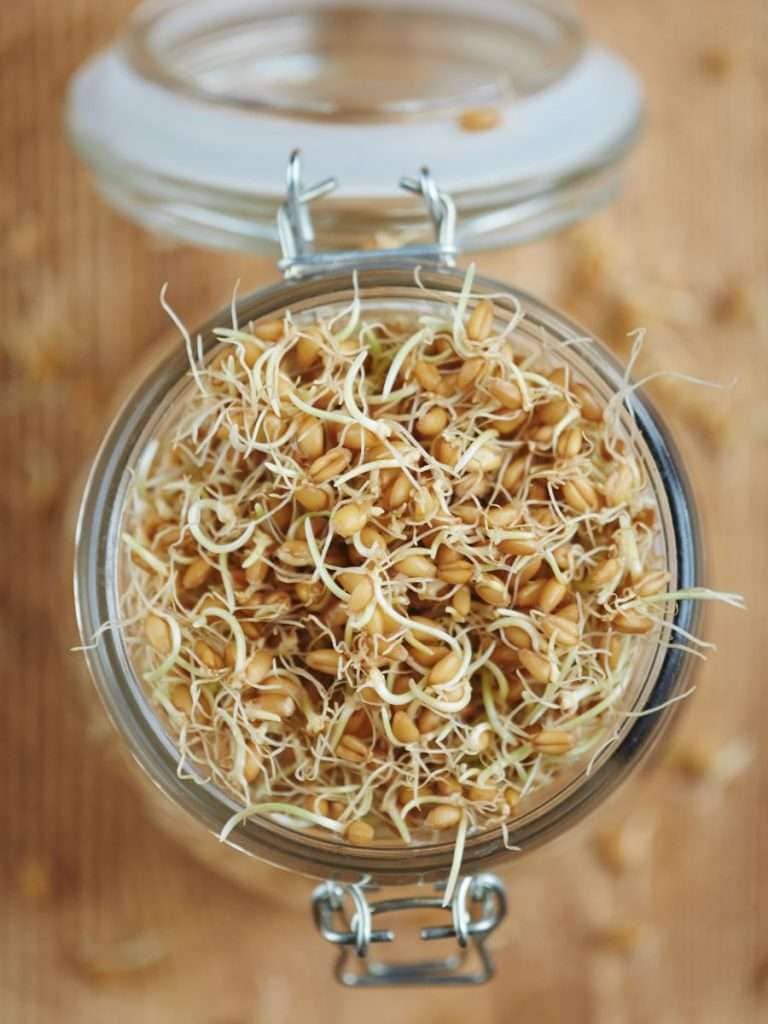
Equipment for sprouting seeds in a Jar
Before we dive into the step-by-step instructions for growing sprouts in a mason jar, let’s make sure you have all the necessary equipment on hand:
- Mason Jar: Opt for a quart-sized mason jar with a wide mouth for easy rinsing and drainage.
- Sprouting Lid or Cheesecloth: You’ll need a lid with fine mesh or cheesecloth to cover the mouth of the mason jar, allowing water drainage while keeping the seeds in place.
- Seeds: Choose high-quality, organic seeds labeled explicitly for sprouting. Avoid using seeds meant for planting in the garden, as they may be treated with chemicals.
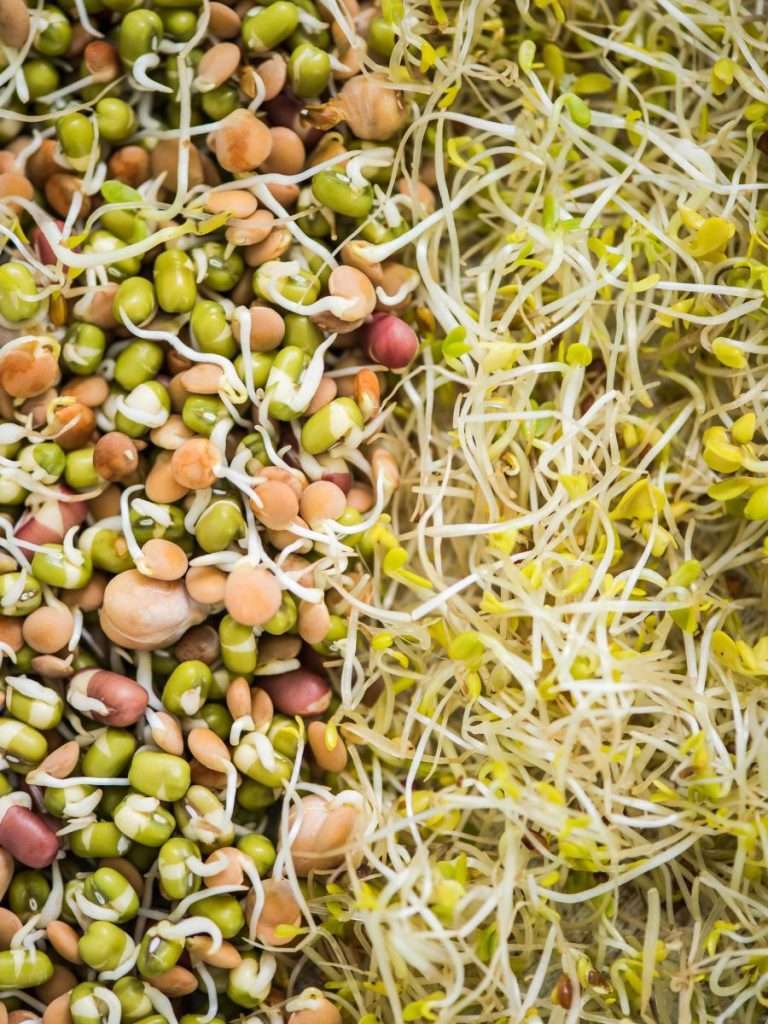
How to Pick Good Sprouting Seeds
Selecting high-quality sprouting seeds is crucial to ensure a successful sprouting process. Here are some tips to help you pick the best seeds:
- Choose Certified Organic or Non-gmo heirloom: Look for certified organic or non-gmo heirloom seeds to ensure they are free from harmful chemicals and pesticides.
- Specifically Labeled for Sprouting: Seeds labeled for sprouting are tested for safety and germination rate, making them a reliable choice.
- Variety Selection: Experiment with different sprout varieties to discover your favorites and enjoy diverse flavors and nutrients.

More Blogs You’ll Enjoy
- The Gut Health Benefits of Microgreens
- Beans Beans the Magical Fruit: The Easiest Beans to Digest
- Is Sauerkraut Low FODMAP? The Best Low FODMAP Fermented Foods
How to Grow Sprouts in a Jar
Growing sprouts in a jar is an easy and rewarding experience with many nutritional benefits. So, gather your mason jars, pick your favorite sprouting seeds using this guide, and start sprouting seeds at home.
- Prep Time: 10 minutes
- Total Time: 10 minutes
- Yield: 16 ounces
- Category: growing
- Method: sprouting
Ingredients
- 1/4 cup organic sprouting seeds of your choice (e.g., alfalfa, broccoli, mung beans)
- Clean, filtered water
Instructions
- Seed Selection: Begin by choosing your sprouting seeds. Rinse them thoroughly in a fine-mesh strainer under running water.
- Pre-Soaking: Place the rinsed seeds in the mason jar and cover them with water, allowing about an inch of water above the seeds. Secure the sprouting lid or cheesecloth over the jar’s mouth and let the seeds soak for 8-12 hours or overnight. This process kickstarts the germination process.
- Draining and Rinsing: After soaking, drain the water from the jar by tipping it at an angle to allow excess water to escape through the sprouting lid or cheesecloth. Rinse the seeds under running water and drain again. Repeat this process twice a day.
- Germination and Growth: Place the mason jar in a spot away from direct sunlight but with good airflow. Continue rinsing and draining the seeds twice daily. You’ll notice tiny sprouts emerging within a day or two, and they’ll continue to grow over the next few days.
- Harvesting: Once your sprouts have reached the desired length (usually 2-4 inches), it’s time to harvest them. Rinse the sprouts and gently pat them dry with a clean towel.
- Storage: Store the harvested sprouts in an airtight container in the refrigerator. They should last a week, but consuming them fresh for optimal taste and nutrient content is best.


2 comments
There is a note that says “”* NOTE: Do not use seeds from a gardening center to grow sprouts. ” Why do you say this?
Sometimes gardening centers will sell seeds specifically for microgreens and sprouts, these are fine to use with this jar method of sprouting. But you should not use seeds that are intended for growing in a garden. These seeds are not produced under food safety standards for sprout consumption. Some garden center seeds are even coated in bacteria or nitrogen compounds to encourage growth in garden soil.
If you are growing microgreens in soil, you can use whatever seeds you want. If you are sprouting in a jar like this, you have to use food-safe beans and seeds.