Einkorn Sourdough Bread
We love einkorn bread for its nutritional profile. Einkorn flour is higher in protein, phosphorus, potassium, and fat than modern wheat flour. Einkorn is rich in lutein, a carotenoid associated with eye health, and contains many antioxidants. All the nutrients become more bioavailable through fermentation, too.
The gluten in einkorn is different from that in modern wheat, which may make it easier to digest for some people, though it is not gluten-free and unsuitable for those with celiac disease.
The flavor of einkorn flour is another aspect that sets it apart. It has a nutty and slightly sweet taste, making it a preferred choice for artisan bakers and chefs. Due to its lower gluten content, it naturally results in a denser, richer texture in bread.

Einkorn’s cultivation is limited compared to modern wheat, primarily due to its lower yield and more labor-intensive harvesting process. However, its resurgence in popularity is driven by a growing interest in traditional and whole foods. Einkorn flour is typically sourced from small-scale farmers and organic producers, emphasizing sustainable and traditional farming methods.
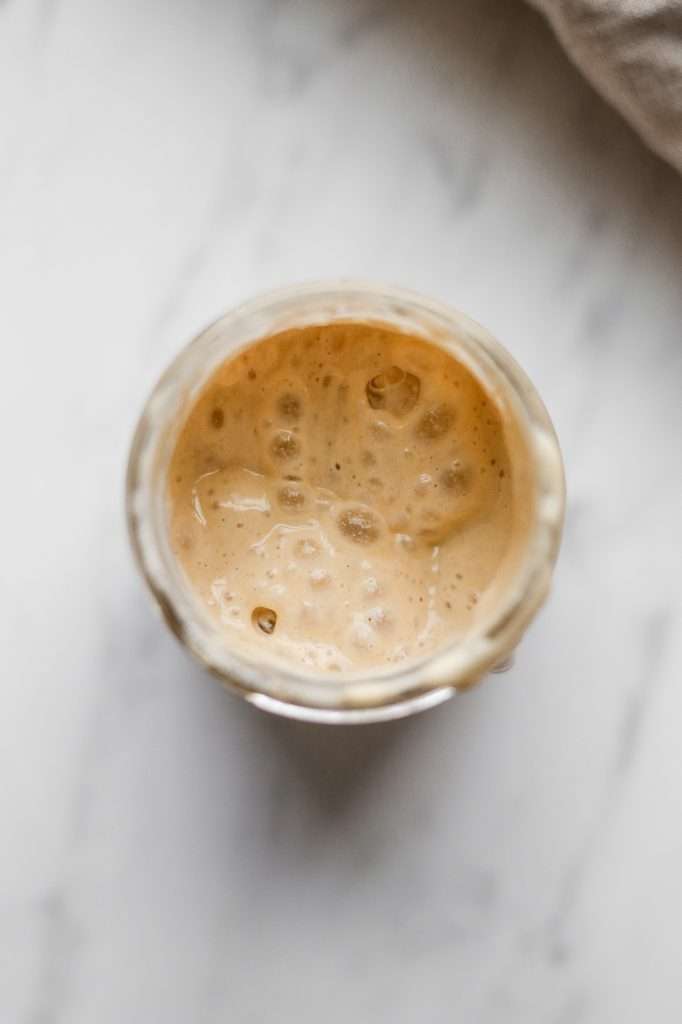
Sourdough Starter for Einkorn Bread
Click here to learn how to make and feed a sourdough starter with einkorn flour. You’ll have a healthy einkorn sourdough starter for baking flavorful, naturally leavened bread in seven days!
What is Einkorn Flour?
Einkorn flour, derived from one of the earliest known types of wheat, Triticum monococcum, has been cultivated for thousands of years.
Originating in the Fertile Crescent, a region spanning the Middle East, einkorn is an ancient grain, meaning it has remained unchanged over millennia. This heirloom variety of wheat is genetically and structurally distinct from modern wheat. Einkorn has a more straightforward genetic composition: a diploid (having two sets of chromosomes), compared to the hexaploid structure (six sets of chromosomes) of common wheat. This genetic simplicity contributes to its unique characteristics.
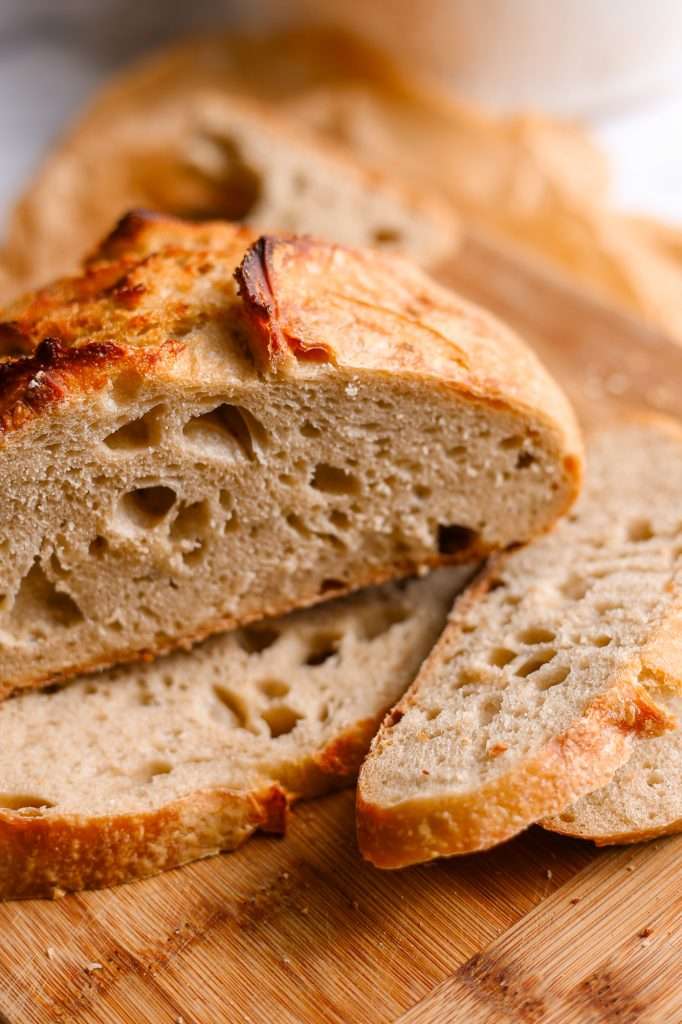

Half Einkorn Bread Recipe Dutch Oven Recipe
This recipe is based on my master recipe for Dutch oven sourdough bread. This is the recipe I use to develop all my other Dutch oven sourdough bread recipes. For this Einkorn bread, I substituted half the bread flour for organic all-purpose Einkorn flour, and it worked beautifully.
I used half organic bread flour and half einkorn for two main reasons. The first is texture; einkorn is lower in gluten so it doesn’t shape as well and can be challenging to work with. The second is price; einkorn flour is extremely expensive, so mixing flours is a great way to incorporate einkorn’s great flavor and nutrients without increasing the price too much.
Here are the ingredients and things you need to get started:
- Einkorn Sourdough Starter: We have an easy einkorn sourdough starter recipe HERE. You’ll need to start this seven days before baking.
- Flour: I use an even mix of organic bread flour and organic all-purpose einkorn flour for this recipe.
- Water: You can use tap water to bake bread; I do. But if you prefer bottled or filtered, that works too!
- Salt: Unrefined sea salt, please! Just make sure your sea salt is unrefined and free from anti-caking agents.
- Spray Bottle Filled with Fresh Water: This is a must-have for stretching and folding the dough. (see the section below)
- Dutch oven: a 6-quart Dutch oven with a lid works best for this recipe. (see more details on the size below)
- Proofing Basket: You can use a proofing basket like this one or a bowl with a tea towel coated in flour. I suggest a 7-inch basket or bowl for the best results.
The Best Dutch Oven for Einkorn Bread
Here are my favorite Dutch oven options. These all work great and last forever if you care for them properly. Strictly follow any care instructions you receive with your Dutch oven. You can use an enameled or a non-enameled Dutch oven:
- The Milo by Kana 5.5 Quart Enameled Cast Iron (this is what I have, and I would buy three more I love it so much)
- Le Creuset Enameled (this one is for my fancier readers with a bigger budget)
- Classic Seasoned Lodge Cast Iron (this one is not enameled, but very versatile if you’re like me and want a cast iron that you can also take camping)
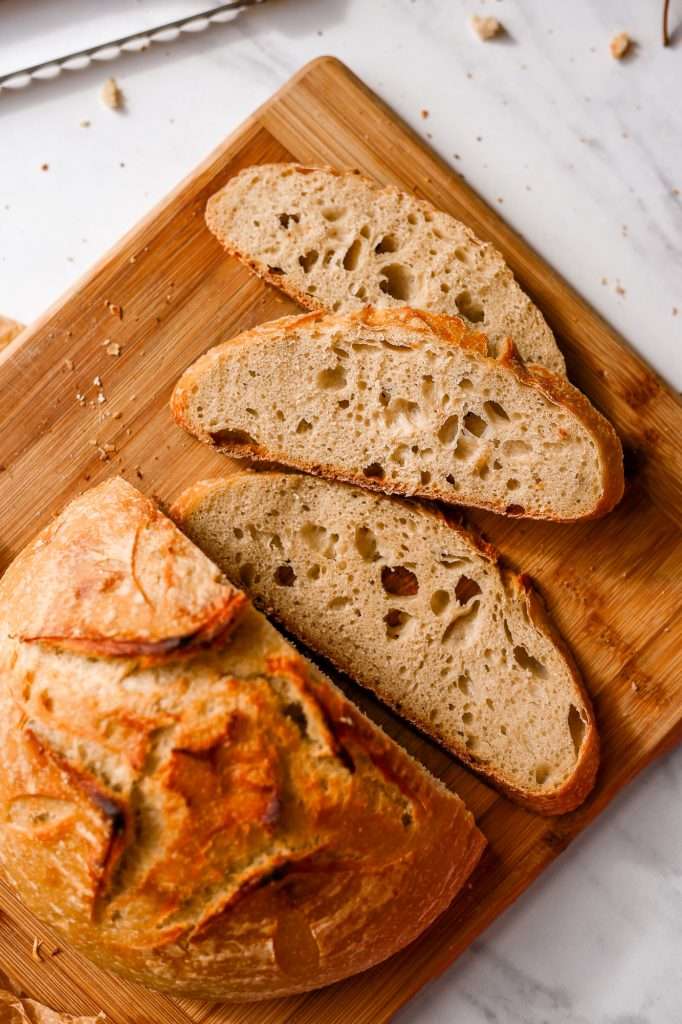
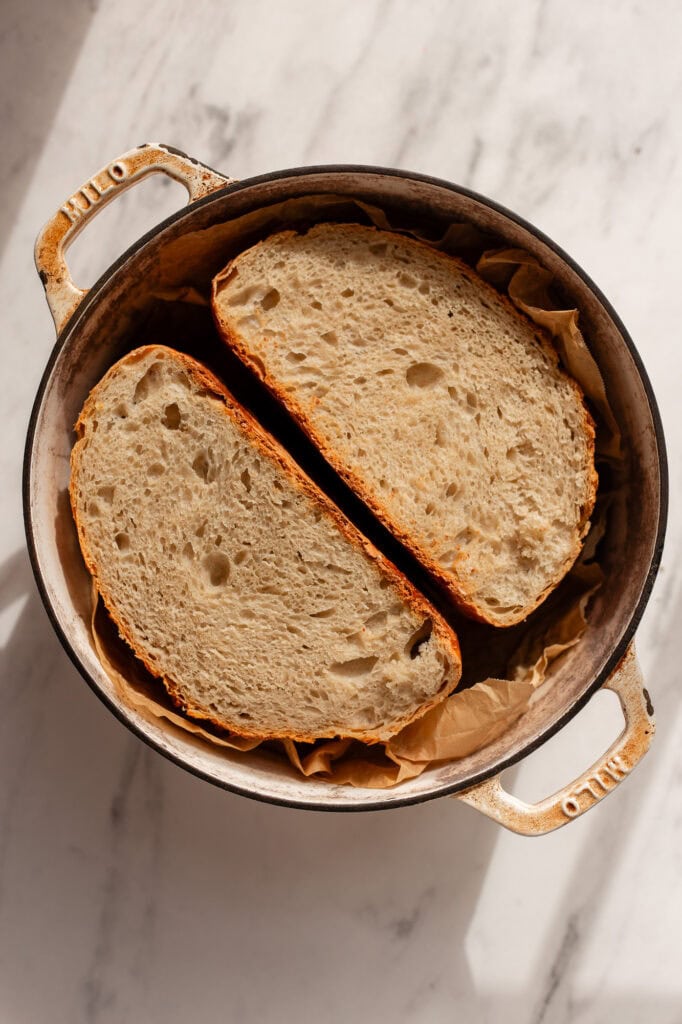
Over time, it will change colors if you bake a ton of Dutch oven sourdough bread in a light-colored enameled Dutch oven. As you can see in the picture below, my Dutch oven has gone from pristine white to what I call “lived-in” white lol.
Proofing Basket for Einkorn Sourdough Bread
Using the correct size proofing basket is very important for this recipe. I suggest using a 7-inch basket. Click here for the one I use.
Einkorn is a lower-gluten flour, so using a correct-sized proofing basket helps keep the dough nice and round instead of flat.
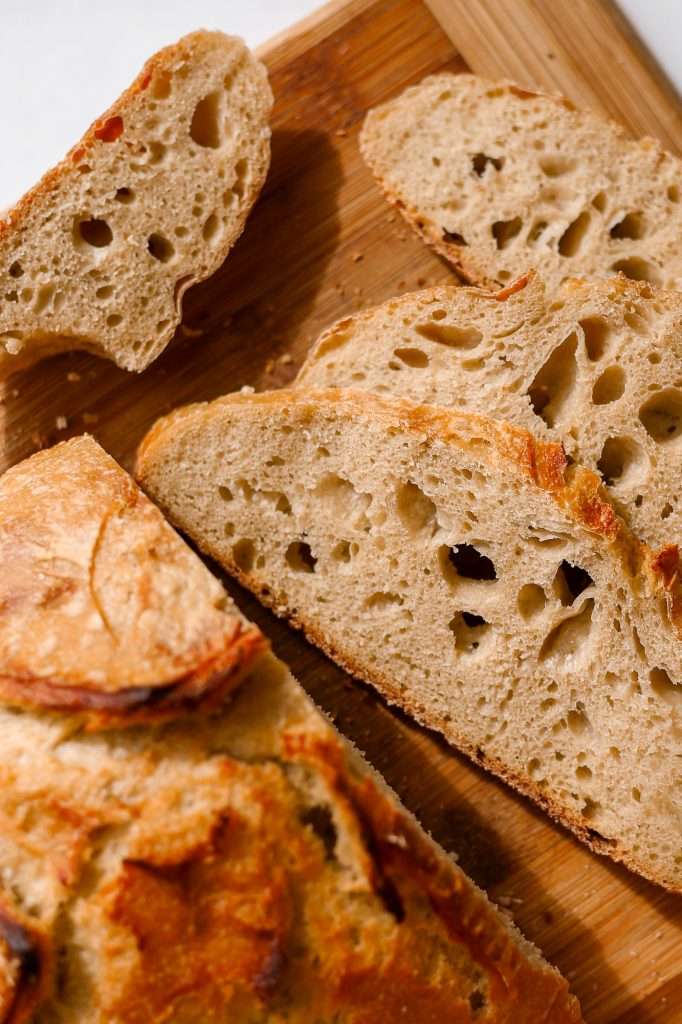

Rustic Sourdough Half Einkorn Bread Recipe
Discover the rustic charm and amazing flavors of sourdough einkorn bread. This recipe blends organic einkorn flour with organic bread flour for the best results.
- Prep: 20 minutes
- Cook: 1 hour
- Total Time: 7 hours 20 minutes
Ingredients
- 100 grams active einkorn sourdough starter
- 300 g water
- 250 g all-purpose einkorn flour
- 250 g bread flour
- 10 grams sea salt
Instructions
- It’s best to start the sourdough process before 9 am so you have enough time. Please check the notes section of this recipe for tips.
- In a large bowl, combine the starter, flour, salt, and water.
- Knead the ingredients together until a uniform dough ball forms.
- Using a spray bottle filled with water, mist your clean countertop. Wet your hands and wet the top of the dough ball with the spray bottle. Turn the dough out onto the wet counter surface. Scrape out the bowl and rinse the inside of the bowl really well. Leave the bowl wet.
- Stretch and fold the dough. Stretch the top of the dough over the bottom, side over side, and bottom over top. Place the dough back in the bowl with the seam side down. Let the dough rest for 30 minutes.
- Stretch and Fold 1: Using a spray bottle filled with water, mist your clean countertop again. Wet your hands and wet the top of the dough ball with the spray bottle. Turn the dough out onto the wet counter surface. Scrape out the bowl and rinse the inside of the bowl really well. Leave the bowl wet.
- Stretch and fold the dough. Stretch the top of the dough over the bottom, side over side, and bottom over top.
- Place the dough back in the bowl with the seam side down. Let the dough rest for 2 hours.
- Stretch and Fold 2: Using a spray bottle filled with water, mist your clean countertop again. Wet your hands and wet the top of the dough ball with the spray bottle. Turn the dough out onto the wet counter surface. Scrape out the bowl and rinse the inside of the bowl really well. Leave the bowl wet.
- Stretch and fold the dough. Stretch the top of the dough over the bottom, side over side, and bottom over top.
- Place the dough back in the bowl with the seam side down. Let the dough rest for 2 hours.
- Stretch and Fold 3: Using a spray bottle filled with water, mist your clean countertop again. Wet your hands and wet the top of the dough ball with the spray bottle. Turn the dough out onto the wet counter surface. Scrape out the bowl and rinse the inside of the bowl really well. Leave the bowl wet.
- Stretch and fold the dough. Stretch the top of the dough over the bottom, side over side, and bottom over top.
- Place the dough back in the bowl with the seam side down. Let the dough rest for 2 hours.
- Clean and dry the counter surface you’re working on. Sprinkle some flour on the surface of your counter and coat your hands in a bit of flour. Gently flip the dough out onto the floured surface so that it is seam side up.
- Pre-shape: Gently stretch out the dough, and fold it again. Fold side over side and top over bottom. Then flip the dough over so that the seam side is down on the counter. Tuck under any parts of the dough you need to form a nice circular shape. Leave the dough on the counter, sprinkle some flour on the top of the dough, and cover with a tea towel.
- Let the dough rest for 1 hour.
- Sprinkle a little more flour on the top of your pre-shaped dough and on the counter around the dough. With your hands coated in flour, flip the dough over so that the seam side is up again.
- Gently stretch out the dough, and fold it again. Fold side over side and top over bottom. Then flip the dough over so that the seam side is down on the counter. Tuck under any parts of the dough you need to form a nice circular loaf shape. This is the final shaping so take your time with it.
- Coat a proofing basket with flour and bread toppings (optional). You can also use a bowl lined with a towel and a generous amount of flour.
- Flour your hands and swiftly pick up and flip your dough into the basket. Smooth side down, seam side up.
- Cover and place in the fridge overnight for 8-12 hours.
- After the 8-12 hours in the fridge, preheat your dutch oven with the lid, in your oven at 450 degrees F.
- Once your oven is preheated, carefully remove your dutch oven and place the lid to the side. *Don’t forget that it’s very hot!*
- Cut a large square of parchment paper and place it on the counter. Turn your dough out onto the paper so that the seam side is down and touching the parchment paper.
- Score the dough using a very sharp knife or a scoring tool.
- Picking up all four corners of the parchment paper, move your dough into the dutch oven.
- Place the lid on the dutch oven and bake at 450 F for 30 minutes.
- After baking covered, remove the lid and bake for another 20-30 minutes at 450 F.
- Remove your finished loaf from the dutch oven and allow it to cool for at least 1 hour.
Notes
- The time you need to wait in between stretch and folds depends on the temperature in your house. If your house is above 75° F, you may be able to reduce the amount of time between stretch and folds to one hour.
- You can also speed up the time in between stretch and folds by using a bread proofer or heating pad near the dough. Just stretch and fold when the dough has risen a bit and relaxes out into the bottom of the bowl, and make sure you do at least three stretches and folds. Monitor the dough to make sure you do not over-proof.
- when flouring your proofing basket, it helps to use coarse flour such as rye, masa, or rice flour.
- Depending on your oven, you can bake at a lower temperature. Some ovens run hotter than others.
- When baking with the dutch oven lid off, check every few minutes. Some ovens run hotter than others, so check to see when the loaf is golden brown.







Hello! i noticed that you do not recommend a bulk ferment on the counter for this recipe. Is that because this is an einkorn flour?
I just don’t use that term. Steps 5-14 all occur at room temperature at take about 6 hours. That’s the bulk ferment.
Does AP Einkorn not absorb a lot of water? It seems 64% hydration is low. It is slightly lower still with the starter hydration not at 100%.
Whole wheat flours (of any kind) absorb more water.
Could I sub rye flour for the bread flour?
Thanks for your help. Have been loving your recipes and excellent info! ❄️
Do you cover the dough with a towel or wrap after stretching while it rests?
I usually cover the bowl with a wet tea towel or a plate
I am happy to see this recipe, i have been looking for a 1/2 einkorn 1/2 reg flour recipe. But I use einkorn berries that I will grind with my wonder mill, I typically add about 2.5% water to convert recipes to freshly milled, do you think this will be adequate?
yeah! Thank should work. It’s okay if you need to add a little water!