Can Cider Be Made From Pears?
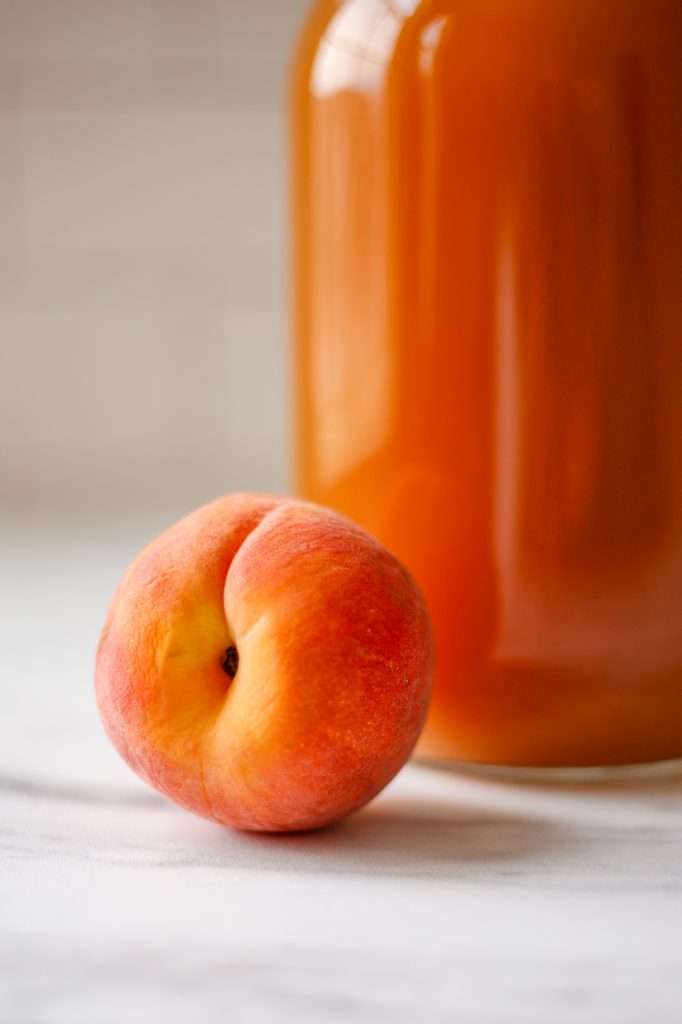
You can totally make cider from pears! A cider made from pear juice is called “perry” but feel free to just call it pear cider.
If you grow pears at home, you can make delicious pear cider from fresh-pressed juice! If you don’t have homegrown pears, no worries! You can use natural pear juice from the store.
Like traditional apple cider, perry involves fermenting the natural sugars in pear juice into alcohol. The process is very similar, and the end result is a beautifully crisp, slightly sweet, and refreshing beverage with the subtle flavors of pear shining through.
It’s a great way to use up an abundance of pears and enjoy something a little different from the usual apple cider. Plus, when you make it at home, you can customize the aging time to your taste!
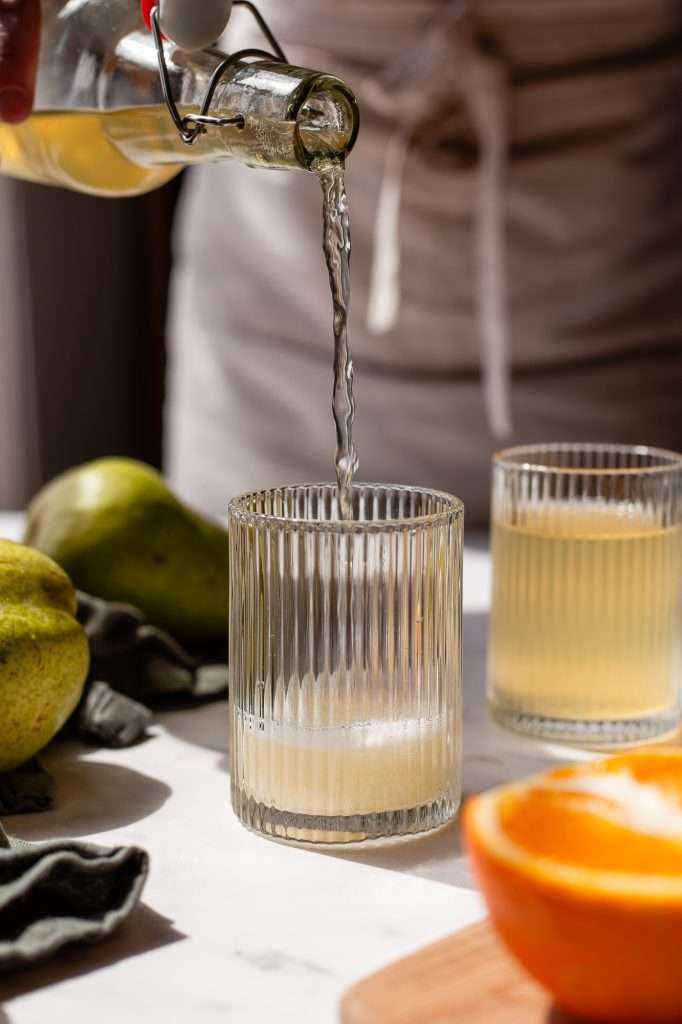
Does Pear Cider Have Alcohol?
Yes, pear cider (perry) does contain alcohol. When pear juice is fermented, the yeast converts the natural sugars in the fruit into alcohol.
Just like with apple cider, the fermentation process determines the alcohol content. If you’re making perry at home from pear juice with no added sugar, the alcohol by volume (ABV) typically ranges between 4-8%. The exact % depends on the ripeness of the pears and how long you let the fermentation go.
Allowing it to ferment fully or adding extra sugar before fermentation can result in a stronger, more robust perry. No matter the ABV, perry, made from homegrown pears, offers a delicious, naturally fermented drink that reflects the quality of your fruit juice.
What’s the Difference Between Cider and Perry?
While the main difference between cider and perry is the fruit (cider being made from apples and perry from pears) there are a few subtle distinctions beyond that.
One of the key differences is the sugar content and types of sugars in apples vs pears. Pears tend to have more non-fermentable sugars, which means perry ends up a bit sweeter than cider, even after full fermentation. So usually you’ll find that perry has a more delicate and floral taste profile, whereas cider can have a sharper, more tart finish.
Additionally, pears naturally contain higher levels of tannins, which can lend a smoother, slightly more complex mouthfeel to perry compared to cider. Tannins contribute to the astringency and texture of homebrewed beverages. So pear ciders have more “body,” while apple ciders are a bit more crisp and dry.
How to Homebrew Pear Cider
I think brewing at home intimidates many people, so I made this recipe as easy as possible! No need to fear. All you need to do is use the right equipment, clean your equipment well, and follow the directions!
With this recipe, you can buy organic pear juice at the store or juice fresh pears. If buying from the store, make sure it is 100% pear juice and free from any preservatives and additives. Also, make sure the juice does not have any added sugar.
Here are the ingredients you’ll need:
- 2 Grams Cider Yeast (Saccharomyces bayanus)
- Organic Pear Juice (this is the juice I used)
- Organic Brown Sugar
- 1 fresh orange, organic
- fresh ginger root, organic
- cinnamon stick
Pear Hard Cider Brewing Equipment
If this is your first time making pear hard cider at home, I highly suggest starting with this half-gallon recipe. This lets you get acquainted with the process and taste test before committing to a large batch.
Here is my Amazon list for 1/2-gallon brewing supplies. You can also get what you need at a local home brew store.
I got all my supplies at my local homebrew store up the street from my house. At a homebrew store, you can have someone help you pick out the right supplies.
- 1/2 gallon glass jug (with a cap)
- a second 1/2 gallon glass jug (with cap)
- 1 rubber stopper for brewing You must ensure it is the right size for your jug. Some jugs have different diameter openings. I’ve linked the size stopper that fits my 1/2-gallon glass jug.
- an S airlock for the stopper
- a funnel
- pot for boiling
- Two 1-Liter swing-top bottles (carbonation safe, for bottling the cider)
What is the Best Yeast for Pear Cider
You can use champagne yeast or cider yeast for this recipe. If you visit a home-brew store, they should be able to help you select a cider yeast.
When buying packaged yeast, I like to make sure that the yeast species is not genetically modified. We chose to use Saccharomyces bayanus. This yeast species is associated with the natural fermentation of grapes, and it’s great for any fruit cider fermentation.
Another option is to use wild yeast. You only need about two tablespoons of wild yeast starter in place of the yeast in the recipe. Click here to learn how to make a wild yeast starter.
Bottling Sparkling Pear Cider
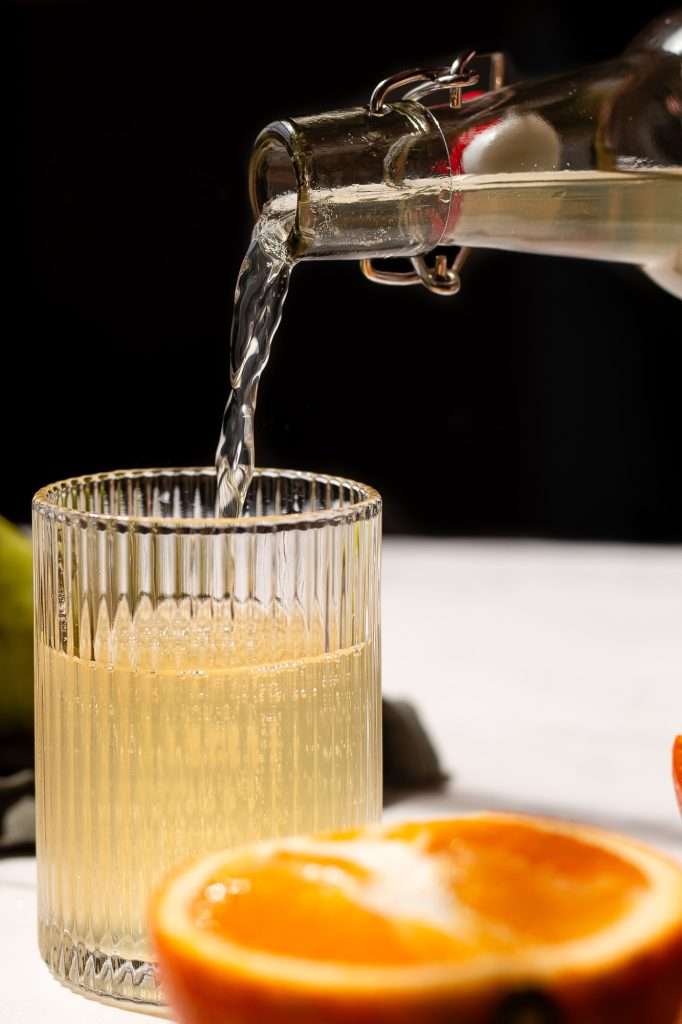
Bottling and storing the cider is pretty straightforward. You need to verify that you have carbonation-safe bottles if you plan to make this a sparkling cider. To make this a still cider instead of sparkling cider, do not add any honey or sugar when you bottle it.
To carbonate hard cider in the bottle, we have to add a small amount of sugar, called priming sugar, right before bottling. I like to use honey as priming sugar because it contains a lot of fermentable fructans. More fructans = more bubbles.
The yeast will feed on the freshly added sugar and produce more carbon dioxide. Since the cider is in carbonation-safe bottles with the cap secure, the CO2 is forced into the cider and becomes carbonated. Bottling 1 liter with only one tablespoon of honey is not enough sugar to excessively carbonate. It’s just enough to produce a pleasant level of carbonation.
You’ll need:
- Two 1-Liter Swing top bottles(Carbonation Safe)
- Organic Honey
How to Bottle
- Clean and sterilize the bottles.
- Add one tablespoon of honey to each 1-liter bottle.
- Using a funnel, transfer the cider from the aging jug into the carbonation-safe bale top bottles, leaving the sediment in the bottom of the jug.
- Cap the bottles and invert gently twice to mix the honey with the cider.
- Allow to ferment at room temperature for five to seven days, then immediately place in the fridge. You can age the cider for 3 more weeks in the fridge before enjoying it chilled.
Pear Hard Cider Recipe FAQs
Can you make this recipe with fresh pressed juice?
Yes! To prepare your fresh-pressed pear juice for making perry, you’ll need to heat it first to ensure it’s clean and safe to ferment. Here’s an easy way: pour the juice into a large pot and slowly heat it on the stove. You want to bring the juice up to about 160°F (70°C) and keep it there for 10-15 minutes. Be careful not to let it boil; just a gentle heat will do the job.
Once heated, turn off the stove and let the juice cool to room temperature before adding yeast. You can speed up the cooling process by placing the pot in an ice bath or letting it sit covered in a cool spot. Once it’s thoroughly cooled, your juice is ready to use to make your perry! This step helps keep your brew free from unwanted bacteria while preserving that fresh pear flavor.
What’s the ABV of this pear cider?
It should be 6 to 7% ABV if you’re using ripe, in-season pears or pear juice.
Can I make this pear cider in a gallon carboy?
Yes! This is a half-gallon recipe, so double all the ingredients to make a gallon.
It’s been longer than 14 days, and it’s still bubbling. Is that okay?
Yes! Cool temperatures and in-season fresh juice can extend the fermentation time a bit.
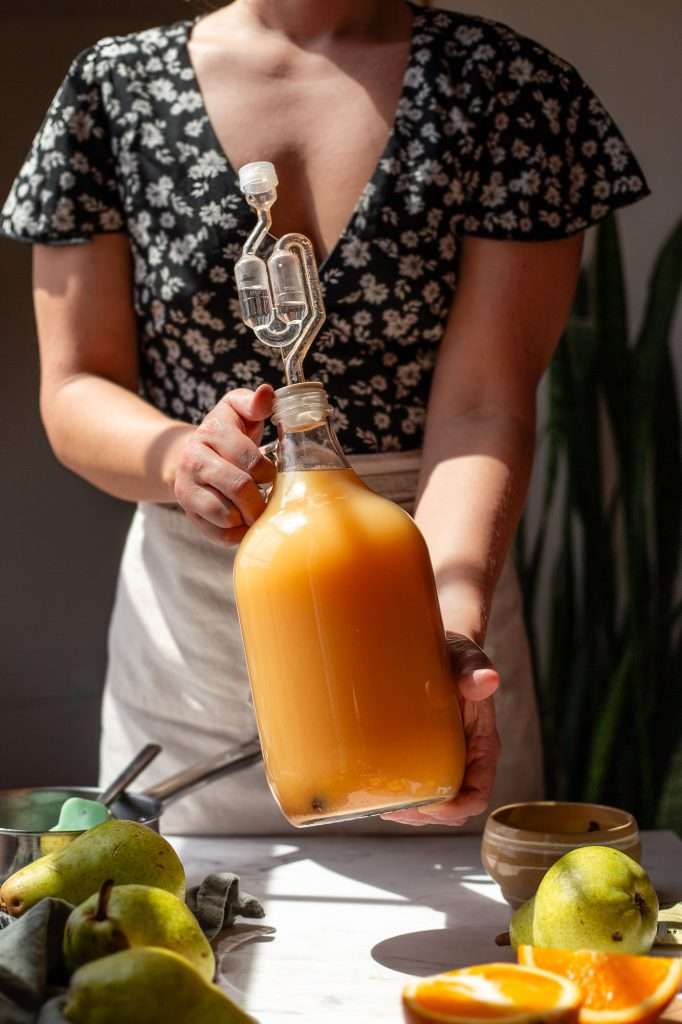

How to Homebrew Pear Cider from Pear Juice (Homemade Perry)
Learn how to homebrew pear cider from pear juice! This pear hard cider recipe teaches you how to make cider from just pear juice, sugar, yeast (and a few spices for fun). I’ll also show you how to bottle it with honey for a delicious sparkling pear cider!
- Prep: 30 minutes
- Cook: 30 minutes
- Total Time: 1009 hours
Ingredients
- 64 fl oz pear juice, organic
- 75 grams brown sugar, organic
- 1 cinnamon stick
- 5 slices ginger root
- 4 orange slices, organic
- 2 grams cider yeast
Instructions
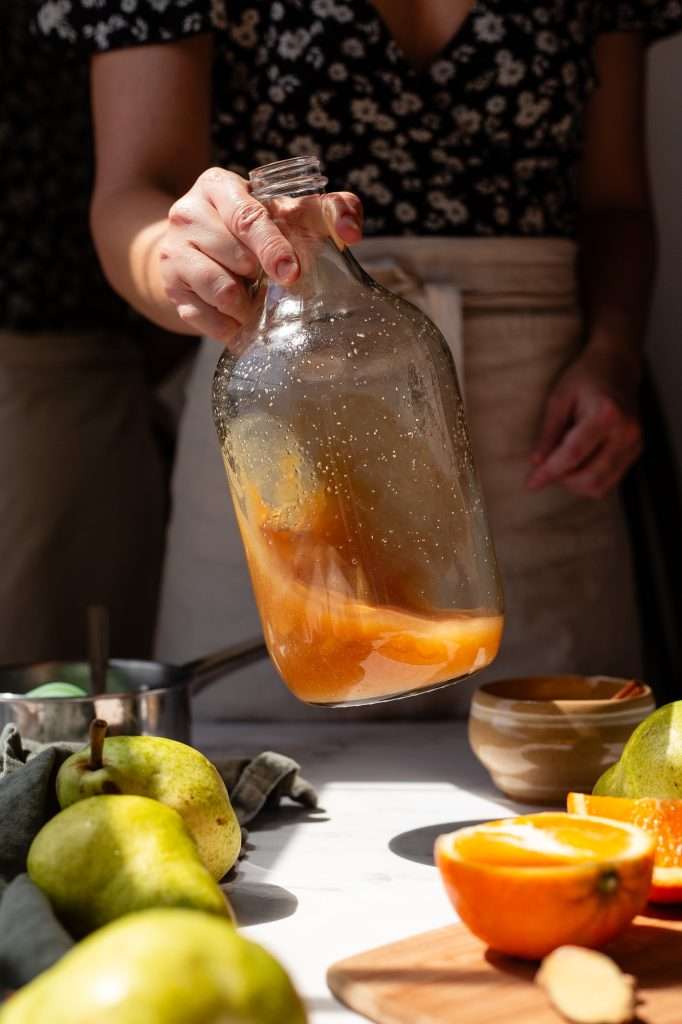
- Clean and sanitize all of your equipment. I like to wash the jug* with soap and hot water, allow it to air dry a bit, then rinse the jug with cheap vodka, and allow it to fully air dry. (The vodka just helps all the excess water in the jug evaporate). You can also sanitize equipment with boiling water.
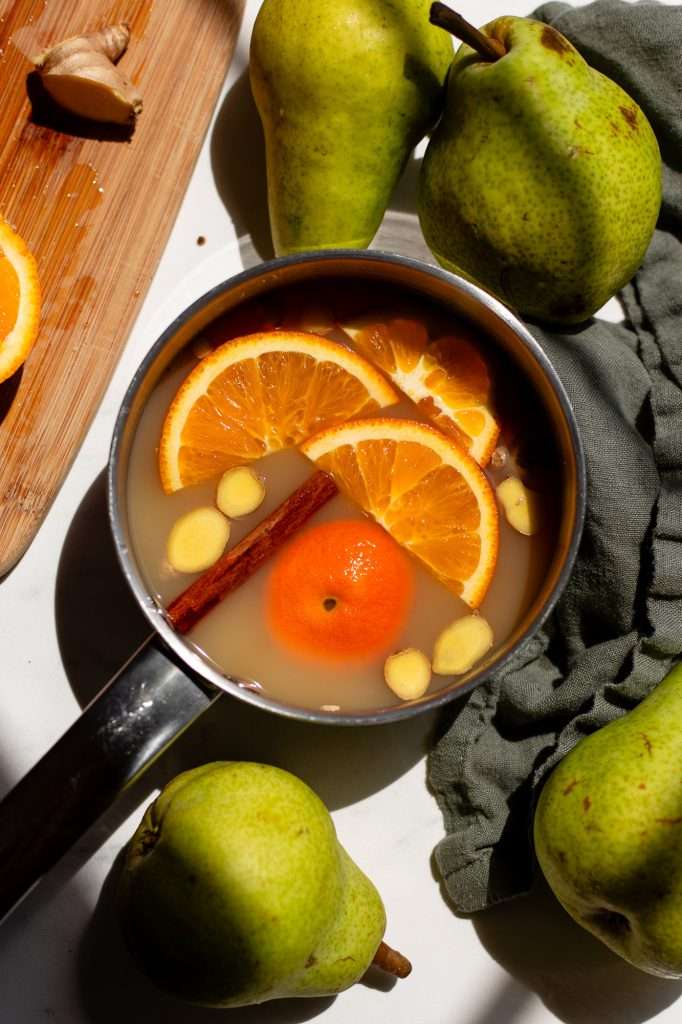
- Once your equipment is prepped, add 16 ounces of the pear juice to a small pot.
- Add the sugar, cinnamon stick, ginger root, and orange slices to the pot with the pear juice.
- Bring the juice and spices to a boil, and reduce to a simmer. Simmer for about 5 minutes, then remove from heat.
- Allow the juice to cool to room temperature (you can speed this up by setting the pot on top a tray of ice).
- Once the juice/spice mixture is cool, use a clean fork to remove the orange slices, cinnamon stick and ginger root pieces and set them aside.
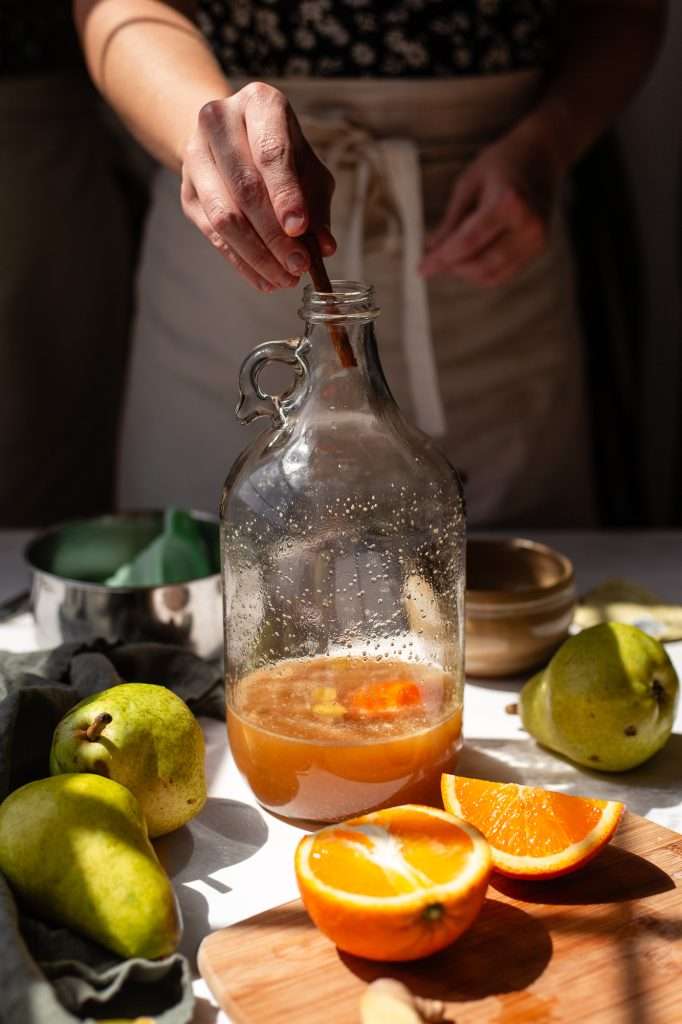
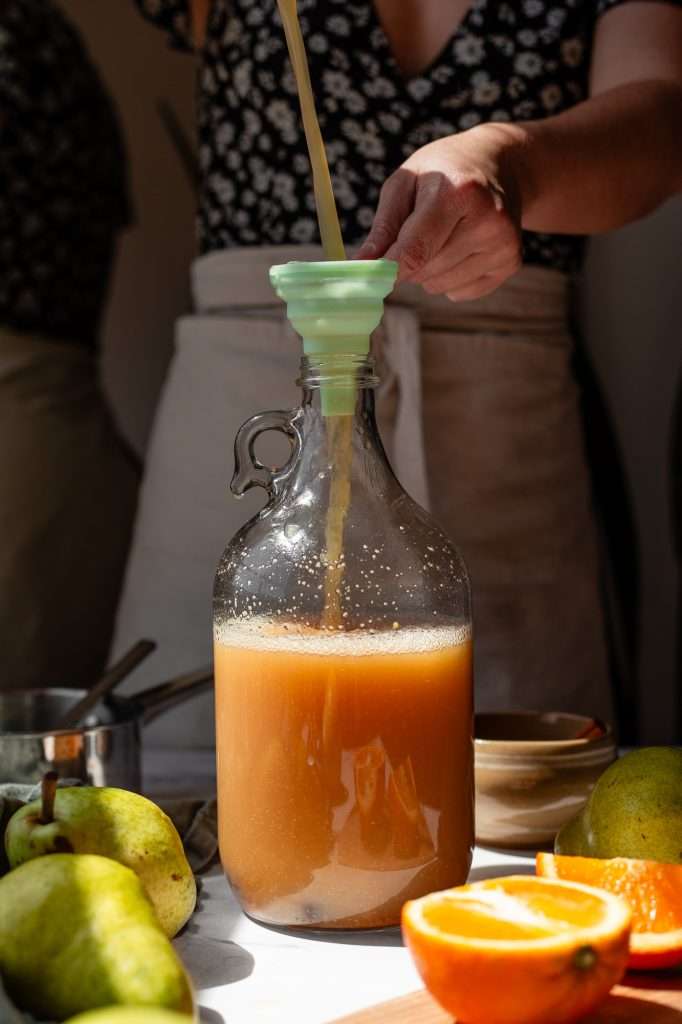
- Use a funnel to pour the spiced juice into your clean jug.
- (optional) add one of the orange slices and a couple ginger slices to the jug.
- Add in the cider yeast and mix gently by swirling.
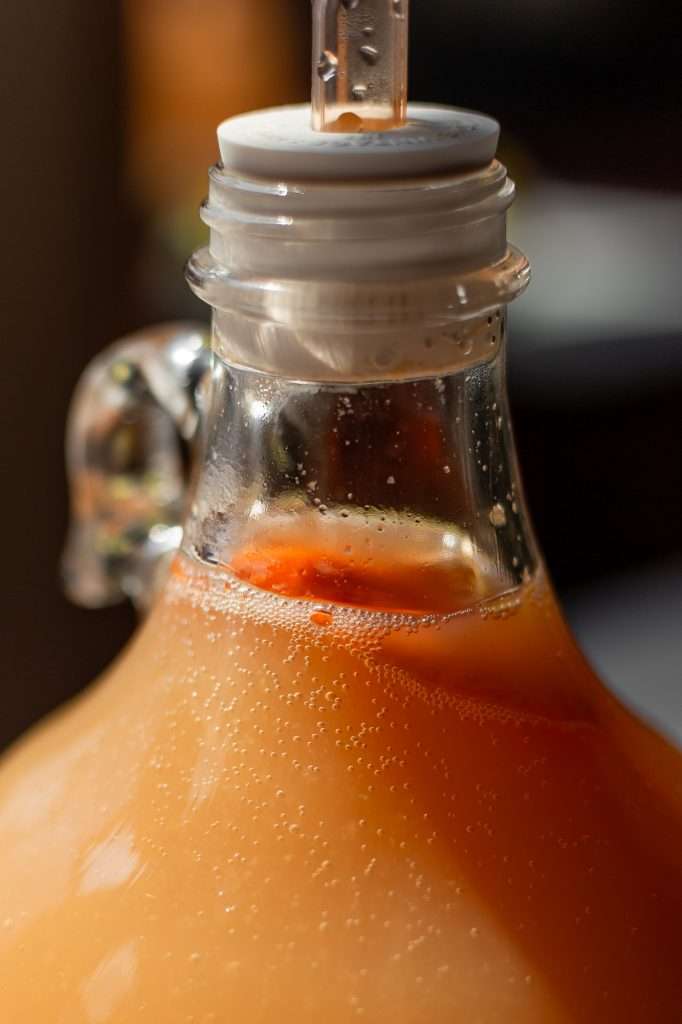
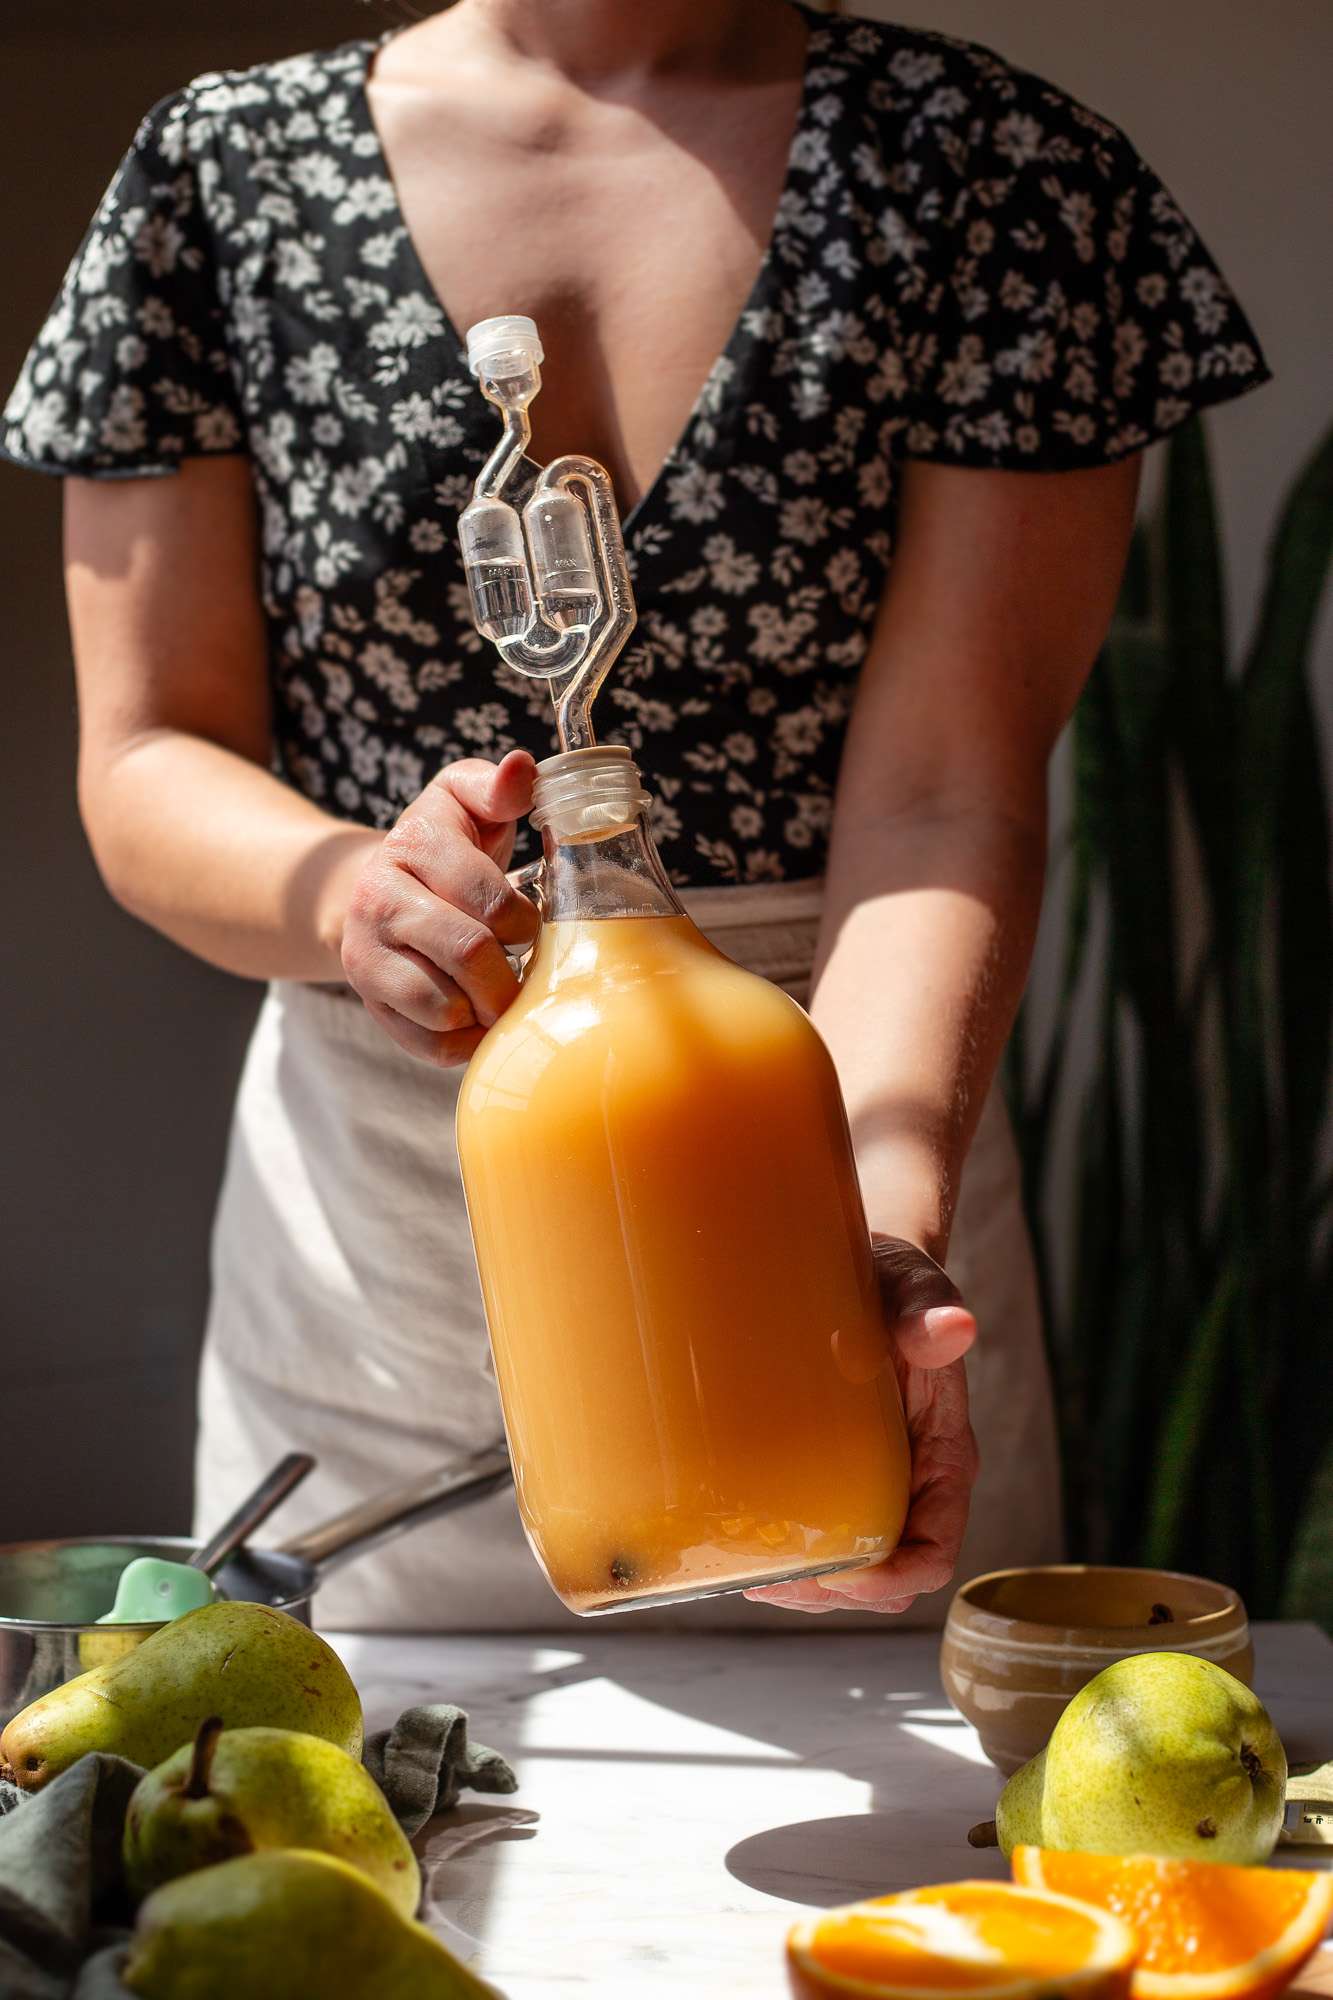
- Carefully using a funnel, add the rest of the pear juice to the jug, leaving about an inch or two of headspace (see pictures above)
- Cap the jug and swirl it around for about a minute.
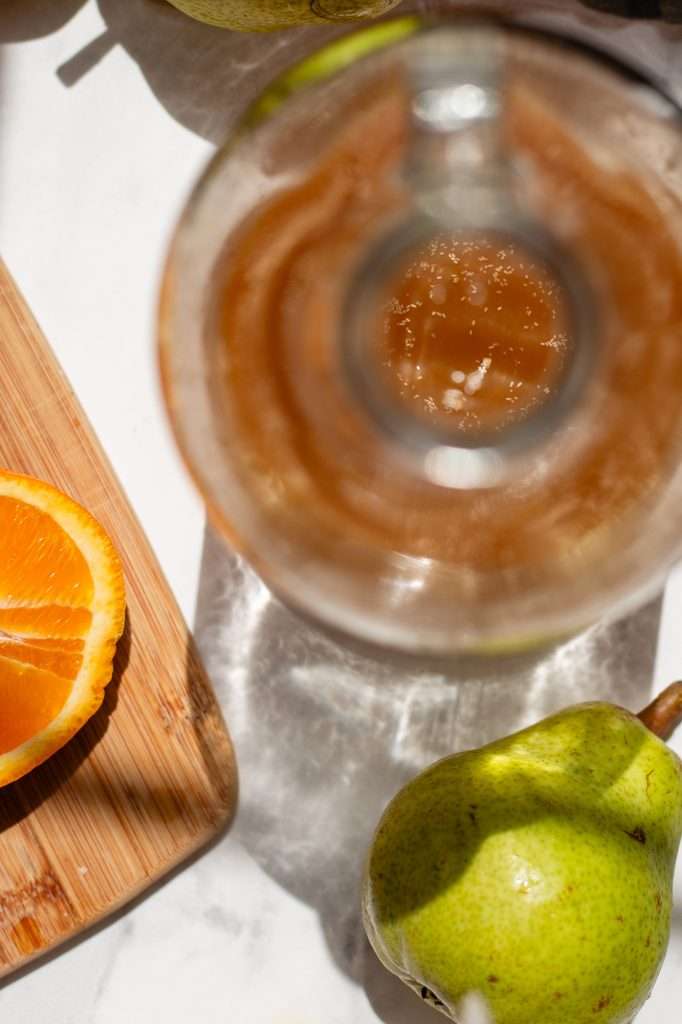
- Remove the cap and place the airlock and stopper in the jug (see pictures above, your airlock should be clean with fresh water in it).
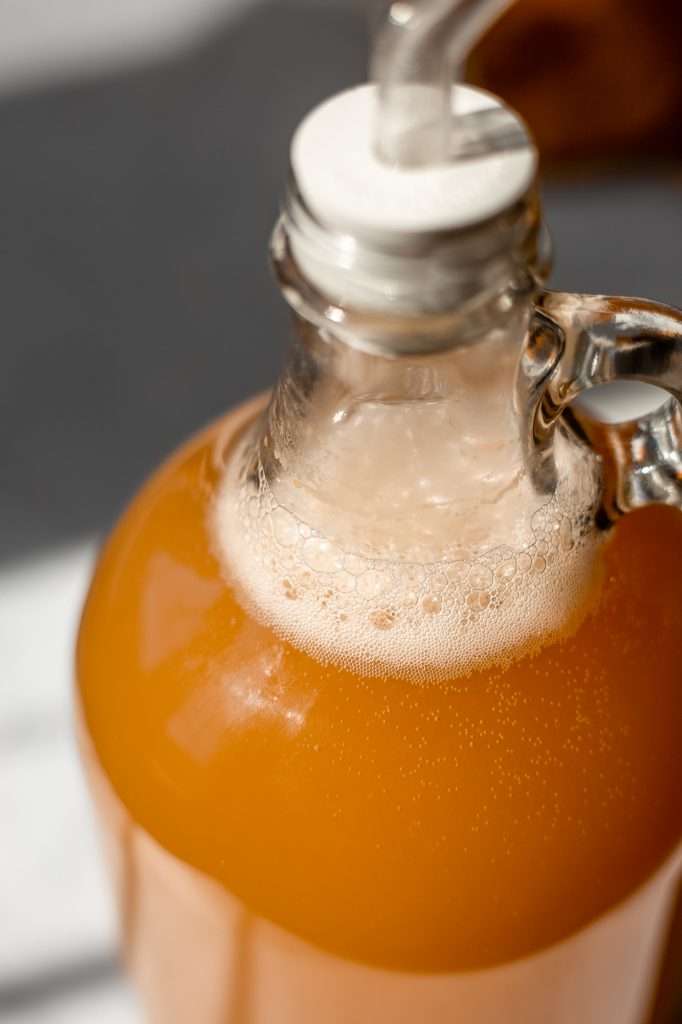
- After a few hours, you should notice bubbling in the pear cider and activity in the airlock.
- Allow the pear cider to ferment for 7 to 14 days until the bubbling has completely stopped and you no longer see activity in the airlock. At this point, you should see sediment in the bottom of the jug.
- Remove the airlock and using a funnel, transfer the cider to a new, clean jug for aging. Be careful pouring, pour gently, leaving the sediment in the bottom of the original jug.
- You can use the airlock stopper to seal the jug again or a regular cap. Allow the pear cider to age at a cool room temperature or in the fridge for four weeks.
- After aging, you can rack the cider again and age it for a few more weeks, or move on to bottling. To make this a still cider instead of sparkling cider, do not add any honey or sugar when you bottle it.
- To Bottle the pear cider with honey: Clean and sterilize two 1-liter carbonation-safe bottles. Add one tablespoon of honey to each 1 Liter bottle. Using a funnel, transfer the cider from the aging jug into the carbonation-safe bottles, leaving any sediment in the bottom of the jug. Cap the bottles and invert gently twice to mix the honey with the cider.
- Allow to ferment in the bottles at a cool room temperature for five days, then immediately store in the fridge. (check the carbonation by carefully opening a bottle over the sink, if it is not carbonated enough you can leave it at room temperature for seven days.)
- You can age the bottled cider for 3 more weeks in the fridge before enjoying it chilled. Keep refrigerated.
Notes
- This recipe results in an alcoholic beverage. 5-8% ABV on average, depending on fruit juice used.
- Use a 1/2 gallon jug for this recipe (unless you are doubling the recipe)
- I like to emphasize use of organic ingredients in homebrewing. Fermentation microbes of any kind thrive best with organic ingredients.
- You can use wild yeast in this recipe. You only need about two tablespoons of wild yeast starter in place of the packaged yeast in the recipe. Click here to learn how to make a wild yeast starter
- Be sure to open the bottles to release the pressure occasionally when storing in the fridge for long periods. Bottling 1 liter with only one tablespoon of honey is not enough sugar to excessively carbonate, so no need to worry. It’s just enough to produce a pleasant level of carbonation.









Hi Kaitlynn! New-ish follower here. I am in the process of making this, but I have a question about the final step where you age the cider. Do you need to do this, does it change the flavor and can it be shortened? Also, I still have some sediment in the final product — is that okay? Thanks for the recipe!
You do not need to age it, but yes the aging will change the flavor and clarify the cider. The longer it ages, the more it will clear up with the sediment settling in the bottom. While you do not have to age it, I like the taste of aged cider better. Sediment is perfectly fine and safe to consume. Thank you for leaving a review!