How to Make Hard Pumpkin Cider
If this is your first time making pumpkin cider at home, I highly suggest starting with this half-gallon recipe. This way, you can get acquainted with the process and taste test before committing to a large batch. If you are a seasoned cider maker, feel free to double the recipe and make a full gallon.
As soon as Jon and I purchase a space to call our own, I plan on making a 30-gallon batch of this cider in one of my white oak barrels, to give to friends and family! I’d love to use homegrown pumpkin and apple, too (assuming I’ll be able to grow apples in Louisiana; we’ll see).
Here is my Amazon list for brewing supplies. If you have a local home brew store, that is also an option to get what you need.
I got all my supplies at my local homebrew store up the street from my house. At a homebrew store, you can have someone help you pick out the right supplies.
- 1/2 gallon glass jug (with a cap)
- a second 1/2 gallon glass jug (with cap)
- 1 rubber stopper for brewing – You will need to make sure it is the right size for your jug. Some jugs have different diameter openings. I’ve linked the size stopper that fits my 1/2 gallon glass jug.
- an S airlock for the stopper
- a funnel
- a small pot
- cheap vodka (for cleaning equipment)
- Two 1-Liter swing-top bottles (carbonation safe, for bottling the cider)
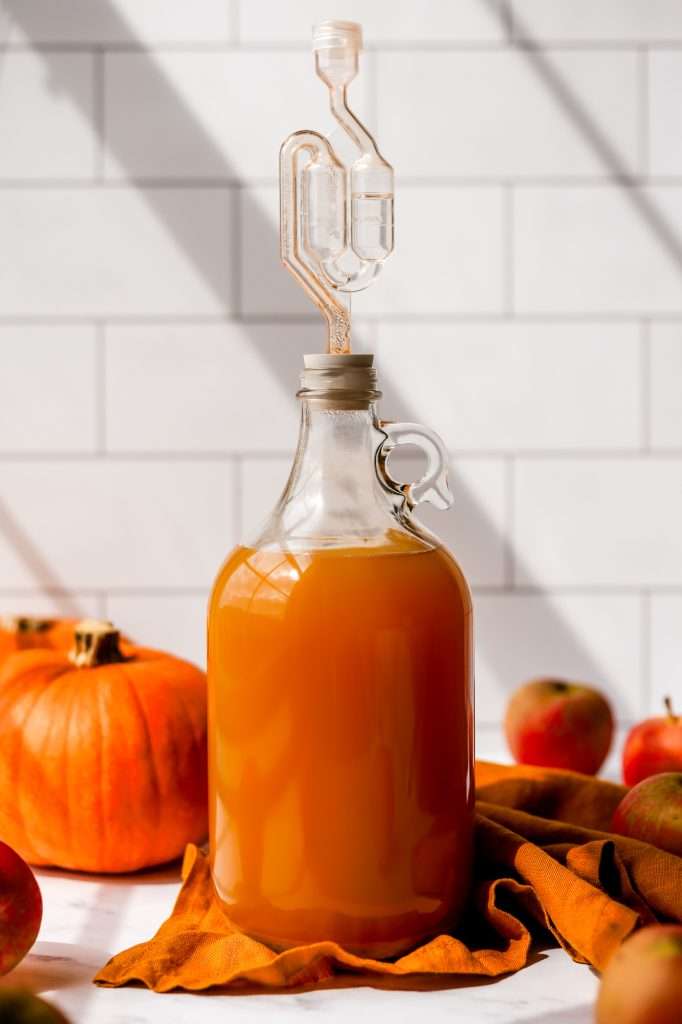
How to Make Hard Pumpkin Cider from Apple Juice
I think brewing at home intimidates many people, so I made this recipe as easy as possible. So no, you don’t have to pick and freshly juice your organic apples to make cider. I would absolutely do this if I had my own apple tree, but I don’t. If you do, fresh apple juice works wonderfully.
For this recipe, you can buy some organic apple juice at the store. I used the 365 brand of organic pressed apple juice from Whole Foods. It’s an unfiltered juice, not from concentrate. I also used pumpkin juice strained from canned pumpkin puree.
The juices used in this recipe must be 100% juice and free from any preservatives and additives. Also, make sure the juice does not have any added sugar.
Easy Pumpkin Juice From Pumpkin Puree
To get pumpkin juice from pumpkin puree, you’ll need one 15-oz can of pumpkin puree. You’ll strain this through cheesecloth or butter muslin to separate the pulp from the juice. The juice is what you use in the cider recipe. I highly recommend saving the pulp and making this pumpkin apple sourdough bread.
To strain the pumpkin puree: Open a 15-ounce can of pumpkin puree. Place a colander in a large bowl and line the colander with a few layers of cheesecloth or butter muslin. Dump the puree in the lined colander and allow the pumpkin juice to separate from the pulp, collecting the juice in the bowl. Use the pulp in this recipe.
Alternatively, if you have a juicer, you can peel, clean, dice and juice fresh pumpkin.
Here are the ingredients you’ll need:
- 2 Grams Cider Yeast (Saccharomyces bayanus)
- 56 Fluid Ounces Organic Pasteurized Apple Juice
- 8 fluid ounces pumpkin juice (strained from pumpkin puree, or juiced from fresh pumpkin)
- Organic Brown Sugar or Organic Cane Sugar
- Cinnamon Stick (optional)
- Cloves (optional)
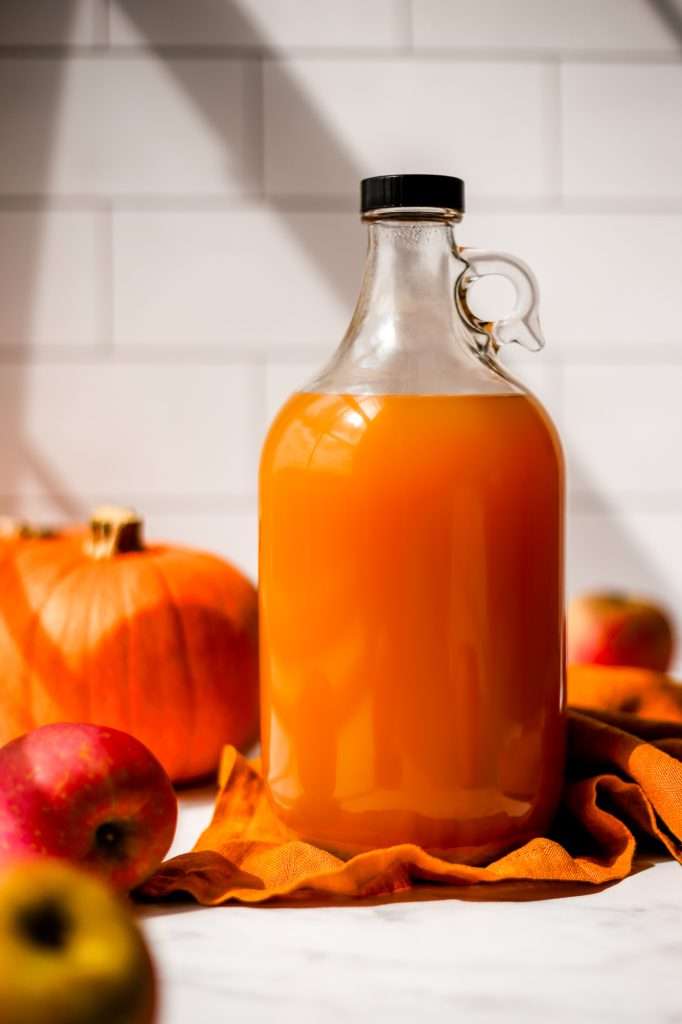
Can You Use Apple Juice Concentrate for Hard Cider?
Yes, you can use apple juice concentrate to make cider, but it needs to be 100% pure apple juice, with no other added ingredients.
It cannot have preservatives or added sugars. Reconstitute it according to the directions and boil it before using it in the recipe.
You can also use fresh pressed apple juice, but if you do, I suggest boiling it or pasteurizing it before using it. You can use raw juice; however, raw juice introduces other microbes into the fermentation, making the flavors more sour and funky. It’s not necessarily a bad thing, and wild fermented cider can be quite delicious; the results can be inconsistent, though.

Choosing Yeast for Pumpkin Cider
You can use champagne yeast or cider yeast for this recipe. If you visit a home-brew store, they should be able to help you select a cider yeast.
When buying packaged yeast, I like to make sure that the yeast species is not genetically modified. We chose to use Saccharomyces bayanus. This yeast species is associated with the natural fermentation of grapes, and it’s excellent for cider fermentation. It’s my favorite yeast to use in most alcohol fermentation because it gives “dry” results. Dry means less sugar in the end, so it is not as sweet.
Another option is to use wild yeast. You only need about two tablespoons of wild yeast starter in place of the yeast in the recipe. Click here to learn how to make a wild yeast starter.

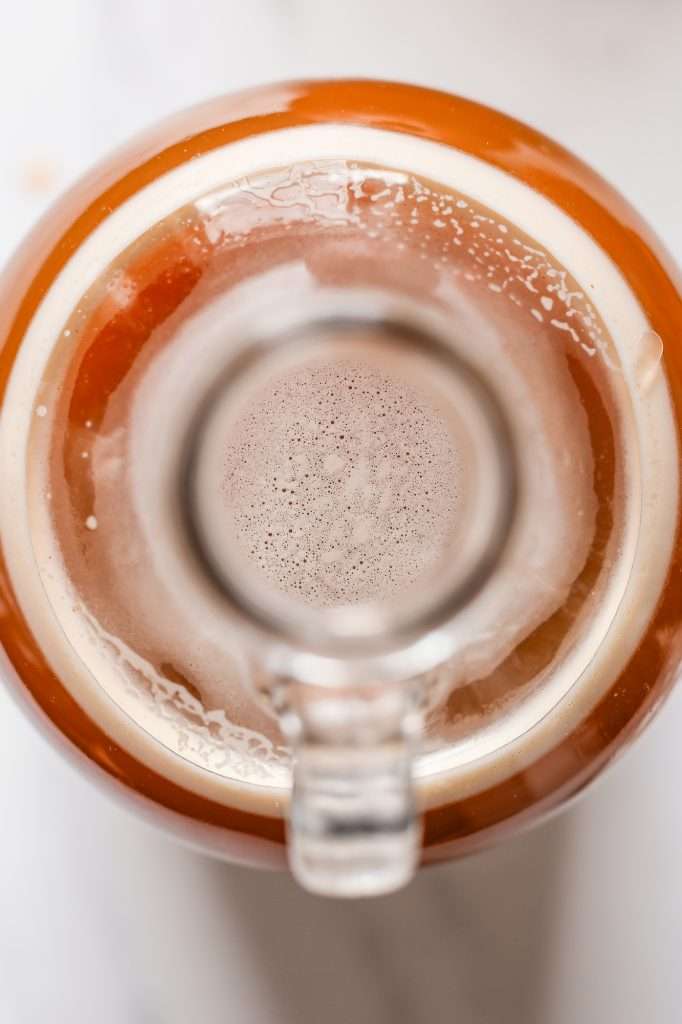
The Benefits of Hard Apple Cider with Pumpkin
Everyone knows that apples are a “superfood” loaded with beneficial vitamins and minerals. Well, fermentation can make all the benefits of apples more bioavailable.
When homemade with just apple juice, organic sugar, and yeast, hard apple cider is a relatively healthy alcoholic beverage. Hard apple cider contains a lot of bioavailable vitamin C, potassium, and antioxidants. Plus, it’s gluten-free!
The added pumpkin juice in this recipe adds even more nutritional value. Pumpkin is an underrated superfood—pumpkin, or any winter squash, is a nutritional powerhouse. Rich in bioavailable vitamins A and C, pumpkin contributes to a robust immune system, promotes healthy skin, and supports eye health.
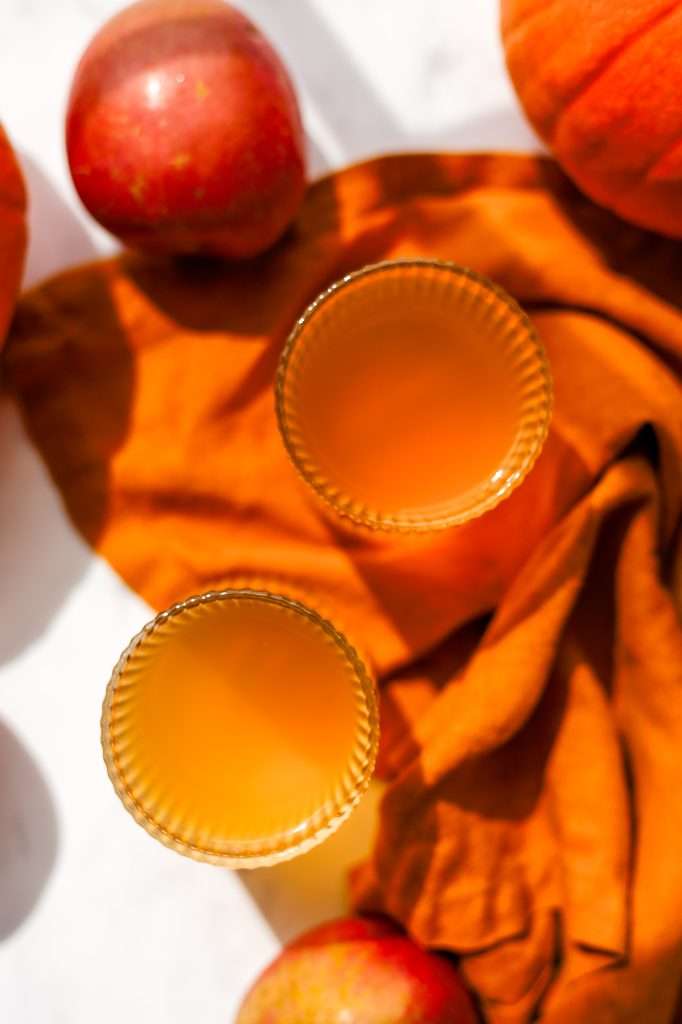
Still or Sparkling Hard Pumpkin Cider
Bottling and storing the cider is pretty straightforward. You need to verify that you have carbonation-safe bottles.
If you want to make this a sparkling cider, you need to carbonate it. To carbonate hard cider in the bottle, we have to add a small amount of priming sugar, right before bottling. I like to use honey as priming sugar.
The yeast will feed on the freshly added sugar and produce more carbon dioxide. Since the cider is in carbonation-safe bottles with the cap secure, the CO2 is forced into the cider and becomes carbonated. Bottling 1 liter with only one tablespoon of honey is not enough sugar to excessively carbonate. It’s just enough to produce a pleasant level of carbonation.
To make this a still cider instead of sparkling cider, simply do not add any honey or sugar.
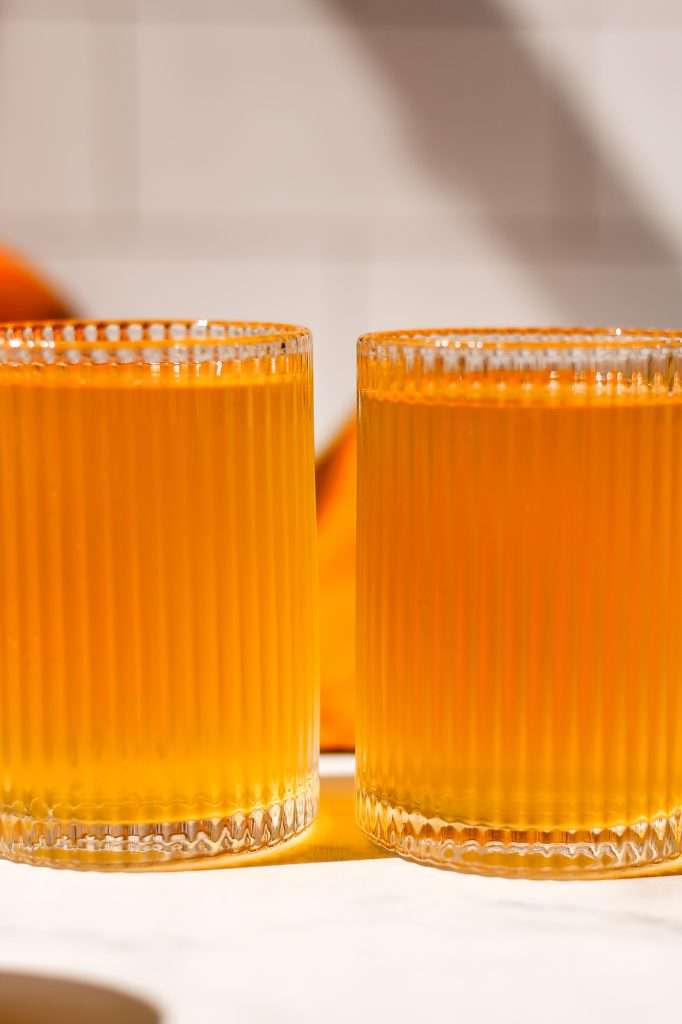
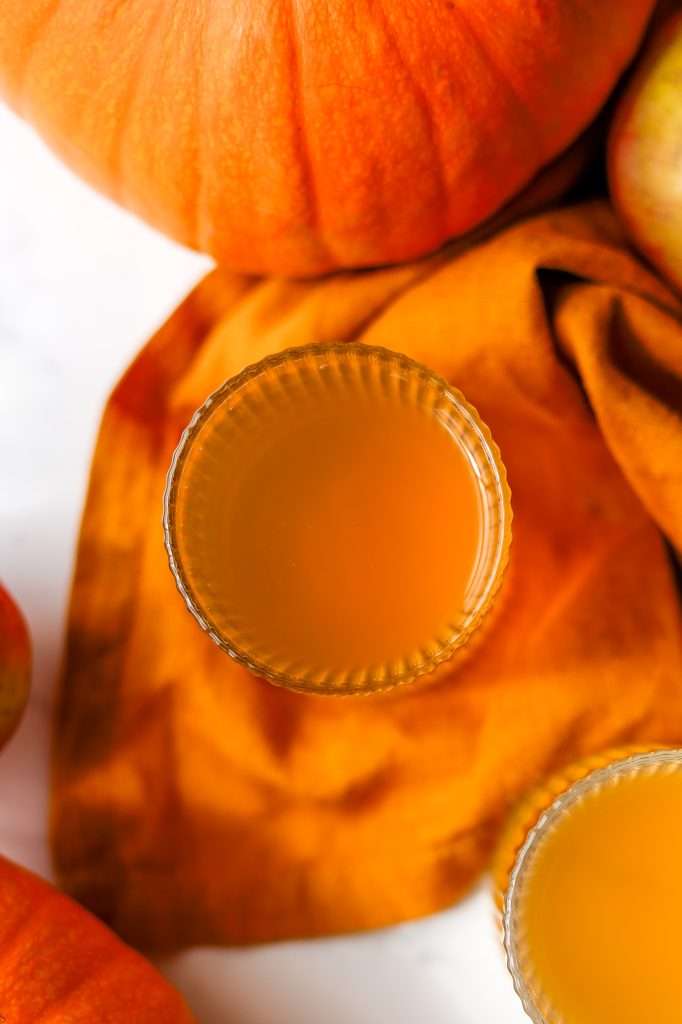
How to Bottle and Store Hard Pumpkin Cider
You’ll need:
- Two 1-Liter Swing top bottles(Carbonation Safe)
- Organic Honey
How to Bottle
- Clean and sterilize the bottles.
- Add one tablespoon of honey to each 1-liter bottle.
- Using a funnel, transfer the cider from the aging jug into the carbonation-safe bale top bottles, leaving the sediment in the bottom of the jug.
- Cap the bottles and invert gently twice to mix the honey with the cider.
- Allow to ferment at room temperature for five to seven days, then immediately place in the fridge. You can age the cider for 3 more weeks in the fridge before enjoying it chilled.


Homemade Hard Pumpkin Cider with Warm Fall Spices
The only hard cider you need this fall. This pumpkin cider is fermented with organic apple juice, pumpkin juice, warm fall spices, and sugar. Bottle this cider with honey for a delightful sparkling holiday drink.
- Prep: 30 minutes
- Cook: 30 minutes
- Total Time: 1009 hours
Ingredients
- 56 fl oz apple juice
- 8 fl oz pumpkin juice (strained from pumpkin puree)*
- 75 grams sugar
- 1 cinnamon stick
- 2 cloves
- 2 grams cider yeast
Instructions
- Open a 16 ounce can of pumpkin puree. Place a colander in a large bowl and line the colander with a few layers of cheesecloth or butter muslin. Dump the puree in the cheesecloth-lined colander and allow the pumpkin juice to separate from the pulp, collecting the juice in the bowl. This should give you over 8 fl ounces of pumpkin juice.
- Clean and sanitize all of your equipment. I like to wash the jug with soap and water, allow it to air dry a bit, then rinse the jug with cheap vodka and allow it to air dry fully.
- Once your equipment is prepped, add the pumpkin juice, cinnamon, clove and sugar to a small pot, and bring to a simmer. Stir until all the sugar is dissolved.
- Remove the cinnamon stick and clove. Allow the pumpkin liquid to cool, then, using a funnel, add it to the 1/2 gallon jug.
- Add in the cider yeast and mix gently by swirling. Wait about 30 minutes for the yeast to get frothy and active.
- In the meantime, heat the apple juice until simmering. Remove from heat and allow to cool to room temperature (if using a metal pot you can place the pot in a bowl of ice to cool it down faster).
- Carefully using a funnel, add the apple juice to the jug leaving two inches of headspace.
- Cap the jug and swirl it around for about a minute.
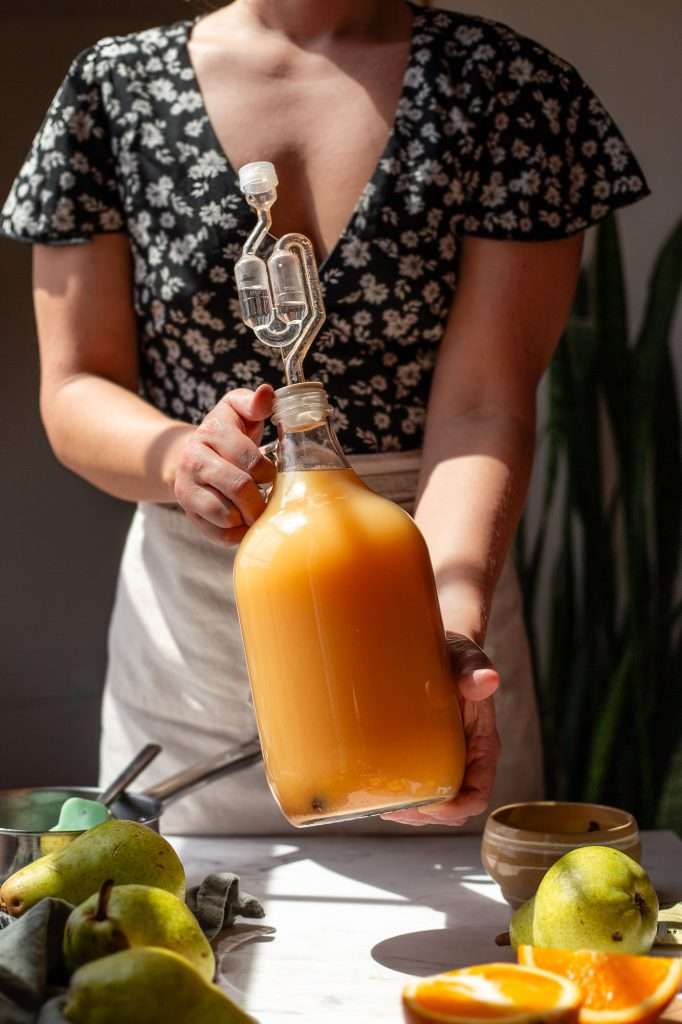
- Remove the cap and place the airlock and stopper in the jug (see pictures above).
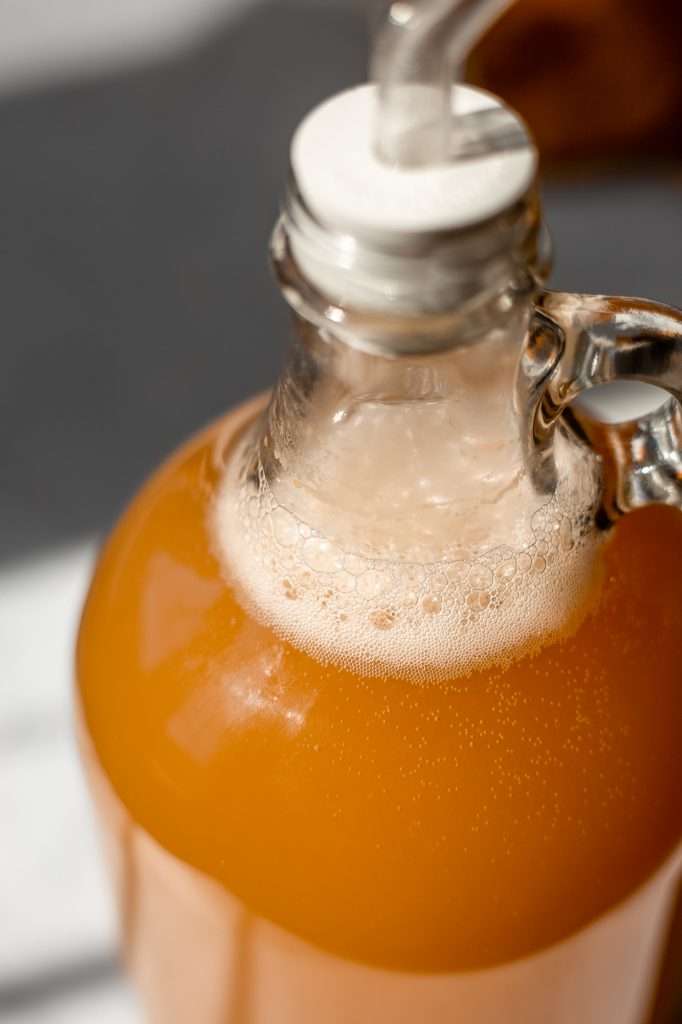
- After a few hours, you should notice a lot of bubbling in the cider and activity in the airlock.
- Allow the cider to ferment for 7 to 14 days until the bubbling completely stops, and you no longer see any activity in the airlock. At this point, you should see a lot of sediment in the bottom of the jug.
- Racking the cider: Remove the airlock and, using a funnel, transfer the cider to a new, clean jug for aging. Be careful pouring; pour gently and in one steady pour, leaving the sediment in the bottom of the original jug.
- Cap the jug with a regular lid. Allow the cider to age at a cool room temperature or in the fridge for four weeks.
- At this point, you can rack the cider again with more aging time or move on to bottling.
- To Bottle the cider with honey: Clean and sterilize two 1-liter carbonation-safe bottles. Add one tablespoon of honey to each 1-liter bottle. Transfer the cider from the aging jug into the carbonation-safe bottles using a funnel, leaving any sediment in the bottom of the jug. Cap the bottles and invert gently twice to mix the honey with the cider.
- Allow to ferment in the bottles at a cool room temperature for five days, then immediately store in the fridge. (check the carbonation by carefully opening a bottle over the sink, if it is not carbonated enough, you can leave it at room temperature for seven days.)
- You can age the cider for 3 more weeks in the fridge before enjoying it chilled. Keep refrigerated.
Notes
- use a 1/2 gallon jug for this recipe, unless you are doubling it.
- You can use wild yeast in this recipe. You only need about two tablespoons of wild yeast starter in place of the packaged yeast in the recipe. Click here to learn how to make a wild yeast starter.
- be sure to open the bottles to release the pressure occasionally when storing in the fridge for long periods. Do NOT worry, though! Bottling 1 liter with only one tablespoon of honey is not enough sugar to excessively carbonate. It’s just enough to produce a pleasant level of carbonation.








Hi! Should the honey be pasteurized, or can I use raw unfiltered? I understand using raw could introduce other types of bacteria that can interfere with the existing live cultures. I’ll need to purchase pasteurized honey if that’s the case. I’d like to start a batch this weekend. Side note, I started a batch of your pomegranate wine 10 days ago and racked it a few days ago. During racking I taste tested it and it was very bitter (pH 3.5, although I understand it needs to continue aging and mellowing).. I used orange juice instead of lemon, and I’ll bottle it with honey when the time comes, but same question applies about the honey: raw or pasteurized? Thanks!
You can use raw honey. I do it all the time.
How long does one wait to separate the juice from pulp of pumpkin? After it sitting for an hour I’ve barely gotten a Tbs! I added extra apple juice to the pulp, mixed it, then strained that…
This looks delicious! Questions: the final step, where you can age the cider for 3 more weeks in the fridge – do you have to do this? Or does this just mean that you can drink it anytime, but it will continue to age/the taste will continue to change for the next 3 weeks?
Also, on step 14, if you don’t move into bottling but instead re-rack it to keep aging, how long should you continue to age it for?
No it’s optional. You can age longer if you want different flavors to develop. If you re-rack, you can age it for 1-3 more weeks at a cool or refrigerated temp.
This was fantastic! I shared it a head beer brewer here in Denver and it was a huge hit! Well balanced, not too sweet or dry – am making it again this week with juiced fresh pumpkin!
Hello! I made this recipe but used old yeast… I still saw some bubbling during the initial fermentation so thought I would continue and see if it worked out. I decided to add honey at the end to add some carbonation but after 5 days the carbonation is very minimal and when I opened my bottle there were no bubbles that rose. Also I see more sedimentation at the bottom of the bottles. I am wondering how I know if the cider is still safe to drink since I used expired yeast. Thanks!
Since it’s colder in most places right now, carbonation may just take a bit longer. I think it’s likely fine, as long as your airlock had some activity and it did bubble during the first part of fermentation. Hard to say for sure though, since I can’t smell and taste it myself!