Lemon Pepper Fries
These are the best lemon pepper fries you’ll ever have. First, you ferment the potatoes with a sourdough starter, which adds so much flavor to the fries. Then, you fry them in duck fat until golden brown and crispy. Last, you toss the fries in the most delicious homemade lemon pepper spice blend.
Make these lemon pepper fries if you truly want to impress guests with a side at your next burger barbeque!

How to Cut French Fries
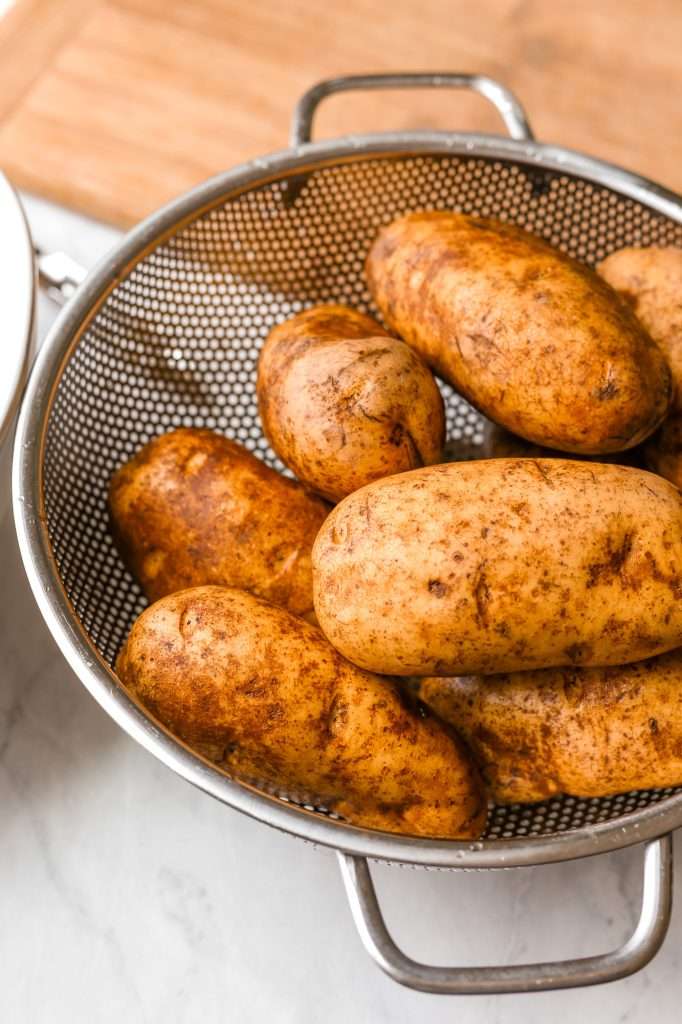
Great french fries start with great potatoes. So you want to get some fresh, large russet potatoes at the store. I like organic potatoes for the best flavor, but conventional potatoes work too.
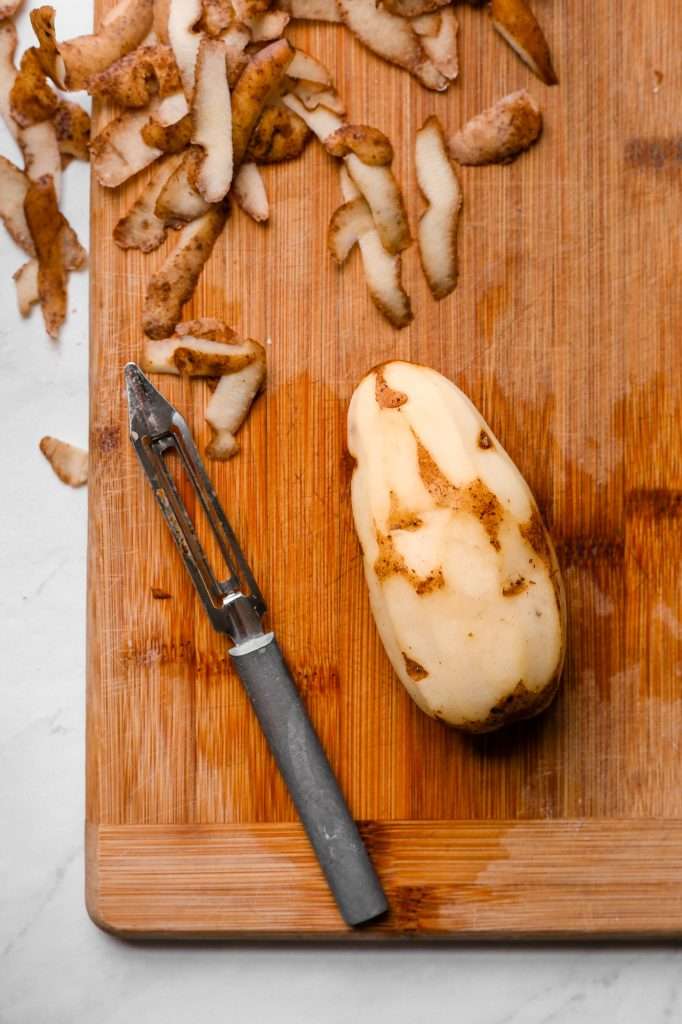
To start, rinse and scrub all the potatoes well. Then, using a vegetable peeler, peel all the potatoes. They do not need to be perfectly peel-free. So just peel them until most of the skin is off. It’s okay to leave little spots on peel on the potato.
Next, you’ll cut the potatoes into sticks. You can decide how thick or thin you want the sticks, but the process will be the same no matter what.
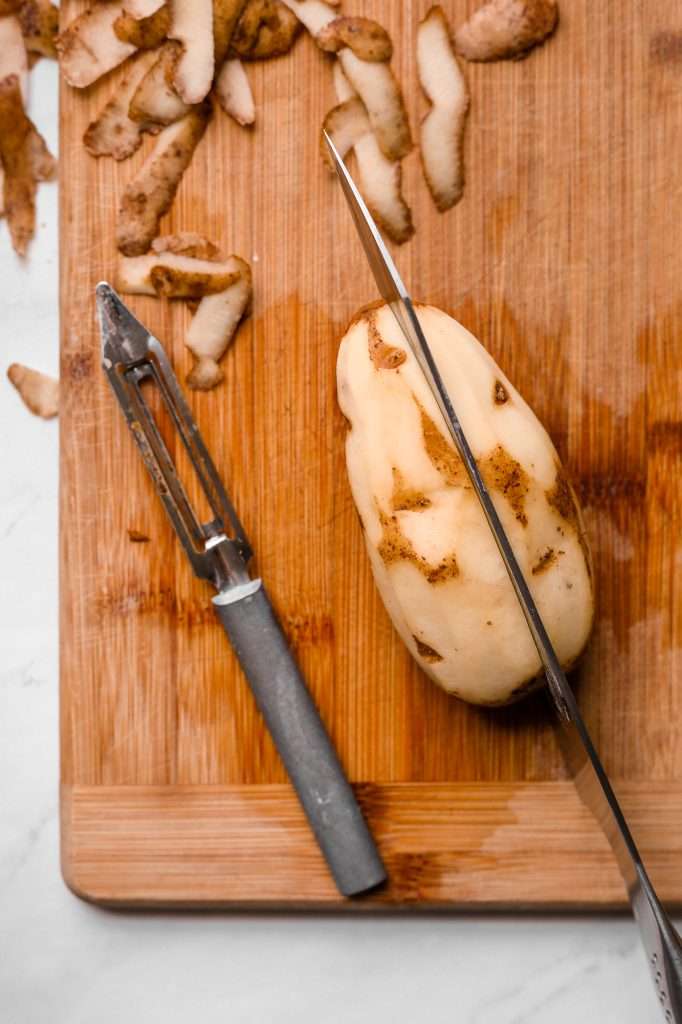
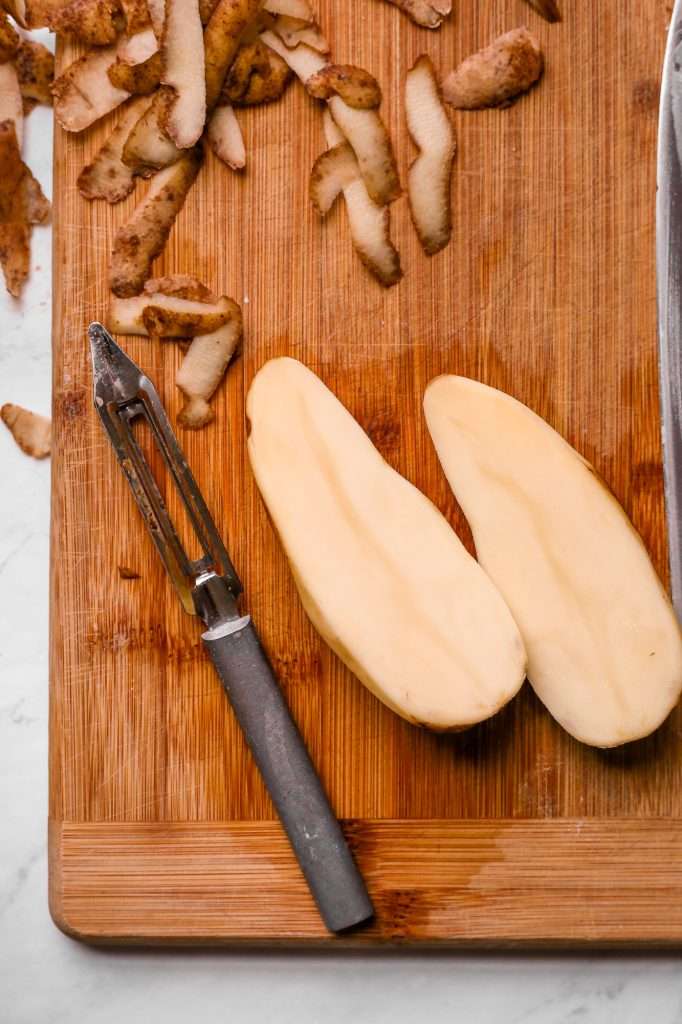
Start by cutting the peeled potato in half long ways. Then take each half, place it flat side down, and cut it long ways again, creating wedges. For the last cut, place each wedge flat on the cutting board and slice it long ways again.
After cutting, place all the sticks in a large colander and rinse them well.
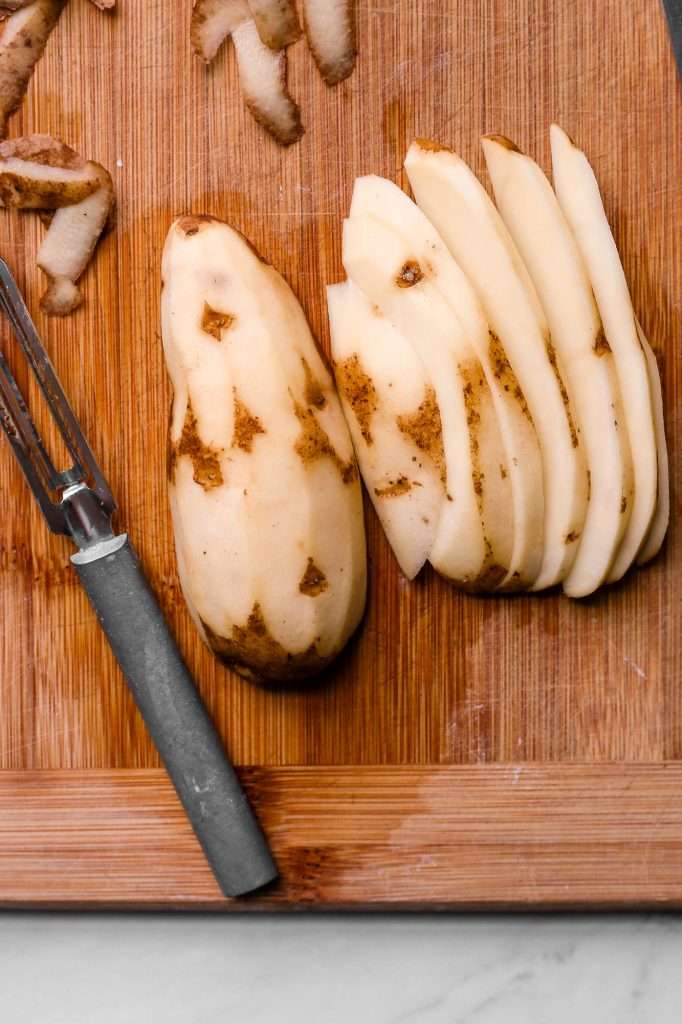
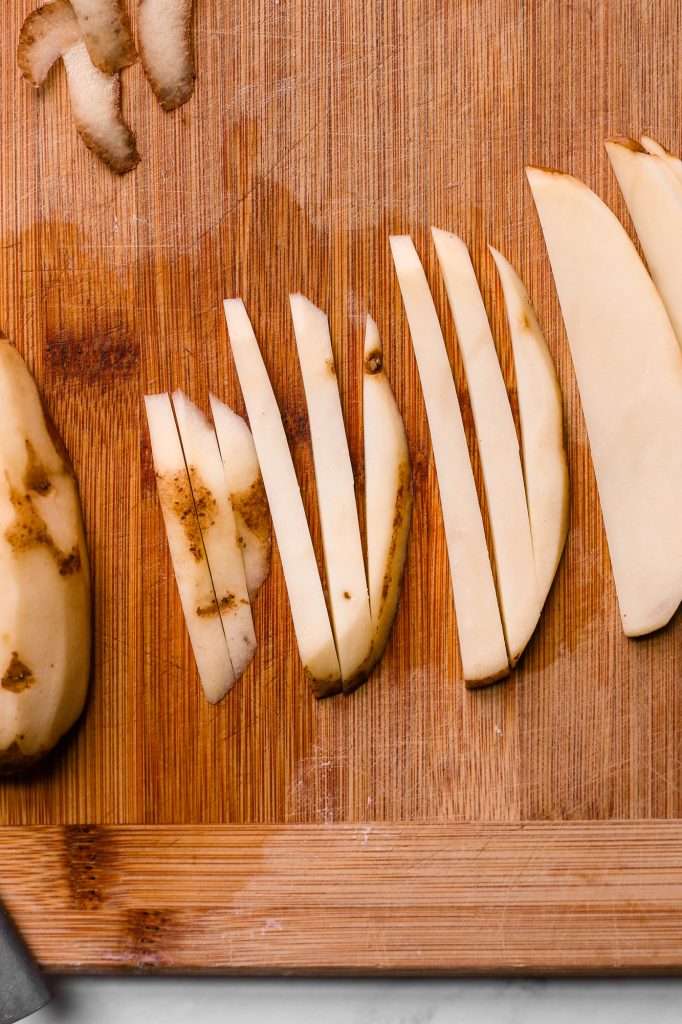
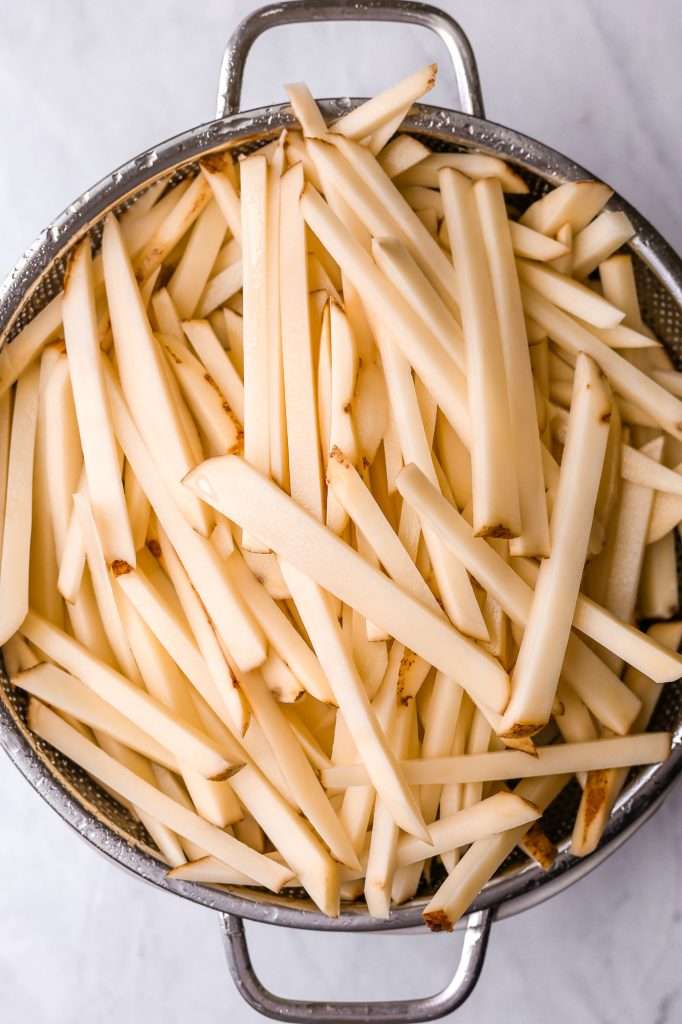
Fermenting Lemon Pepper Fries
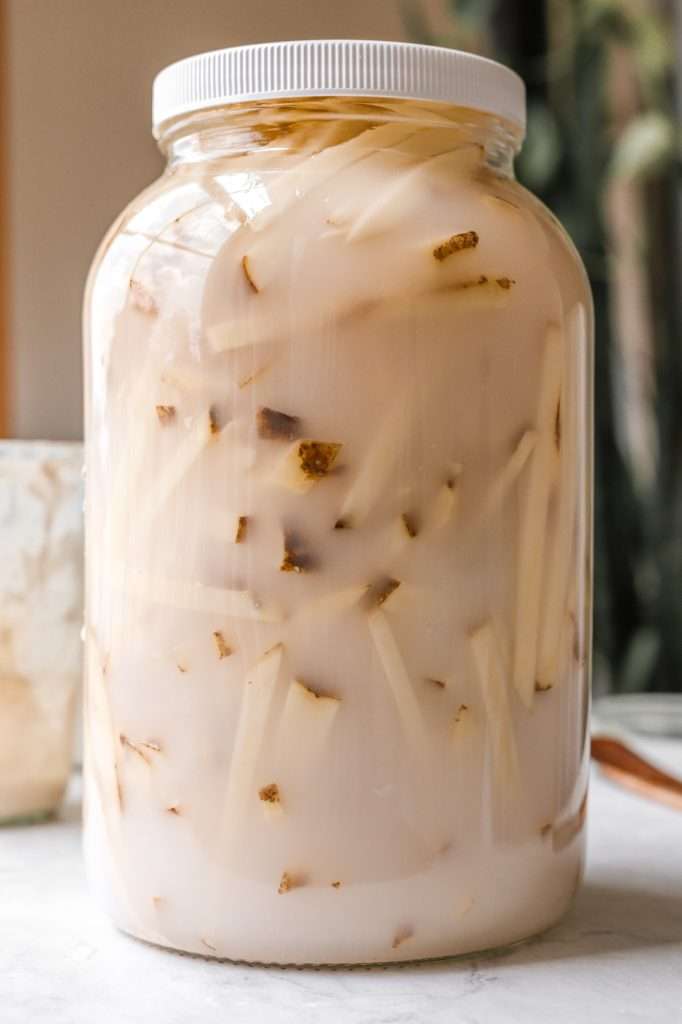
After you have all your potatoes peeled, cut into sticks, and rinsed well, it’s time to ferment!
For this recipe, we only need to ferment the potatoes for 24 hours. So you don’t need to prep these french fries too far in advance. You’ll want to start the whole recipe process about 24 hours before you plan to serve them.
The fermentation process removes the starch from the potatoes and develops the flavor.
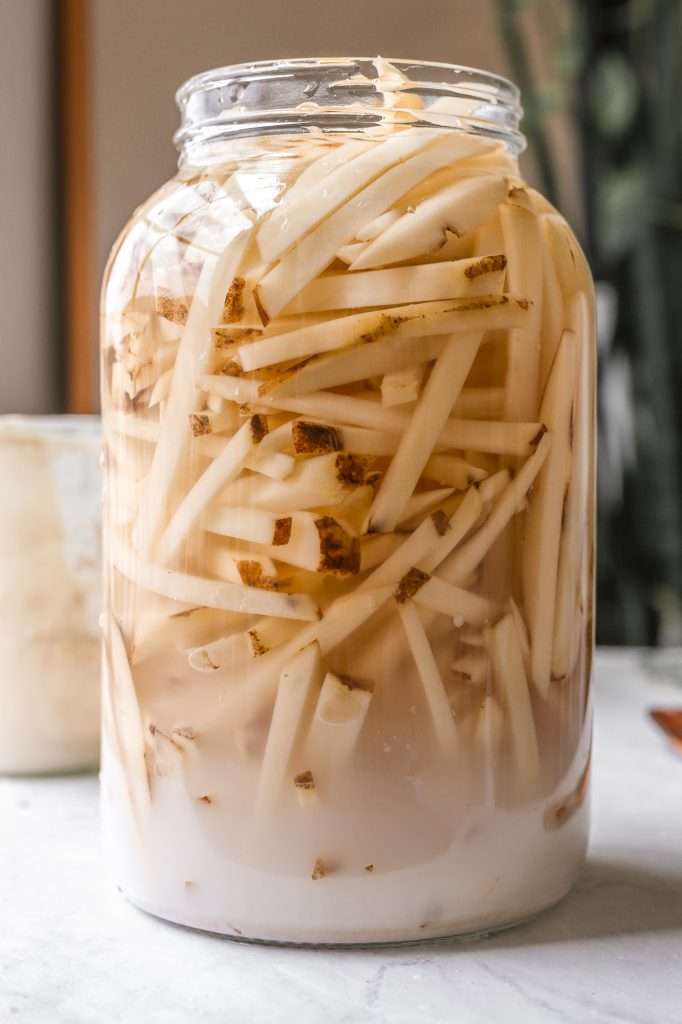
This is not a lacto-fermentation process; the lemon pepper fries will not taste pickled. Instead of using Lacto-fermentation, I use my sourdough starter to ferment the potatoes.
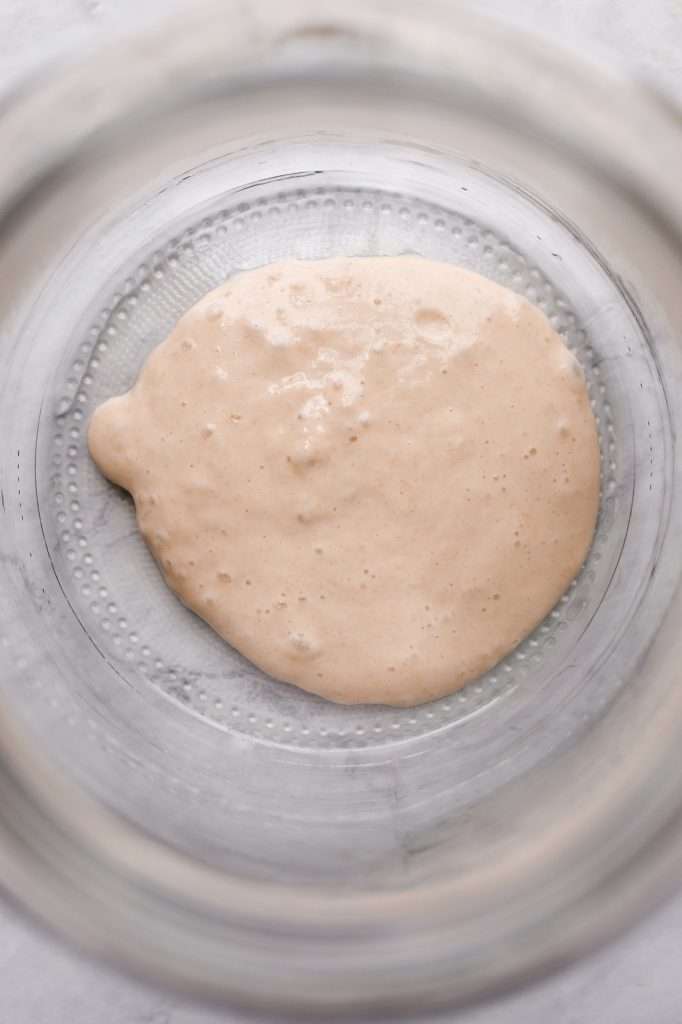
You only need about a cup of sourdough starter per gallon of french fries. Also, you can use a fresh bubbly sourdough starter or sourdough starter discard. Either one should work fine. However, I prefer a fresh and bubbly sourdough starter for the best flavor.
Duck Fat Fries
I always try to avoid PUFAs and use animal fats when we eat fried foods. Frying foods in animal fats like tallow, lard, and duck fat is far healthier because the fats are more stable at high temperatures.
Animal fats also impart better flavor. As long as you do not burn the fat, you can also reuse it multiple times.
For these lemon pepper fries, I used duck fat. However, tallow is one of my go-to animal fats for making fried pickles and other fried sides.
Here are my favorite animal fats to fry with:
Lemon Pepper Fries Fried in Duck Fat
For perfectly crispy, restaurant-quality french fries, we use a double-frying process. It’s only slightly more time-consuming but worth every second.
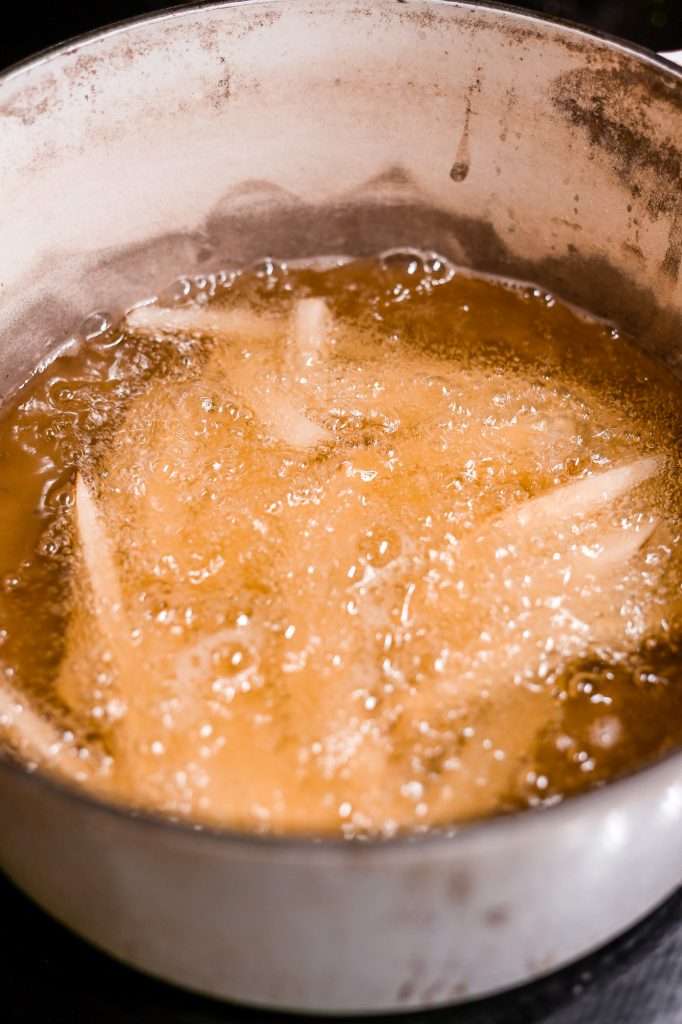
For the first fry, carefully place some potato sticks into the hot oil. (Do not put all the potatoes in at once. You will need to do several smaller batches for best results). Once the fries are in, cook for about 5 minutes (they are NOT done yet here, trust the process). Then, scoop them out of the oil with a stainless steel strainer, allowing the oil to drain back into the frying pot. Place them on a paper towel-lined pan. Do this for all the fries.
After batch frying all the fries for the first time, it’s time for the second fry. Working it batches again, drop the fries back into the oil, and cook until golden and crispy (about 8-10 minutes each batch). Once finished, remove from hot oil and place on a paper towel lined baking sheet.

You can decide how crispy you want your fries during the second fry.
In the picture below, the fries on the left are slightly crispy and softer in the middle. They were second fried for about 8 minutes. The fries on the right are super crispy (this is how I like them) and were second-fried for about 10 minutes.

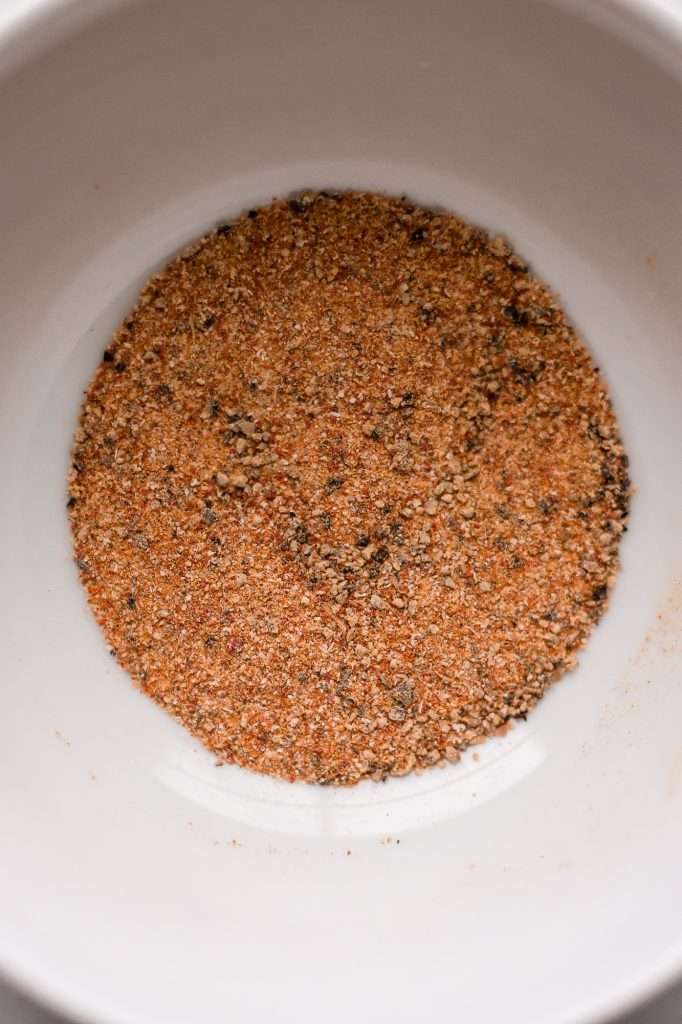
Seasoning Blend for Lemon Pepper Fries
This seasoning blend is the best, but feel free to use store-bought lemon pepper instead.
- Lemon peel powder
- Black pepper
- Garlic powder
- Cayenne
- Smoked paprika

Freezing and Reheating Lemon Pepper Fries
I like making these fries in huge batches and then freezing the leftovers. These fries freeze so well, and they’re easy to reheat.
To freeze: allow the fries to cool, then place them in freezer-safe bags and freeze.
To reheat: preheat your oven to 425° F. Once the oven is hot, take the fries out of the freeze and place them on a sheet pan. Bake for about 5-10 minutes until the fries are hot and crispy.
More Recipes You’ll Love
- How to Make Fermented Ketchup in Under 10 Minutes
- Crispy Gluten Free Fried Pickles (Fried in Tallow)
- Jalapeño Cheddar Burgers with Cilantro Lime Mayo
- How to Make Sourdough Hamburger Buns


Fermented Lemon Pepper Fries Fried in Duck Fat
These lemon pepper fries are fermented with sourdough starter and then double-fried in duck fat for the most delicious flavor and crispy texture. Pair these fermented, lemony duck fat fries with any burger or sandwich.
- Prep: 20 minutes
- Cook: 30 minutes
- Total Time: 24 hours 50 minutes
Ingredients
- Potatoes
- Cold water
- Sourdough starter
- Juice of half a lemon
- Duck fat (or Beef Tallow or Lard or a mix)
- Sea Salt
- 2 teaspoons lemon peel powder
- 2 teaspoons cracked black pepper
- 2 teaspoons garlic powder
- 1/4 teaspoon cayenne
- 1/4 teaspoon smoked paprika
Instructions
- The amounts you use here are customizable depending on the amount of fries you want to make; the potatoes need to be covered and submerged in water while fermenting, so use enough water accordingly. I use about a cup of sourdough starter per gallon of potatoes covered with water.
- Cut potatoes (peeled) into sticks. Rinse in cool water a few times.
- Place potato sticks in a large container.
- Mix some sourdough starter and a sprinkle of salt with enough cold water to cover the potatoes. (the amount of starter you use isn’t too significant here. A half a cup will do.)
- Pour the mixture over the potatoes and keep covered.
- Allow potatoes to ferment for 24 hours at room temperature. They may get slightly bubbly.
- Strain the potatoes, and rinse with ice-cold water.
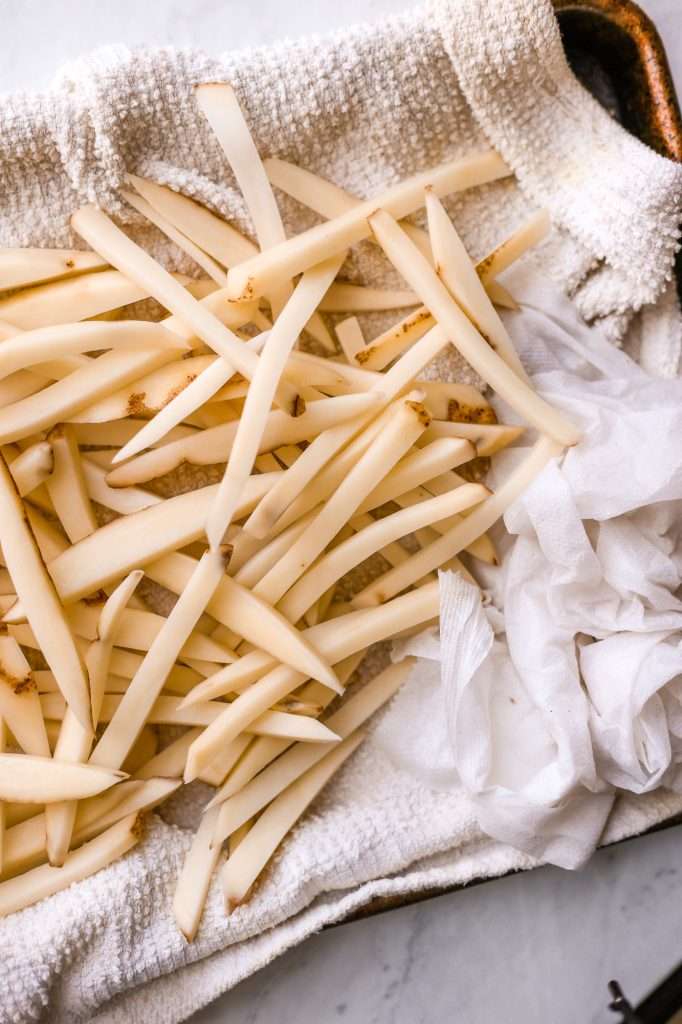
- Strain the potatoes and pat them dry.
- When ready to fry, place enough duck fat in a deep stockpot to be about 4 inches deep when melted.
- Heat the fat to approximately 350 degrees.
- mix the lemon pepper ingredients in a small bowl and set it aside.
- Fry one: Carefully place some of the potato sticks into the hot oil. (Do not put all the potatoes in at once. You will need to do several smaller batches for the best results)
- Cook for about 5 minutes (they are NOT done yet and will still be flimsy; trust the process), then scoop them out of the oil with a stainless steel strainer, allowing the oil to drain back into the frying pot.
- Place them on a paper towel lined pan. Do this for all the fries
- Fry two: After batch frying all the fries for the first time, working in batches again, drop the fries back into the oil and cook until golden and crispy (about 10 minutes for each batch).
- Once finished, remove from the hot oil and place on a paper towel-lined baking sheet.
- Add the fries to a large bowl, squeeze lemon juice over them, generously toss with sea salt and lemon pepper, and serve immediately.
Notes
- You can use already blended lemon pepper from the store, or make your own lemon pepper. To make lemon pepper see the blog section above this recipe card.
- This is not a precision-based recipe. You just need a bit of starter and enough water to cover the potatoes. I used a cup of starter in a gallon of potatoes and water, with the water covering the potatoes.













Hi, i’d love you to explain the science of this fermentation. Why don’t you name this a lacto-fermentation? Sourdough is (mainly) a lacto-fermentation, right? Or do you just mean it’s not just pickled in salty brine like you would use for cukes or carrot sticks? So, what happens to the potato starch in just 24hours ? Im curious!
No, sourdough is not mainly lacto-fermentation. Sourdough is mainly an alcohol-acetic acid fermentation with yeast and acetic acid bacteria and some lactic acid bacteria. Sourdough and fermented vegetables are two VERY different fermentation processes. The microbes digest the the starches and sugars with enzymes, the same way they would do in a mixture of flour and water in just 24 hours.
I’m confused. How do you get the potatoes out of the sticky starter? And how do I know how much water to use? Can’t I just use starter to cover the whole thing?
You should follow the directions as written. You dissolve the starter in enough water to cover the potatoes. How much water you should use depends on how many potatoes you cut up and what kind of container you are soaking in.
These came out great! I love the slightly sour flavor that fermenting them brings on. I just poured the starter into enough water to cover the fries and fermented overnight. It doesn’t seem like the amount of starter or water needs to be too precise either. I look forward to making these again!
I’ve seen you comment on the risks of developing alcohol if you lacto-ferment root vegetables. However, I see lots of other people online recommending lacto-fermenting potatoes for 2-4 days before consuming. In your view, how dangerous is it to do this? Also, if I cook the potatoes at high heat, won’t that take care of the problem either way? Thanks–I love your work!
Thanks so much for your kind words!
I ferment my potatoes using sourdough because the sourdough starter microbes work best for the flavors, textures and benefits I’m aiming for. I can only really speak to the method I use and why it works for me.
If you’re curious about why other’s use lacto-fermentation, the best thing to do would be the ask those people why they recommend what they do. They can explain their reasoning.
I’m wondering if I could cook these in the air fryer or oven instead of frying using duck (or another kind) fat? Never thought to use sourdough starter to ferment potatoes, thanks for the inspiration!