

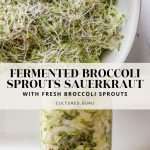
Fermented Broccoli
I’ve tried fermenting broccoli straight up a couple of times, and wow. It’s possibly the worst smell in the world. I really wanted a fermented broccoli recipe on our blog, but I also want people to experience desirable flavors and smells when they make my recipes.
So I decided to incorporate broccoli into sauerkraut, but not broccoli florets.

Fermented Broccoli Sprouts
Broccoli sprouts are surprisingly more nutritious than big broccoli florets, and I grow sprouts in a mason jar every week. Thus, I figured incorporating my broccoli sprouts into a sauerkraut would best achieve my fermented broccoli dreams.
For the best results in the recipe, you should use fresh, home-spouted broccoli sprouts.

Broccoli Sprouts Sauerkraut
Homemade Sauerkraut is the best fermented food to make if you’re new to fermenting vegetables at home. Sauerkraut is particularly easy for a first fermentation project because cabbage ferments exceptionally well.
The water content and the microbial species richness of cabbage make it optimal for wild fermentation! You can easily get creative with sauerkraut by adding different flavors and other vegetables, as we did for this Broccoli sprouts Sauerkraut.
Ingredients for Fermented Broccoli Sprouts Sauerkraut
Homegrown broccoli sprouts are the safest and best option for this recipe. You can grow your own using the tutorial at this link. Sprouting takes about 5 days.

Supplies You Need to Make Sauerkraut:

Fermenting Broccoli Sauerkraut
Sauerkraut naturally takes time. I recommend fermenting your sauerkraut for at least 14 days before eating, with 21-28 days being the best fermentation time for optimal flavor and health benefits.
By checking the progress of microbial stages under the microscope, we have provided you with a handy timeline below! If you follow our recipe and directions, your timeline of sauerkraut fermentation should approximately match ours!
Note that temperature will influence how fast or slow sauerkraut ferments. This timeline is applicable between 70-80° F. If you keep your home colder, the process is slower. If your home is warmer, it will be faster.

Broccoli Sprout Sauerkraut Fermentation Timeline
24 – 48 hours: All contents in the jar should be submerged beneath the brine. At this time, there are still Gram-negative bacteria and possible pathogens present.
48 hours – 5 days: After 48 hours, you should start to see lots of bubbles being produced. This is when the ferment enters stage two of vegetable fermentation. Leuconostoc bacteria begin to thrive, and Gram-negative organisms die off.
5 – 10 days: The bubbles in the brine will decrease as the ferment leaves stage two and enters stage three. The ferment will become cloudy, the color will change, and a pleasant sour smell will develop. You should also recognize some broccoli smells. During this time fermented broccoli sprouts may smell lightly stinky, like humans passing gas lol. Lactobacillus species begin to thrive at this time.
10 – 21 days: Next, Lactobacillus make up most or all of the microbial population. They produce copious amounts of lactic acid, making the fermented cabbage smell even more pleasantly sour. This is when the vegetable mixture becomes sauerkraut and is preserved.
21 – 28 days: This is when you want to smell and taste test. Wait for the kraut to smell and taste as you like, and refrigerate when you find the smell and taste most pleasant! We like ours best when we refrigerate at about 25 days.


Sauerkraut Care Instructions
During the first few days of fermentation, carbon dioxide and bubbles will be produced. Sometimes mason jars will become very full of liquid, and this liquid can seep out. You will need to burp the jar.
- When burping the jar, remove the lid and tamper everything back down using a clean tamper or spoon. Make sure everything, including the weight, is still submerged below the brine. You can also rinse off the lid daily to keep things clean.
Always Trust your sense of smell: In the beginning, fermenting cabbage smells funky. When fermentation is finished, fermented cabbage should smell pleasantly sour and like strong cabbage. Never eat anything that smells repulsive or yeasty.
Never eat anything that has mold growing on it. By following directions, you should not encounter this problem.
After 3-4 weeks, remove the fermentation weight, smell, and taste test. Your fermented cabbage should smell pleasantly sour. It should taste tart, salty, and cabbage. Store it in the fridge.
More Sauerkraut Recipes to Try
- How to Make Old Fashioned Sauerkraut with Caraway Seeds
- Fermented Beet and Red Cabbage Sauerkraut
- Turmeric Napa Cabbage Sauerkraut
- Homemade Kimchi Inspired Spicy Sauerkraut Recipe
Fermented Broccoli Sprouts Sauerkraut
Fermented broccoli sprouts sauerkraut is one of the healthiest sauerkrauts you can ferment at home. Broccoli sprouts add tons of bioavailable nutrition and flavor to sauerkraut. Enjoy this lovely sauerkraut on any sandwich, salad, burger, or with fried eggs.
- Prep: 15 minutes
- Total Time: 504 hours 15 minutes
Ingredients
- 500 grams cabbage
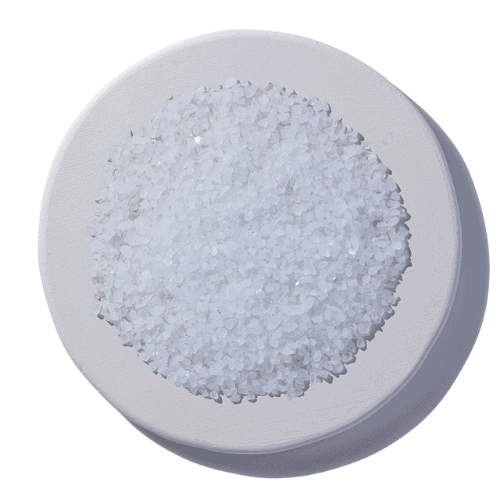
- 18 grams sea salt
- 200 grams filtered water
- 150 grams broccoli sprouts, fresh
Instructions
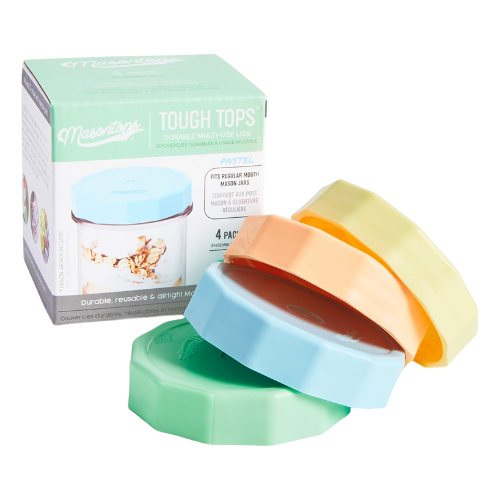
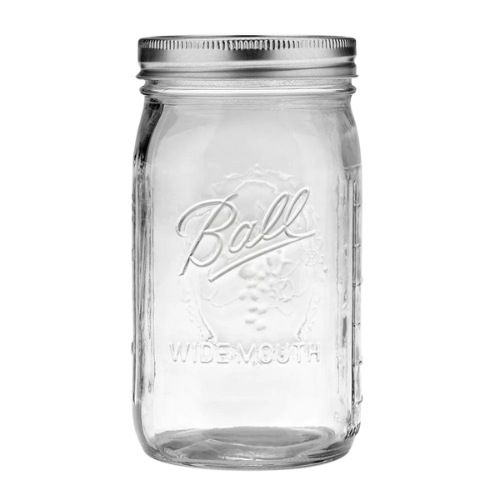
- Wash your fermentation equipment (jar, weight, and lid) — a 32 ounce mason jar works best for this recipe at 1x.
- Homegrown broccoli sprouts are the safest and best option for this recipe. You can grow your own using the tutorial at this link. Sprouting takes about 5 days.
- Rinse your fresh broccoli sprouts well.
- Remove the outer leaves of your cabbage and lightly rinse with cool water. Using a knife, chop the cabbage to your desired thickness.
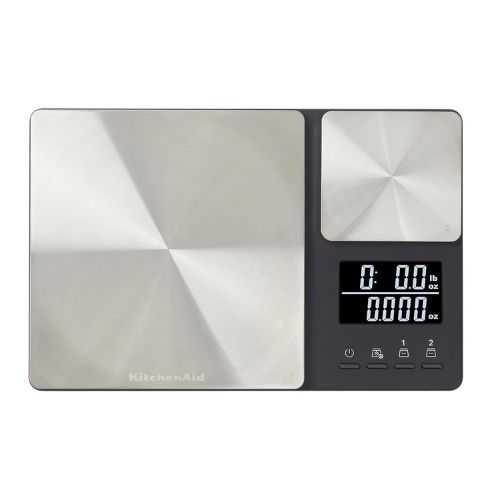
- Place your kitchen scale on the counter. Turn it on and set it to weigh in grams.
- Measure out all of your ingredients using your kitchen scale.
- Mix all the ingredients, including the water, in a large bowl. Lightly massage the cabbage and break up any large pieces.
- Pack it all, including the water, into a clean jar with a rust-proof lid. (a 32-ounce jar works best)
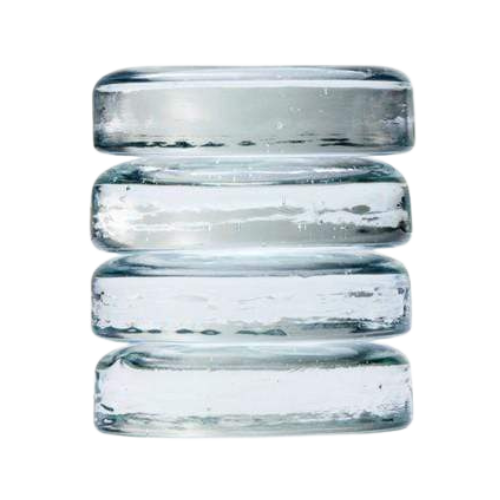
- Place a fermentation weight in the jar, making sure to submerge the cabbage pieces and weight fully into the liquid. If you don’t have quite enough liquid, place your glass fermentation weight in the jar and submerge as much as possible. Over the next 12 hours, the cabbage should release more liquid and you can press the fermentation weight down below the brine.
- Secure the lid (you do not need to tighten it all the way. Just secure the lid but leave it ever so slightly loose so the gas doesn’t build up too much). You can keep the jar in a glass dish to catch any spills.
- Burping the jar: It should get bubbly in the first few days. If you have a tightly secured lid, you will need to burp the jar. You should also wash off the lid to keep it clean and re-adjust the fermentation weight whenever needed. Anytime the weight comes up out of the brine, with clean hands press hard on the weight to tamper everything back down into the liquid.*
- Ferment at room temperature for 21-28 days, then remove the fermentation weight and refrigerate.
- If you try this recipe and love it, please leave a five-star review below!
Notes
- When things are bubbly: If it looks like you’ve lost brine and cannot re-submerge the contents by pressing down on the weight, top it off with raw apple cider vinegar. It slightly changes the flavor, but it doesn’t harm the sauerkraut’s microbes and prevents mold. You need to give it a good stir when it’s done fermenting to mix up the flavors.


Hi Kaitlynn,
I’ve been experimenting with fermenting by using boiled/filtered sea water. I use clean sea water, I’ve had great results. Any thoughts as to this approach.
I tried you recipe for cherry tomato vinegar, my question is the white mold that formed on tomatoes (I stirred them regularly), a bad product? The vinegar smells wonderful.
Thanks
John
sea water is about 3.5% salt, so theoretically it can work perfectly. I’d have concerns about microplastics, viruses, and bacteria that are not eliminated by boiling. If filtering it, it would need to be a pretty serious filter, like a lifeStraw.
as for the vinegar, I’ve never seen white mold on my tomato vinegar. Generally mold means something went wrong and you shouldn’t eat it.
Hi Kaitlynn,
I appreciate your article subject matter. I have thought this same combination idea with my cabbage probiotic/spriouting sulforaphane.
Combine the sprouting with freezing your brocolli/mustard seed sprouts to increae nutrient content before adding to your minimum 75% cabbage content ferment.
I also add mustard seed powder to my cooked crucerferous veggies since the sulforaphane does not survive the heating process, except in the mustard seeds. So I crush the mustard seeds to add to cooked crucerferous dishes, to ensure the sulforaphane makes it to the gut biome in cooked foods.
My big question is does the fermentation process affect the sulforaphane levels in the brocolli and mustard seed sprouts?
My priority on the crucerferous vegy is on the sulforaphane having many benefits from gut health to dopamine neurotransmitter health. Sulforaphane easily crossing the blood brain barrier as the precurser for healthy production of dopamine neurotranmsmitters.
Do you know if the sulforaphane will survice the fermentation and lactic acid during the ferment?
And (or) should they maybe be added separately to a salad before eating?
Your thoughts and understanding on this are appreciated.
Best regards,
Troy
Haven’t tried the recipe yet, but I love your detailed instructions on how to make it! Plan on making it very soon. Scrumptious!
This is a delicious recipe as is, but it’s also a great base for plain sauerkraut. It’s very forgiving and it scales easily to make a whole crock (we have small a 1-gallon/4-liter similar to those our grandparents used). I recently got distracted and forgot to rub in the salt on a batch; it turns out that just mixing brine and pouring over the cabbage also works well. Over the winter, we let a batch ferment for a couple of months in our fairly-cool (around 65F/18C) house. It also turned out great. My biggest problem now is keeping up with demand. 🙂
Thank you for leaving a review! Glad you enjoyed the sauerkraut!