

Choosing the Right Vegetables for Giardiniera Fermentation
- Pickled Italian Giardiniera usually includes bell peppers, celery, carrots, cauliflower, and gherkins (tiny pickles).
- Good options for sourcing quality vegetables for fermentation are your local farmers market, Whole Foods Market, Sprouts Market, and open-air produce stands. Many grocery stores have a fresh produce section; the key here is to use fresh vegetables, not packaged in plastic.
- Make sure the vegetables are crisp, hydrated, and fresh. They should be free of any mold spots.
- I used Brussels sprouts, jalapeno peppers, cauliflower, shallots, and carrots for this fermented giardiniera recipe.

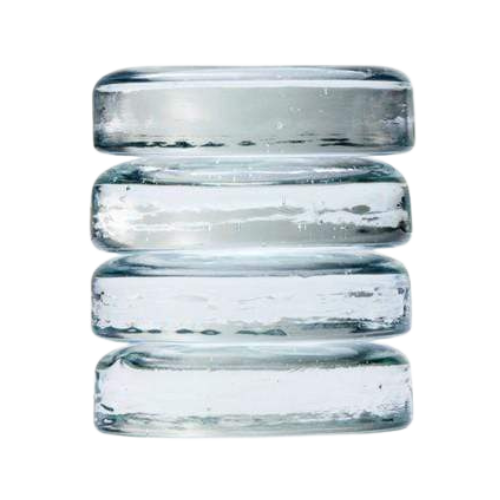
Equipment You Need to Make Fermented Giardiniera


How Do You Eat Italian Giardiniera?
Traditionally in Italy, Giardiniera is served with antipasto, a first-course appetizer consisting of pickled vegetables, brined olives, artichokes, and cured meats. Giardiniera is also very popular in Chicago, where it is used more as a condiment.
Giardiniera is terrific on sandwiches, on pizza, in omelets, in frittatas, on veggie burgers, and in salads. You can even use it to top sourdough focaccia. I highly suggest mixing it with pasta, brined olives, red wine vinegar, and olive oil for a delicious pasta salad.


The Difference Between Pickling and Fermenting
Pickling and fermenting are very different processes that both result in “pickled” vegetables. Shelf-stable pickling is a sterile process for preserving food. This means there are no microorganisms involved. This process utilizes hot acidic liquid and hermetically sealed jars to sterilize and preserve vegetables.
Fermentation is a living process that relies on acid production by beneficial microorganisms to preserve vegetables. It takes time and requires a specific salt concentration for consistency and safety. To read more about salt and fermentation, click here.


Fermented Giardiniera Conditions
- 4 weeks of fermentation
- Approximate 3.5% total salt concentration
- Room temperature (60-78° F)
- Final pH around 3.8
- Store in refrigerator after fermentation for up to 2 years


More Variations to Try
For this recipe, you can use any variation of spring and summer vegetables you want, as long as the total weight of the vegetables combined is about 450 grams. Here are some other fun combinations I love:
- Cucumber, cauliflower, peppers, onion, carrot (this one is also pictured above)
- Broccoli, cauliflower, jalapeno, celery (this one smells a little funky at first, but tastes amazing)
- Celery, bell peppers, serrano, garlic (spicy and delicious!)
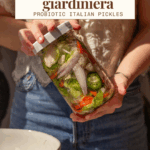
Fermented Giardiniera: Probiotic Italian Pickled Vegetables
Giardiniera is a mix of pickled vegetables in vinegar or oil in Italy, but here we used wild fermentation to create a delicious fermented Giardiniera recipe. In Italian, it is pronounced jar-din-AIR-ah, meaning “from the garden.”
- Prep: 30 minutes
- Total Time: 672 hours 30 minutes
Ingredients
- 150 grams cauliflower
- 50 grams fresh peppers (any kind)
- 150 grams Brussels sprouts
- 30 grams shallots
- 50 grams carrots
- 350 grams water
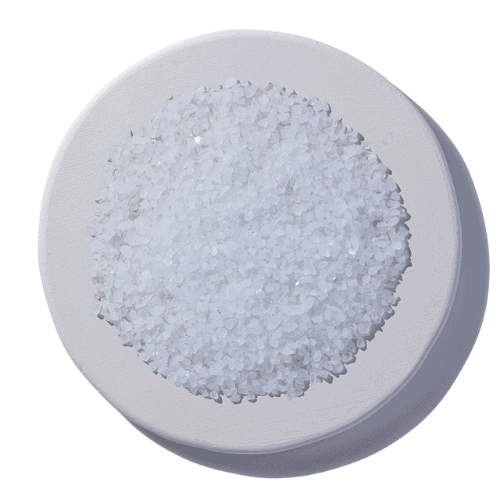
- 28 grams salt
Instructions
- Lightly rinse all your vegetables in cool water and chop them to your desired consistency.
- Make sure all of your fermentation equipment has been cleaned well.
- Dissolve the sea salt in the water to create a brine.
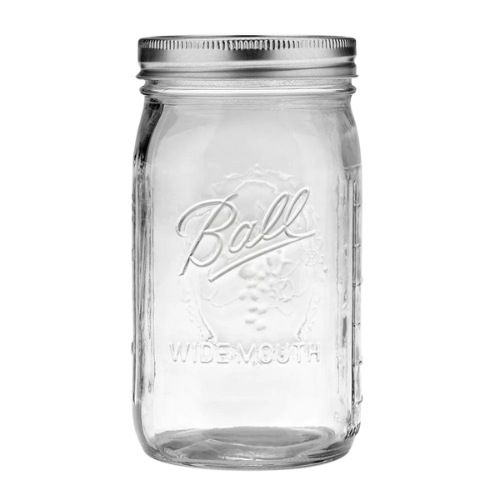
- In a clean mason jar add all of the vegetables. (optional: add in a bay leaf)
- Add all of the saltwater brine to the jar.
- Place a fermentation weight in the jar to keep all of the vegetables submerged. Place the mason jar lid on the jar and secure it in place.
- Ferment for 4 weeks at room temperature. About 2 to 3 days into fermentation, you will notice a lot of bubbles. Set the jar in a glass dish to prevent messes. Every 24 hours, loosen the lid to burp the jar and let the gas out. This particular fermentation can get very bubbly. You can rinse the lid daily before replacing it to keep it clean.
- After 4 weeks of fermentation, remove the fermentation weight and check to make sure the pH is around 3.8
- Then move to refrigerated storage. Try using your fermented giardiniera in this Italian Deli Pasta Salad Recipe!
- If you love this recipe, please leave a five-star review below!
Notes
- this recipe is sized to fit a 1-quart mason jar
- You can use any ratios of vegetables you want, as long as the total weight of vegetables combined is about 450 grams.
- fermented vegetables should keep for about 2 years in the fridge


Glad I found your site
I just made this! Do I need to check the pH after a month? If so, what kind of tester do you recommend? I’ve seen expensive digital ones and test strips.
Thanks for the recipe. Excited to try it in month!
You don’t need to, but you can if you are concerned about it. A lot of people can tell by smell, look and taste that it’s good. But a lot of people are also new to fermenting and testing the pH can ease any worries. pH strips work great, just make sure you get some that read on the acidic side of the pH scale, 0-7.
Turned out delicious! I’ll definitely make more. Plus it was quite easy. Thanks for the recipe!
Julie
Turned out delicious! I’ll definitely make more. Plus it was quite easy.
Julie
Just finished the fermentation process, Ph was perfect, veggies are fermented yet still nice and crisp.
I know it’s made with salt, but the the veggies are super salty, is that just the way it is or do I need to soak and rinse them before eating?
Have you ever fermented vegetables before trying this recipe? Some people mistake the taste of lactic acid combined with salt to be super salty, but it’s actually salt combined with lactic acid and other umami flavors. It shouldn’t be any saltier than brined olives, for instance. If you find it too salty, you can pour off half the brine, and replace it with apple cider vinegar. This will change the flavor a bit, but it’s still good.
I don’t think in grams. That just hurts my head. Any chance to add a converter to this recipe?
You don’t have to think; you just need a kitchen scale 🙂 All of my fermentation recipes are written in grams and converting them to volumetric measure will yield inconsistent results.
Hi!
I’m trying to wrap my head around the salt percentage for this recipe. Are you doing salt % by the weight of the vegetable or a pure water brine percentage? 28 grams of salt in 500 grams of water would make the brine ~5.6%. 28 grams of salt for the 450 grams of vegetable would be ~6.2%. Trying to figure out how the salt bring is calculated here. Thanks!
I do not use salinity for any of my recipes. It’s a total salt concentration… since vegetables also contribute water to the mixture, the salt is a % of the total weight of water and vegetables. so the total salt concentration is right around 3%. You can read more about how to use salt in fermentation here: https://cultured.guru/blog/the-perfect-lacto-fermentation-salt-ratio-for-fermenting-vegetables
I would like to start this recipe but will be leaving for a week – should I wait to begin? What would the consequences be? Thank you.
I’d start it afterward, so you can burp the jar and ensure everything stays submerged during the first week.
Hello, I assembled everything exactly as instructed however I was only able to get 400 grams of brine into the jar. With all of the vegetables and weight the jar is filled to the top. What are my options at this point? Thank you
I had the same issue AL
how much water + the weight fits in the jar depends on how you chop your vegetables. If you have bigger chunkier vegetable pieces, less will fit. Just fit what you can. The salt concentration can vary a bit and still be great.
This was my second ferment and it turned out perfect. The taste is very good and the final PH is 3.8 or slightly lower. The only hiccup I had was that I had about 100 grams of brine remaining once I had the vegetables and weight in the quart jar. This didn’t seem to impact the final outcome.
Can I use frozen cauliflower?
Hi Kaitlynn! Wish i had stumbled on your site earlier, i searched high and low for the time i should use for fermented bell peppers. No one gave even an approximation just a taste and if you like it you’re done. I was afraid to go too long and have the peppers get mushy. I just moved them into the fridge yesterday, after 10 days. There’s still some crunch, do you recommend longer? Also moved fermented Jalapeno’s after 8 days into the fridge. (both have onions and garlic in)
Your help is appreciated!
Did you use my recipes to ferment the bell peppers and jalapenos? How much salt you use determines if they go mushy or not.
Is this recipe compatible with making 2X, in a half gallon jar?
yes! up-scaling the recipe 2x should work great.
I added garlic and it’s turning lt blue on the side. 2 weeks in process.
totally normal! Just acids reacting with the beneficial compounds in garlic
Looks delicious, but I have a question. Do you know if this will have high tyramine levels? I am taking medication that has strong interactions with foods with tyramine (which typically includes fermented foods).
I am not sure. If you’ve been advised to stay away from fermented foods, you should ask your doctor before making/eating this!
This has no business being this delicious. It’s amazing and I’ll make it again and again. I followed the recipe to a “T” and will again before I stray and adjust. The week or so of my pantry smelling like…fermenting cruciferous veggies … Worth it
I’m happy to hear you are absolutely loving the giardiniera! Thanks for trying my recipe and coming back here to leave a review! 🙂
I created this recipe today. How will I check the ph in 4 weeks?
with pH strips. My favorite kind are linked on our shop page