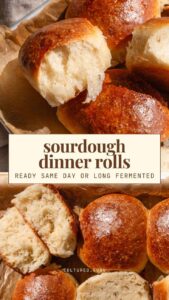
Sourdough Dinner Rolls Same Day
This sourdough dinner rolls recipe offers three fantastic options to fit your schedule:
The first option will have your rolls ready in just 4 hours—perfect for a spontaneous dinner gathering! The second option takes about eight hours, giving you a bit more time to let those flavors develop. For those who like to plan ahead, the third option allows you to start the dough the night before. Let it ferment overnight in the fridge, and then bake the next day for a beautifully rich taste.
The recipe card clearly outlines each method’s directions, making it easy to customize your baking experience. These rolls are perfect for any holiday lunch or dinner and versatile enough to accompany any meal.
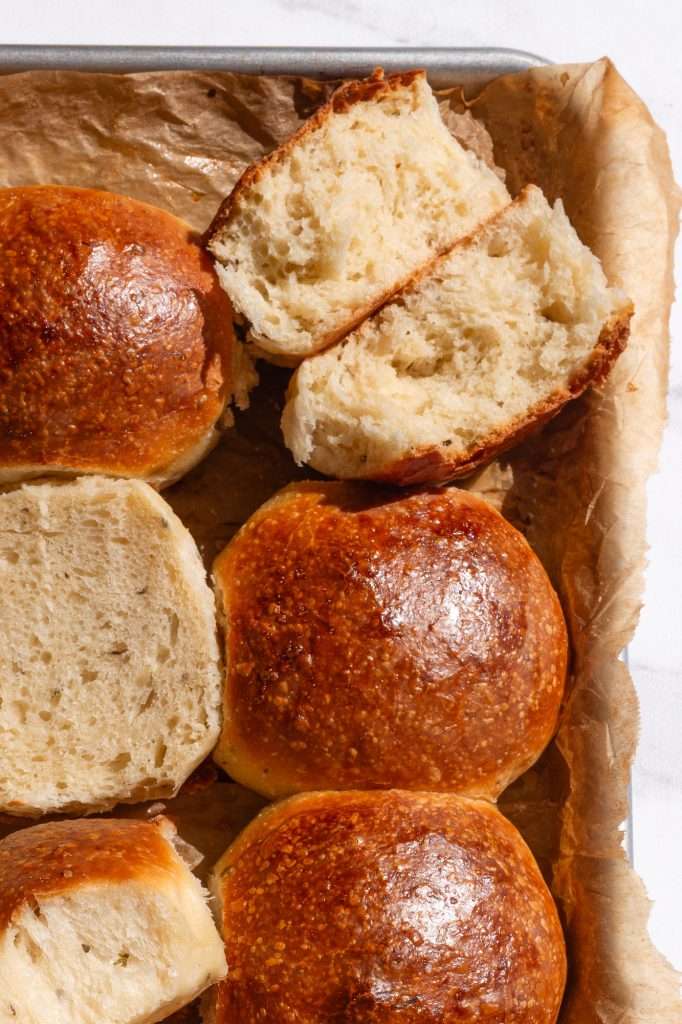
Sourdough Dinner Rolls— two ways to make this recipe with sourdough starter
- Active, bubbly, peaking sourdough starter: The first option is to make this recipe with an active, bubbly, peaking sourdough starter. This is the best option for making these dinner rolls without packaged yeast. I do this all the time, and it works great; I double (sometimes triple, if it’s cold) the proofing times in the recipe card when using only an active starter.
- Sourdough Starter (discard or active) + Instant Yeast: This is the method the recipe is written with. It’s the easiest and quickest. Adding instant yeast with the sourdough starter gives you all the great flavors of classic sourdough but with the reliable results of packaged yeast. You can still get long-fermentation benefits by proofing the dough overnight in the fridge before shaping and baking.
My best advice for getting the best results from this recipe is to use an active peaking starter or a combination of starter discard and instant yeast.
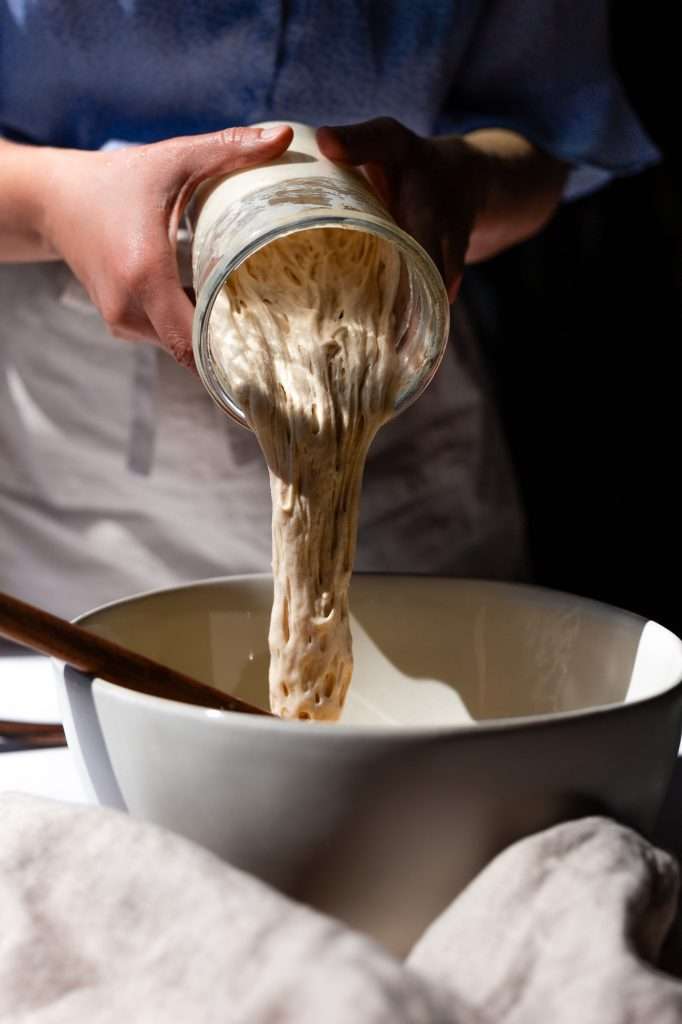
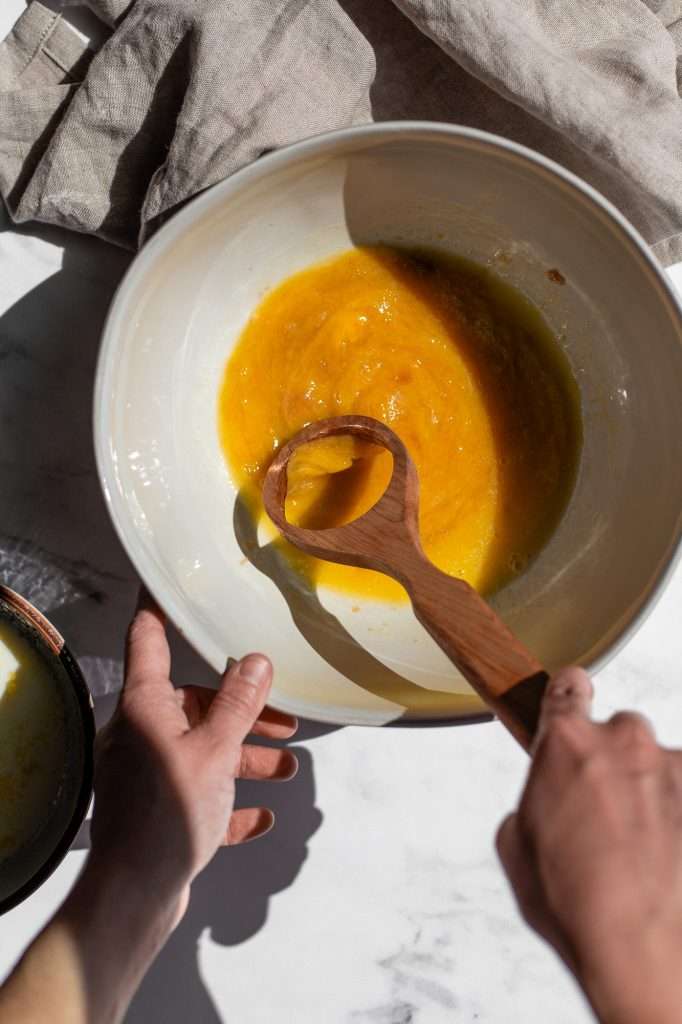
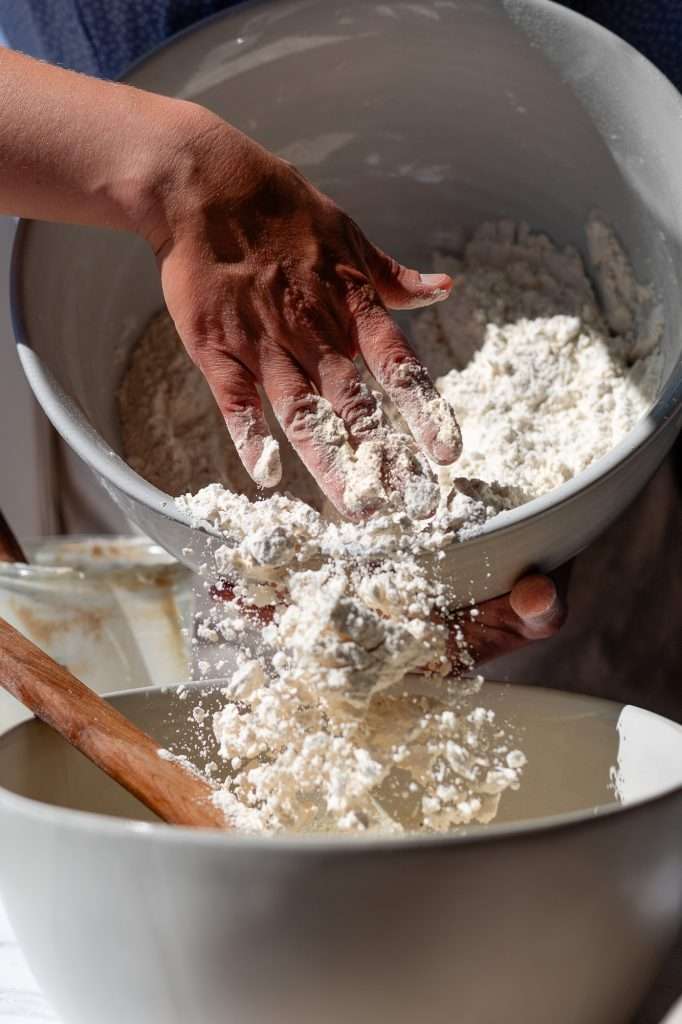
Sourdough Discard Dinner Rolls
This method is the one the recipe is designed around, making it both the easiest and quickest way to achieve delightful sourdough dinner rolls.
By incorporating instant yeast alongside your sourdough starter, you get the best of both worlds: the complex, tangy flavors that classic sourdough is known for, combined with the reliable rise and consistent results of using packaged yeast. This blend enhances the flavor profile and ensures that you won’t be left guessing whether your dough will rise as expected.
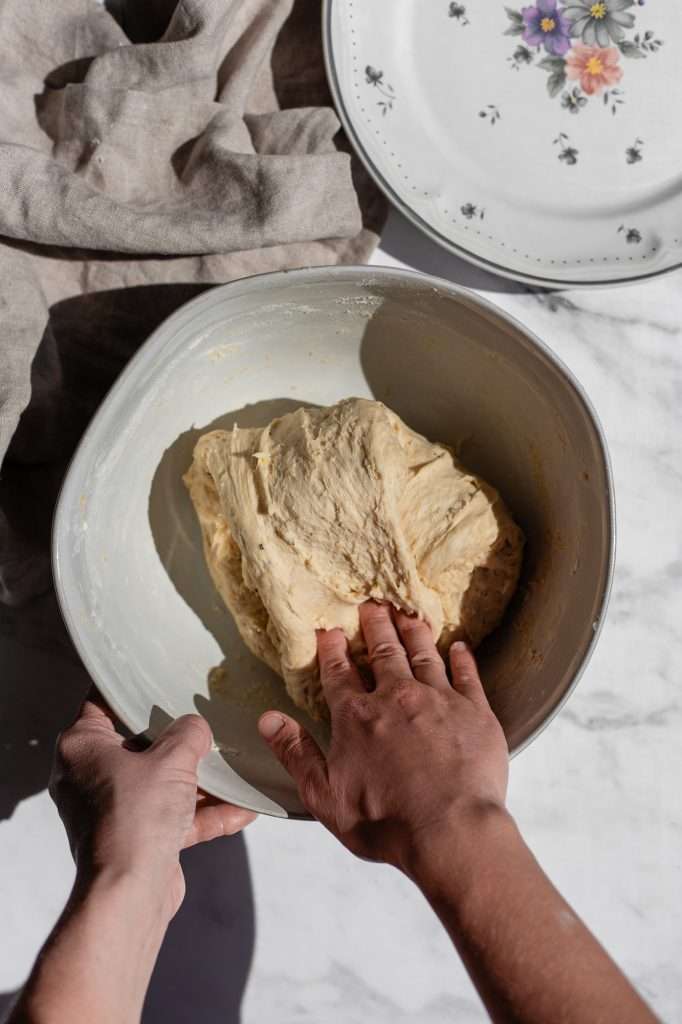
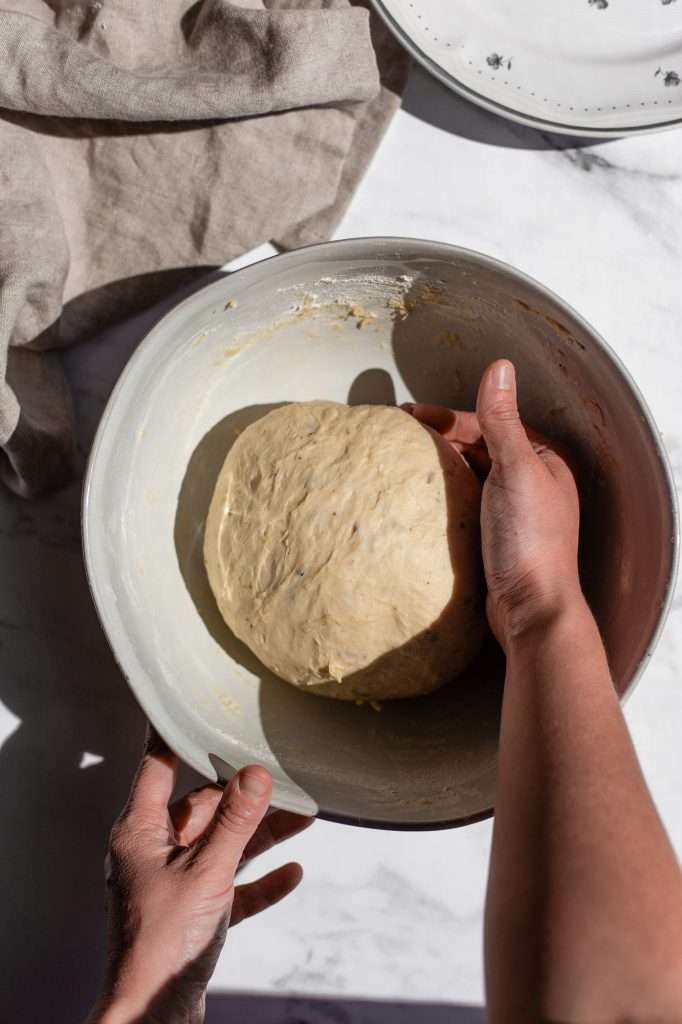
Additionally, you can still reap the benefits of long fermentation by proofing the shaped rolls overnight in the fridge before baking. This overnight fermentation allows the flavors to develop further, resulting in more flavorful rolls while also giving you the flexibility to prepare the dough ahead of time.
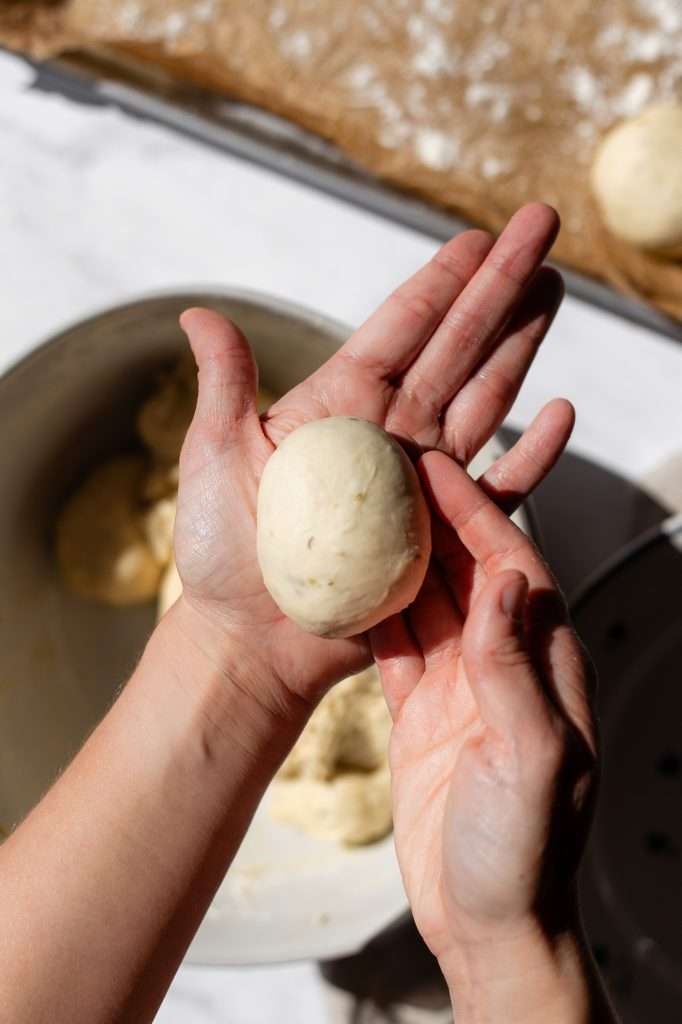
Sourdough Dinner Rolls—No Yeast
One option for making these delightful sourdough dinner rolls is to use only an active, bubbly, and peaking sourdough starter. This method is the best choice if you want to create these rolls without relying on any packaged yeast.
I can assure you that it yields fantastic results every time! When I use just an active starter, I find that the natural fermentation process infuses the rolls with that distinctive tangy flavor and beautiful texture that only sourdough can provide. However, it’s important to note that the proofing times in the recipe card will need to be adjusted. In cooler temperatures, I typically double or even triple the proofing times to ensure the dough has enough time to rise.
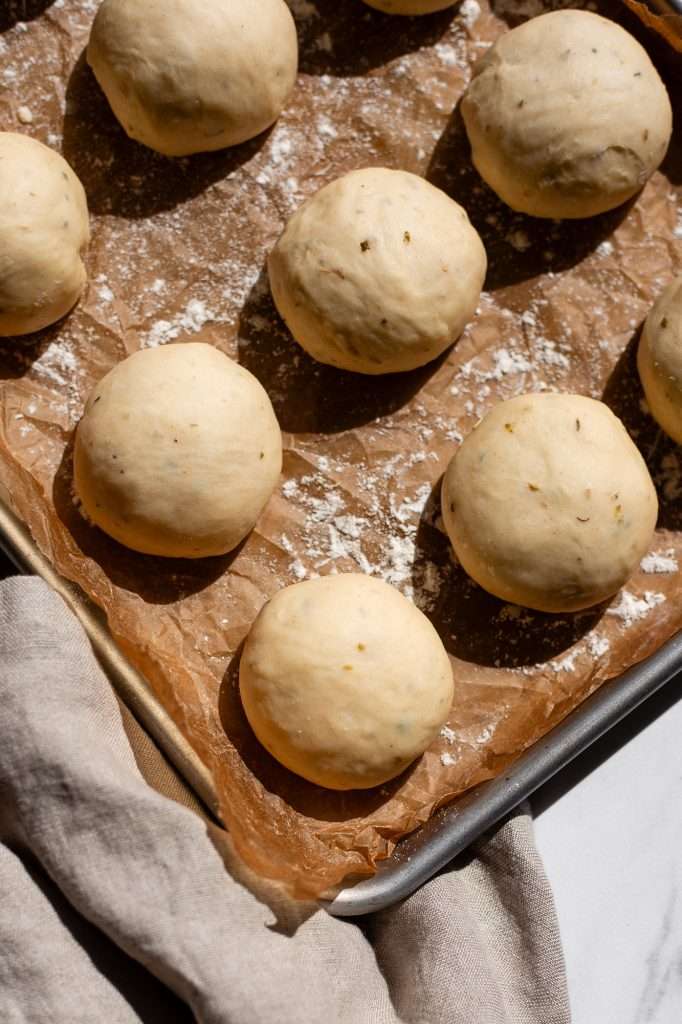
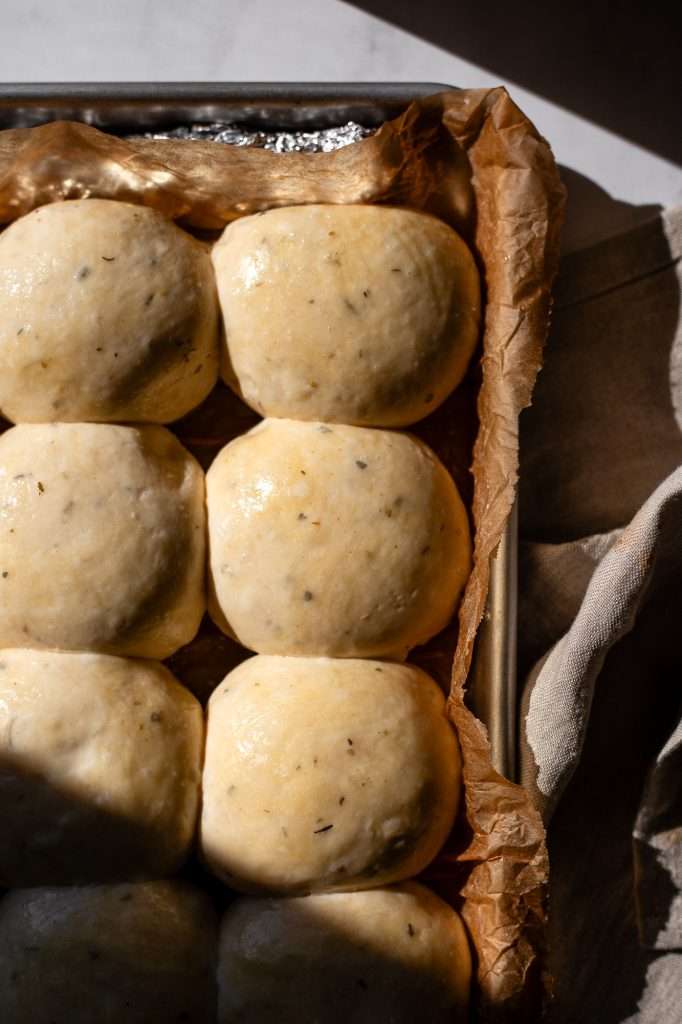
How to Long Ferment Dinner Rolls Overnight
To long-ferment these dinner rolls overnight, place them in the fridge during the bulk fermentation (aka while the dough is still in the bowl). Once in the fridge, you can leave the dough to ferment for up to 72 hours. Then, continue with the recipe as written, shaping and then baking.
You’ll want to cover the dinner roll dough while in the fridge. I usually cover the bowl with a plate.
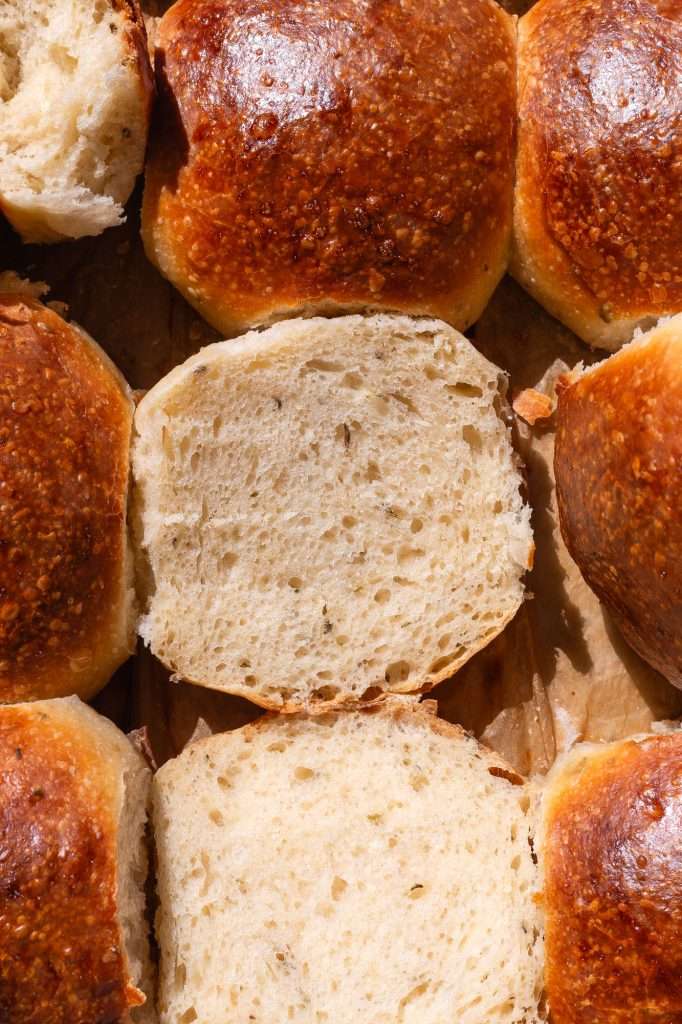
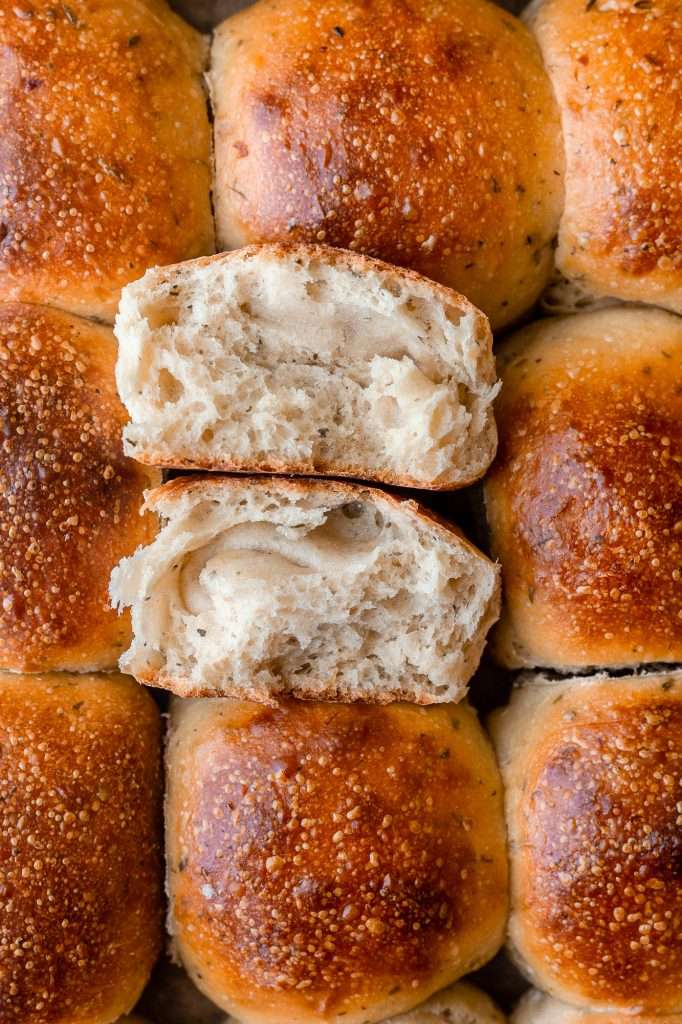
How to Store Sourdough Dinner Rolls
- Cooling: Allow your homemade dinner rolls to cool completely on a wire rack before storing them. This prevents condensation from forming, which can make them soggy.
- Short-Term Storage:
- Room Temperature: Store dinner rolls at room temperature in an airtight container or resealable plastic bag for up to 4 days.
- Long-Term Storage:
- Freezing: Place sourdough dinner rolls in a freezer-safe plastic bag or airtight container to freeze them. This prevents freezer burn and helps maintain their quality. You can freeze dinner rolls for up to 3 months.
- Thawing: When you’re ready to eat them, you can thaw the rolls at room temperature, then reheat in the oven at 350° F for 10 minutes.
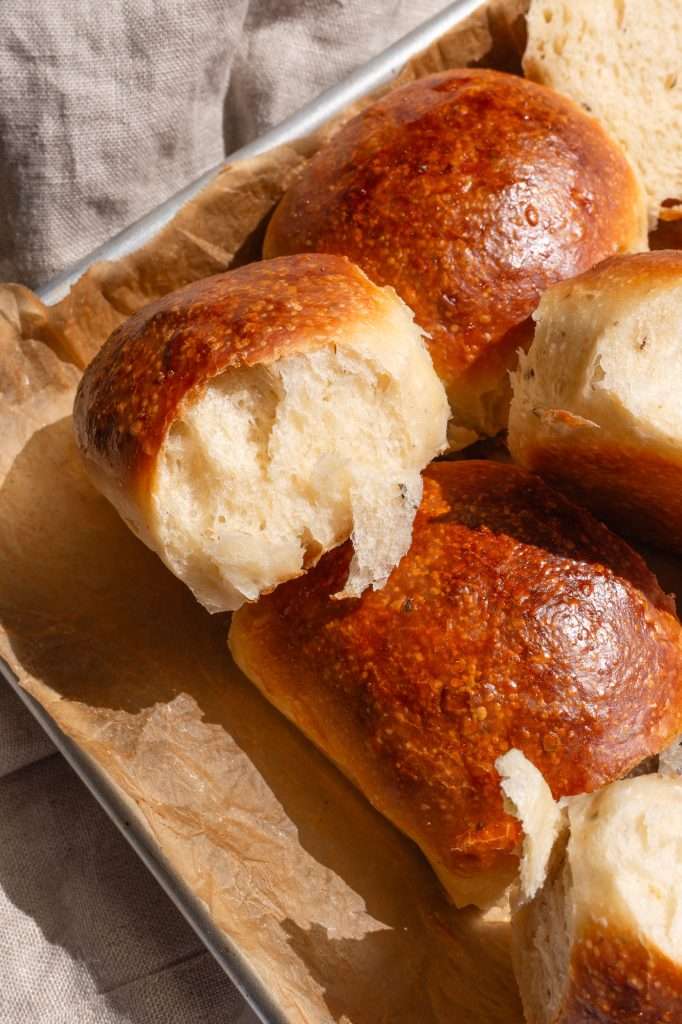
Things You May Need:
Print
Sourdough Dinner Rolls Master Recipe—Ready Same Day!
Get ready to impress your family and friends with these delicious sourdough dinner rolls that can be ready the same day! It’s as simple as starting by 9 AM, and you’ll have fresh, fluffy rolls right out of the oven by dinner time.
- Prep: 10 minutes
- Cook: 30 minutes
- Total Time: 4 hours 40 minutes
Ingredients
- 4 tablespoons melted butter
- 20 grams organic cane sugar
- 280 grams warm milk
- 150 grams sourdough starter, active bubbly
- 12 grams sea salt
- 500 grams bread flour
- 2–4 tablespoons add-ins*
- 1/2 teaspoon active instant yeast*
- 2 tablespoons egg white egg wash
Instructions
- In a medium bowl, combine the melted butter, and organic cane sugar. Whisk until evenly combined.
- Stir in the warm milk, sourdough starter, and instant yeast (instant yeast is optional; see notes).
- In a separate large bowl, combine the dry ingredients, the salt, flour, and any add-ins (see notes for ideas).
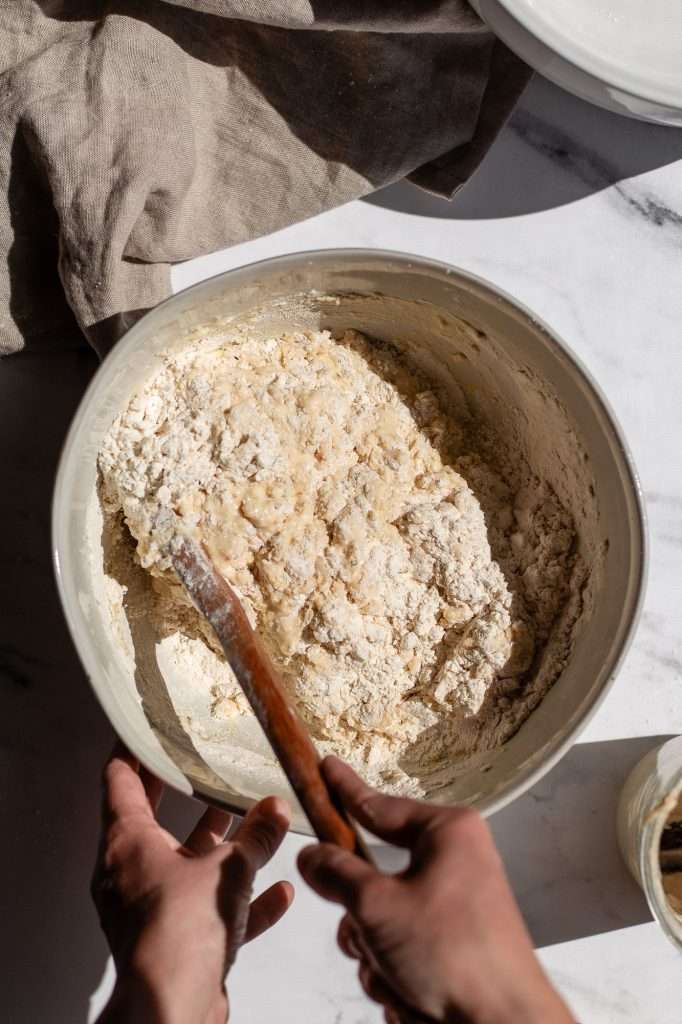
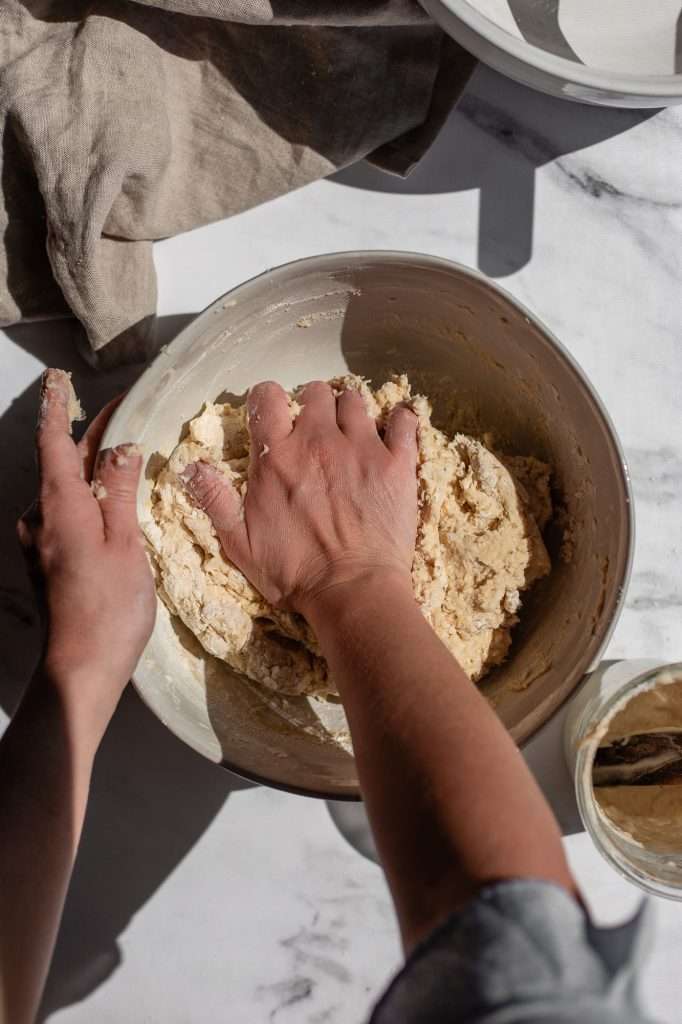
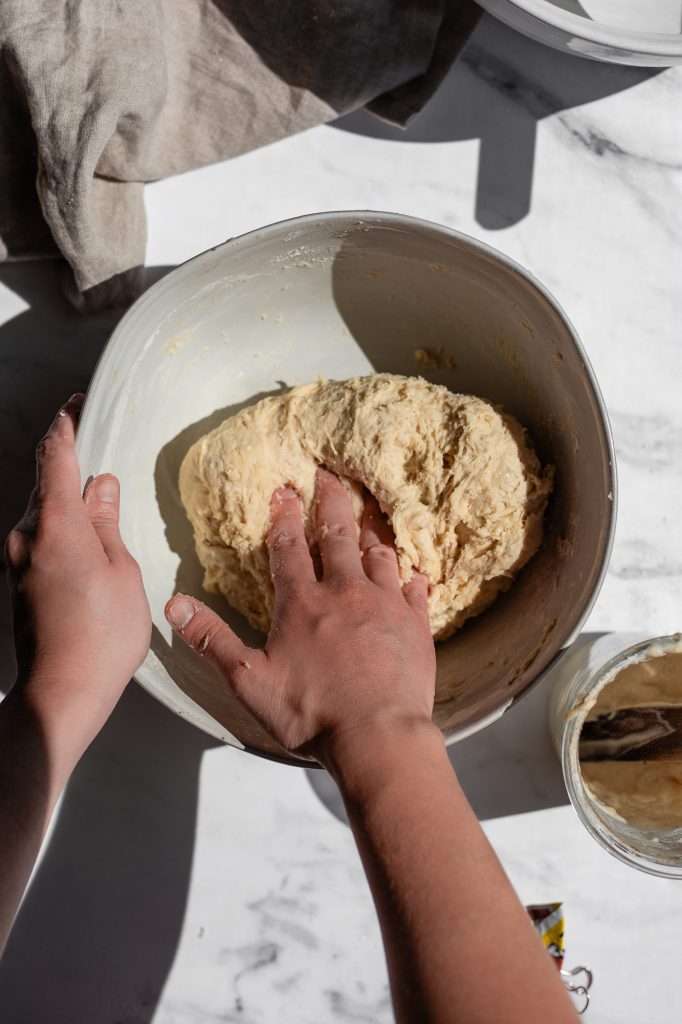
- Slowly fold the wet ingredients into the dry ingredients and knead until a smooth dough ball forms.
- Cover the bowl with a plate or reusable beeswax wrap and rest the dough for 30 minutes.
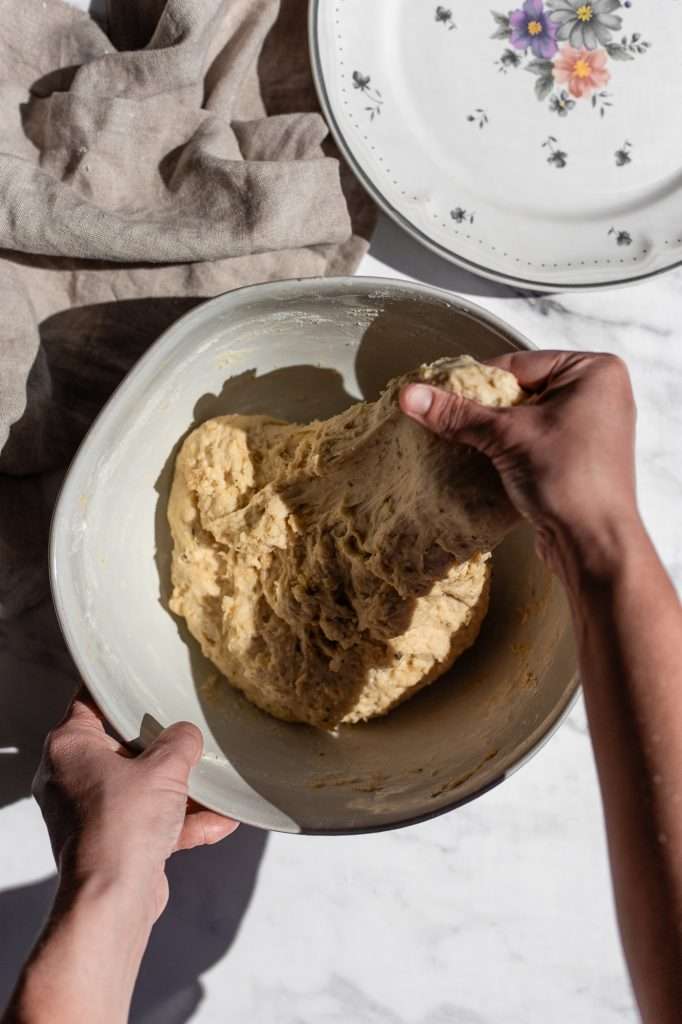
- Stretch and fold the dough in the bowl. Stretch the top of the dough over the bottom, side over side, and bottom over top. Place the dough back in the bowl with the seam side down, cover, and let the dough rise for 1 hour.
- Stretch and fold the dough in the bowl again. Stretch the top of the dough over the bottom, side over side, and bottom over top. Place the dough back in the bowl with the seam side down, cover the bowl and let the dough rest for 1 hour.
- Optional Step: At this point you can long ferment the dough overnight in the fridge before moving on to the next step. Be sure to keep the dough in the bowl covered so it does not dry out.
- Next, sprinkle some flour on the surface of your counter. Remove the dough from the bowl and place it on the floured surface.
- Stretch the dough into a rectangle that’s a little bigger than a sheet of paper. Be gentle with the dough!! You don’t want to flatten it. Just lightly pull the sides until it’s a rectangle about the size of a sheet of paper.
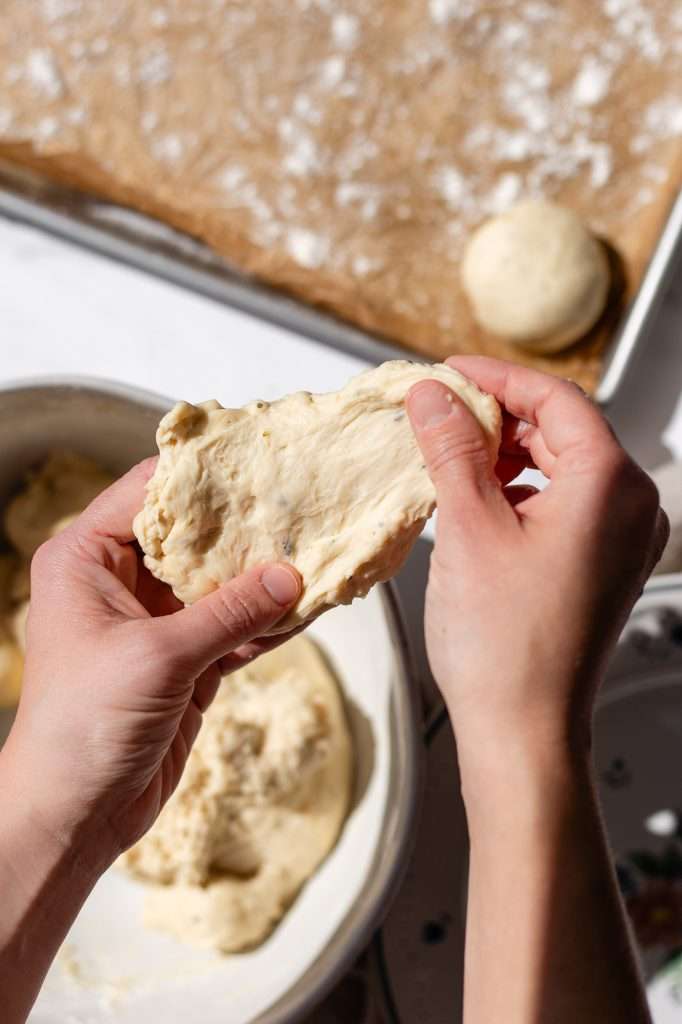
- Using a knife or a pizza cutter, cut the dough into 12 even squares. The pieces should weigh about 95 grams each.
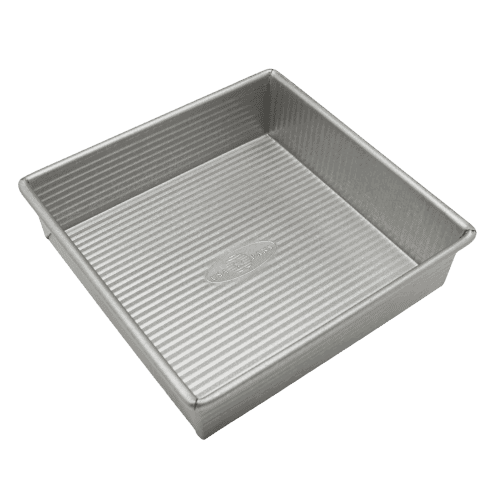
- Line a 9×9 baking pan with parchment paper and sprinkle flour on top of the parchment paper.
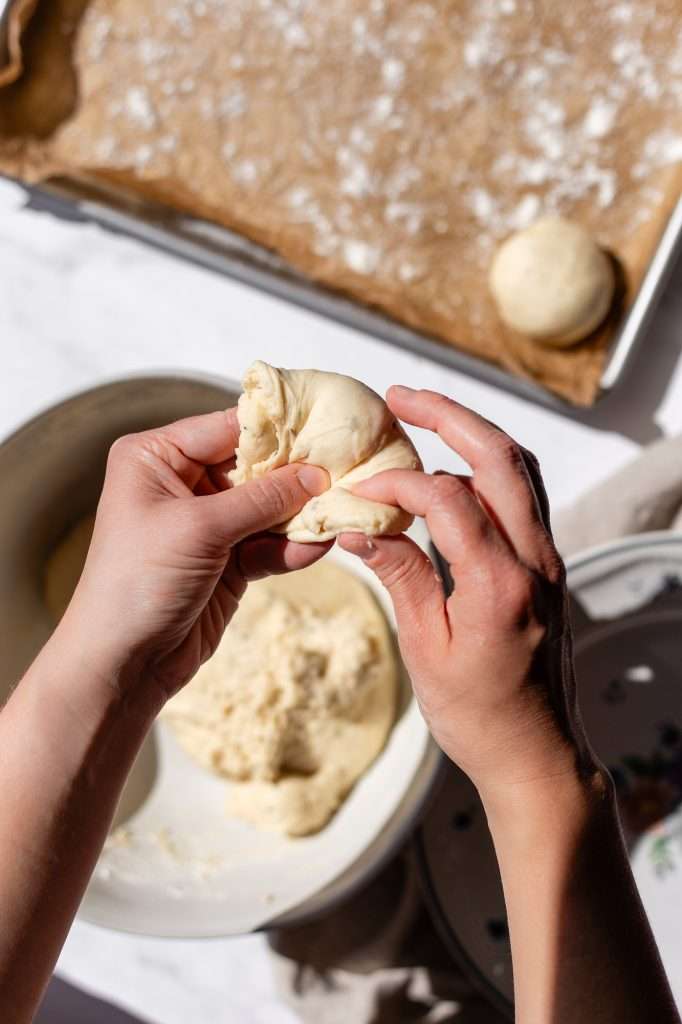
- Grab a single square, and using your hands fold in the corners and shape it into a ball. Place it on the parchment paper. You should be able to evenly space 3 balls across and 4 down for 12 rolls total. (A tighter fit in the pan will result in taller rolls)
- Cover the pan so the dough doesn’t dry out and let them rise at room temperature for about an hour or two until they double in size. (rising time will vary depending on the temperature).
- Preheat your oven to 400° F.
- Brush the tops of the rolls with and egg white and water egg wash.
- Bake for 15 minutes. Rotate the pan and bake for another 15 minutes until they are golden brown. Optional— brush the tops of the freshly baked rolls with melted butter.
- Remove from the oven and allow to cool for 10 minutes before pulling them apart.
Notes
- It’s best to start any type of sourdough in the morning before 9 am. This ensures you’ll be done by dinner.
- Instant yeast is optional. If you want to make this recipe without any packaged yeast, you can! Double the proofing times in the recipe directions and use bubbly, peaking, active starter.
- if your house is very warm, the bread may rise faster and you will need to adjust the final rise time. If your house is colder, it may take longer.
- Add-Ins are optional! Here are some ideas:
- Plain or brown butter (no add-ins, just brown the butter first)
- basil, oregano, thyme
- garlic and onion
- jalapeno cheddar
- walnut and cranberry
- green onion sesame
- black pepper and Parmesan



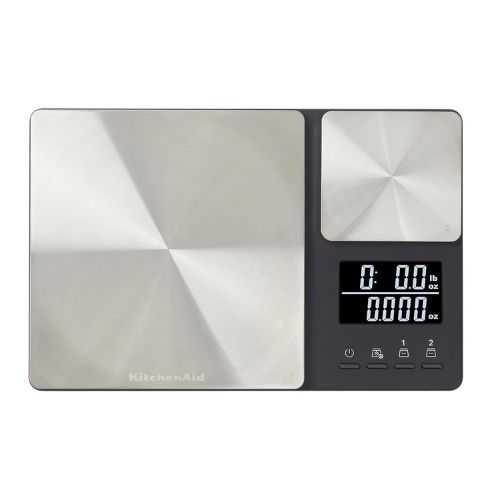








Hi Cultured Guru!! New to the site, but experienced in the kitchen. I love this recipe, and will try it out on my next cycle. I will bulk ferment because everything is just that much better! I do have my own starter, Giggle Pig (Brooklyn 99 reference), however, I will also try out your basic recipe…looks good. I just have one suggestion…I find it a bit frustrating that you use metrics, standard, cups and teaspoons in your recipes and instructions. I have learned all, currently using metrics, but feel when it comes to sourdough starter recipes a scale is the best way to go.
Thanks for the feedback! Our sourdough starter recipes are written only in metric mass units.
Sorry I was a bit too vague. Living in Europe comes with all kinds of twists. For example, the differences between US cups and UK cups, as in the recipe above, can be a bit off when preparing. Also, like your Vegan Gumbo, it utilizes 8oz cans…no problem, I can do the math. Your sourdough starter utilizes grams. I’m thrilled and excited by your site and programs, especially now I’m in the process of opening a mostly Vegan/Vegetarian Green restaurant here. I hope to actually take some of your classes with some of my staff, once we start hiring. I don’t mind the task of converting for my team knowing you are here for questions. Thank you again for your time and response. Hope to learn more from you soon.
So insanely good!! Directions were really easy to follow.
I am officially a fan. I’ve made all your recipes for sauekraut, lacto fermented green beans, dill pickles, sourdough banana muffin, rye and gluten free starters and the sourdough GF bread but out of laziness, I hadn’t made any bread yet. Today I finally decided to make the garlic bread rolls and wow, what a delight! It was definitely worth the time invested.
Have you ever put these in the freezer and cooked at a later date? Wondering if they rise well after being frozen. Thanks
I haven’t tested freezing the dough with this recipe, but it might work.
If you don’t have enough time to make these all in one day can you proof them overnight after you shape them into rolls?
They proof okay in the fridge overnight, but its best to bake right away.
Hi Kaitlynn, I’m so bummed. I tried this recipe out and for some reason it did not work for me. The differences I did were, I used 2% milk with half and half creamer to make up the milk amount because it was all I had left, I also used fresh garlic. The dough for me was really wet. I’ve worked with higher hydration doughs before to bake loaves but, this dough did not proof well for me.
The only things I can think of are, I used your timeline (I had to get up at midnight to start the dough and get done with them by the time I had to drive 2hrs to my sisters by 2pm). It is colder in my house, probably 68-70 degrees Fahrenheit. I proofed the dough balls for the suggested 3 hrs., and they didn’t rise at all. I panicked and put them in a warm oven for another hour hoping they’d rise, and they didn’t. I had to start to bake because I was on a timeline. They looked pretty, with the egg wash, but they turned out like hockey pucks.
My starter has been well established. I bought one (supposedly from the black death era, who knows) online. I feed it rye flour and it definitely more than doubles, and I’ve been baking loaves of bread with it. I have heard that sometimes starters can get too acidic (re: the bread code on YouTube) where the bacteria can start to overtake your natural yeast? Mine starter smells really sour.
Oh, I also wondered if it was the fresh garlic. Garlic is antimicrobial and antibacterial, could it have killed my yeasts? Anyway, this was an interesting science experiment. I wish I had a microscope. I’d like to try again as I have another holiday but maybe not this time. Thank you for your blog and you’ve been a big part of my fermentation journey.
It sounds like your dough didn’t rise. It could be because of the temperature or your starter. I don’t think the garlic would have done much to prevent the rolls from rising. I’ve used fresh garlic in these rolls plenty of times. Did you maybe get some of the milk measurements wrong when you substituted? The dough shouldn’t have been “really” wet.
It was easy to knead without a stand mixer. It came out very good but it got hard very quick. I let them cool overnight because it came out of the oven very late. By morning, the rolls were hard. It was still pretty soft on the inside though. Put it in toaster to make a sandwich and it was great.
Glad you like them! You shouldn’t let rolls sit out uncovered for that long, since these are a “milk bread”, they will go stale when left in open air in just a few hours.
These rolls were so good! Very high rise!