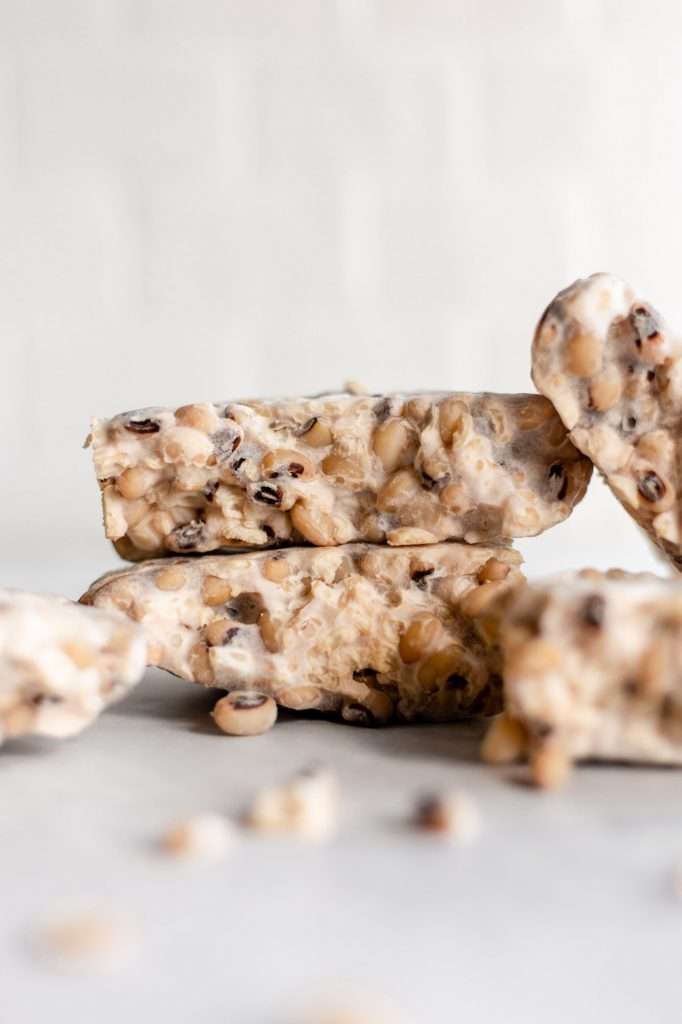
Ingredients
- 300 grams black eyed peas, dry
- 30 milliliters distilled vinegar
- 1 packet (1 teaspoon) tempeh starter culture
Instructions
- Soak the peas in water for about 8- 12 hours.
- After soaking, rinse the peas a few times. Then add to a bowl of cold water. Rub the peas in between your hands to remove the hulls. The peas may break in half, and that’s perfectly fine. You do not need to remove every single hull.
- Add the peas to a stockpot.
- Cover with water so that the water level is about two inches above the peas.
- Bring the water to a boil, then reduce the heat to a simmer.
- Cook over medium heat, uncovered, for about 15-30 minutes. Check the peas every five minutes to see when they’re tender. You want them to be tender, but not as soft as canned beans. Using a slotted spoon, remove any hulls that float to the top while boiling
- Once tender, drain the peas.
- Spread the cooked peas out on a clean sheet pan lined with a clean towel to dry out for about two hours. You want the peas to be dry to the touch, but still tender. *see notes
- In a clean mixing bowl add the cooked peas, vinegar, and tempeh starter. Mix well.
- Place the tempeh mixture on a banana leaf, in a plastic bag (non-ideal), or on some cheesecloth. If using a plastic bag, press all of the air out of the bag to create a tightly packed, rectangular mass. Poke holes in the bag with a toothpick because the tempeh mixture needs oxygen. If you are using a banana leaf or cheesecloth arrange the mixture into a rectangle on top of the leaf or cloth, then fold over the leaf or cheesecloth to wrap it like a package around the mixture. It should be a tightly secured rectangular shape. Secure closed with twine. *If using cheesecloth, make sure to wrap it in a few layers of cloth so that it’s “breathable”, but not too much.
- Place the wrapped tempeh mixture between two small cutting boards, or place on a cutting board and set a slightly heavy book on top. Keep it in a warm place for 12 hours. Ideally, tempeh should be at 85 to 91° F for 24 hours, then at 60-75° F for 24 more hours. *see notes on incubation
- After 12 hours the tempeh should be generating its own heat. This is part of the fermentation process. Remove from the warm location and set at room temperature for another 24-36 hours.
- Unwrap the tempeh, and you have a few options for storage.
- You can vacuum seal, boil, then store in the fridge or freezer. This is how you get store-bought level tempeh.
- You can refrigerate and cook and eat within 7 days.
- or you can freeze it (see directions in the blog post above this recipe).

