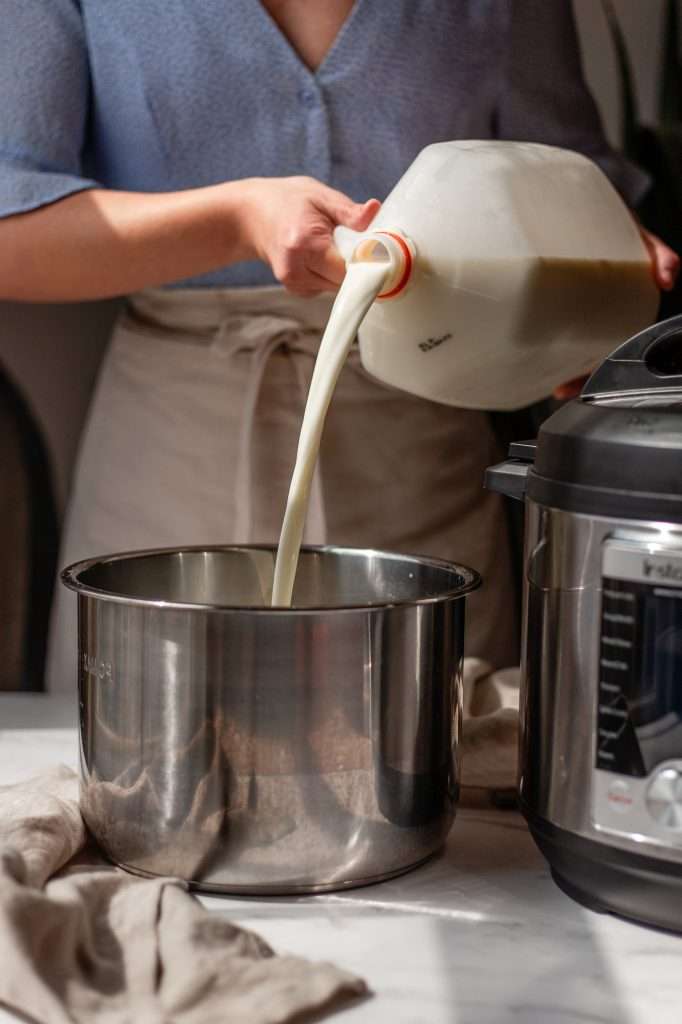
- Plug in and turn your instant pot to the yogurt setting.
- Pour the milk into the instant pot insert container and secure the lid in place.
- Adjust the yogurt setting to boil/high at 181° F. Then press start. The milk will be heated to 181° F for 30 seconds.
- When the instant pot beeps and the heating cycle is over, turn off the instant pot.
- Remove the insert container so the milk can cool.
- Place a thermometer in the milk to monitor when it reaches about 115° F. This may take some time, so be patient. (tip: you can place the instant pot insert into a big bowl of ice water to cool it down faster)
- Remove the thermometer, you may see a film on the surface of the milk from the heating process. You can remove it with a clean spoon or stir it in.
- Add in the two tablespoons of yogurt with live active cultures or starter cultures. (tip: dissolve the yogurt or starter cultures in a small bit of milk before adding it to the lot of milk, it will mix in easier)
- Whisk until the starter culture yogurt is evenly combined with the milk.
- Place the insert container back in the instant pot, and adjust the yogurt setting to medium (107° F) and adjust the time to 12:00 for 12 hours of incubation.
- Secure the lid in place and press start.
- The time readout should say 0:00. It will incubate for 12 hours. Once you press start, the timer will indicate the time passed. You can incubate for up to 24 hours for more tart yogurt. Simply taste test at 12 hours, then restart the yogurt setting to incubate for longer if you wish.
- After 8 to 12 hours of incubation, the yogurt should be slightly set, and a jelly-like consistency.
- Allow the yogurt to cool at room temperature for a couple of hours, then store in the fridge. You can also transfer to jars and then store in the fridge.
- If you want to make thicker yogurt: place the instant pot insert in the fridge to chill and set. Once it is chilled, you can strain the yogurt through a cheesecloth-lined colander or a yogurt strainer. Allow it to strain undisturbed for about 8 hours in the fridge. Then, jar it and store it in the fridge.


